
Green walnut jam isn't a jam in the typical sense most people will recognize. A preserve of whole, unripe walnuts in syrup, it's one of the most interesting things I've made with the unripe black walnuts to date.
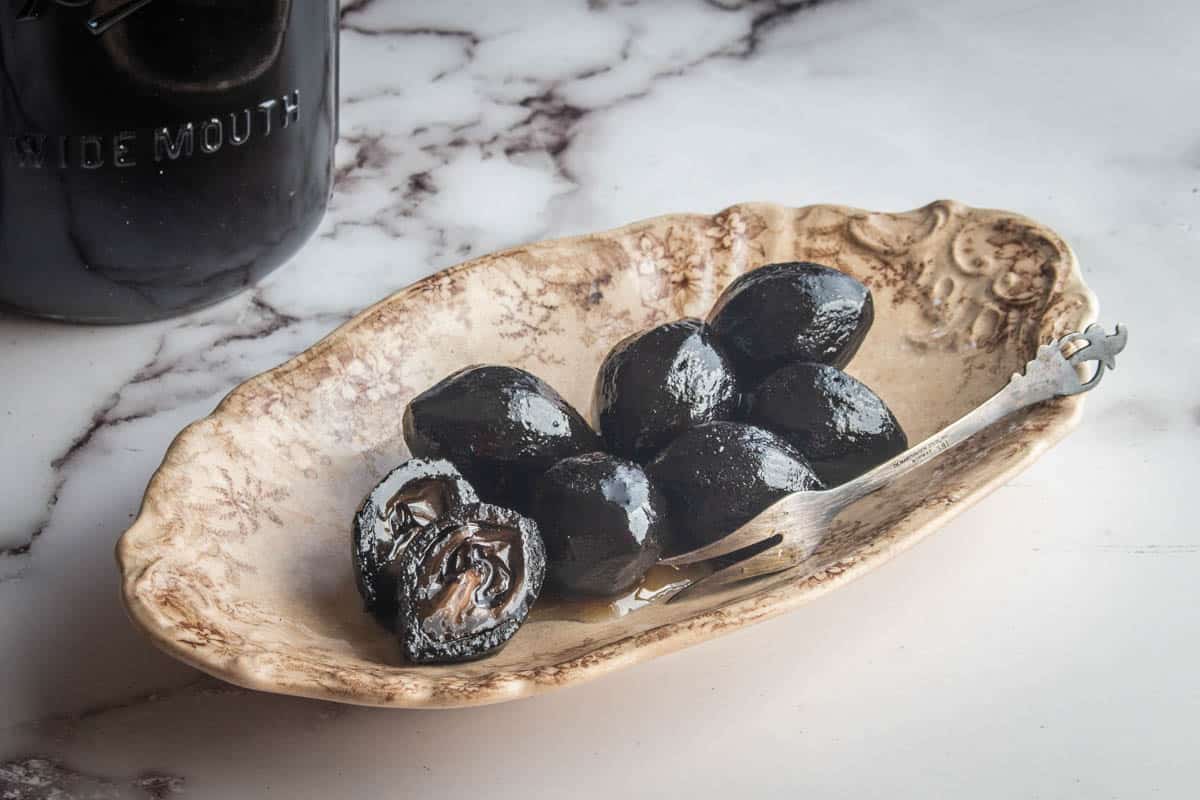
Unlike other recipes that use green walnuts, like nocino, ketchup, or vin de noix, walnut jam allows you to eat the entire unripe nut, husk and all. It's a very special preserve that takes time, but is well worth the work and effort.
A Traditional Preserve in Syrup
Walnut jam is well-known around the Mediterranean, and I've seen references to it in Greek, Armenian, and Georgian cuisine. In those places, "jam" can be many things. The fruit used could could be everything from apricots, to plums, to, unripe walnuts.
At least with Greek cooking, where they're known as Karitho Glikko, the glikko portion of the name refers to something preserved in syrup. In the Caucuses and Russia the cooking method is known as varenye. In Cyprus it's called Karidaki Glyko.
How to Make Black Walnut Jam
There's some variation in recipes I've looked at, but all of them call for peeling and piercing the nuts, as well as soaking in water for a while to calm their tannins (not necessarily in that order).
After making these for a number of years now, I can definitely tell you with certainty that for your walnut jam to taste good, you need to peel, pierce, and soak them in water for at least a week. If you don't the nuts will be bitter and tannic tasting, instead of sweet and mild.
When to harvest the green walnuts
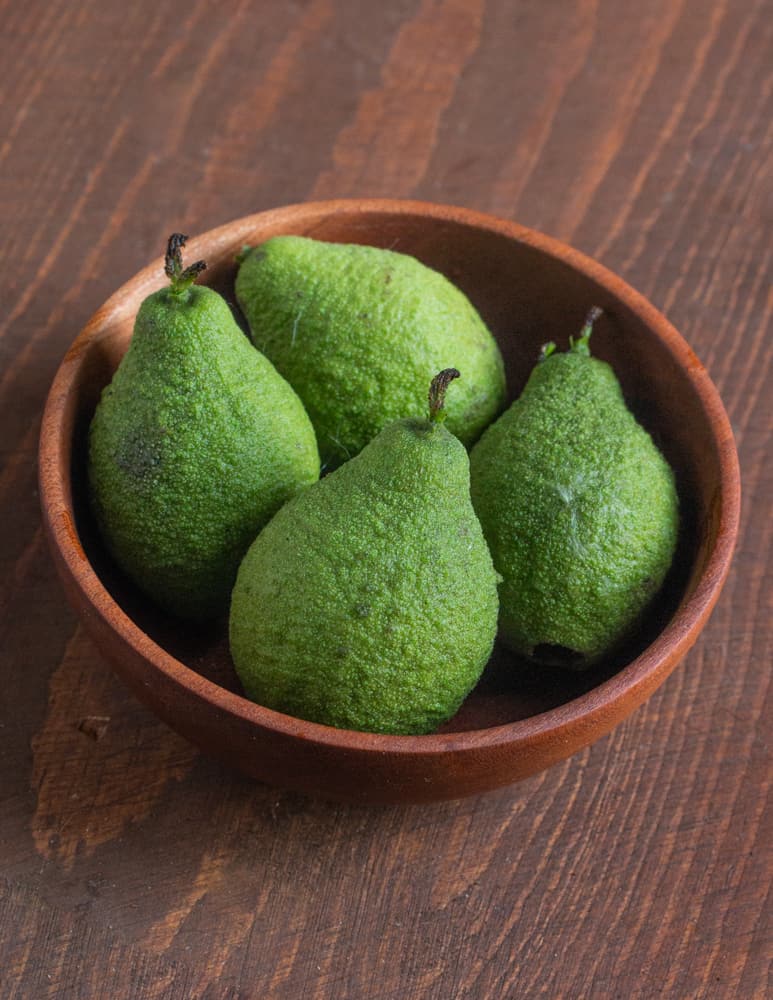
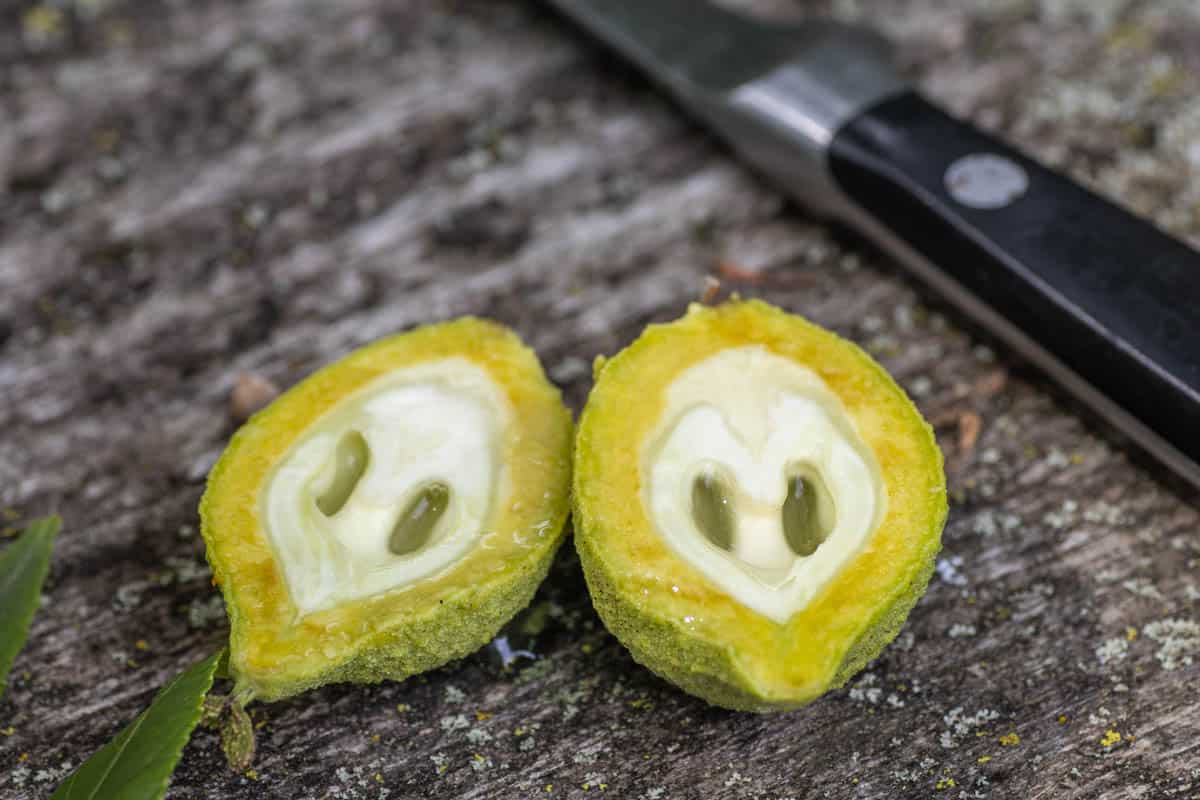
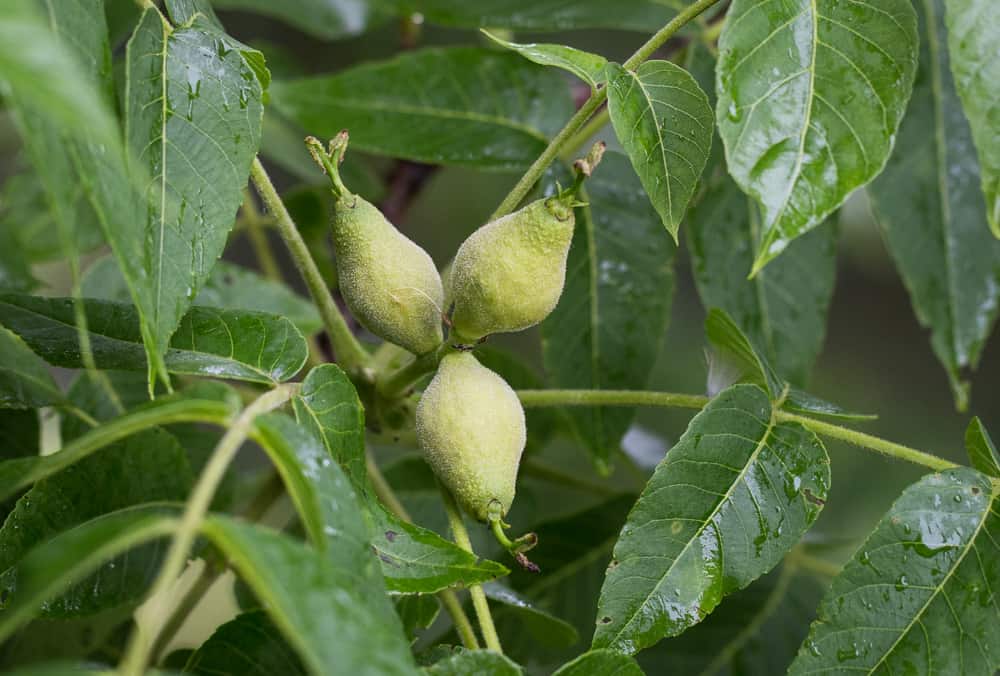
The age of the nuts is by far the most important. You're looking for green walnuts the size of small ping pong balls. If the nuts are too old they will have started to form a shell inside and will be inedible.
If they're too young, they'll be impossible to peel, and won't have as much of the developing nut on the inside, which gets soft and tender after cooking, and is arguably the best part of the preserve. I harvest my green black walnuts around late May through mid-June. See below for images of what I mean here.
Peeling
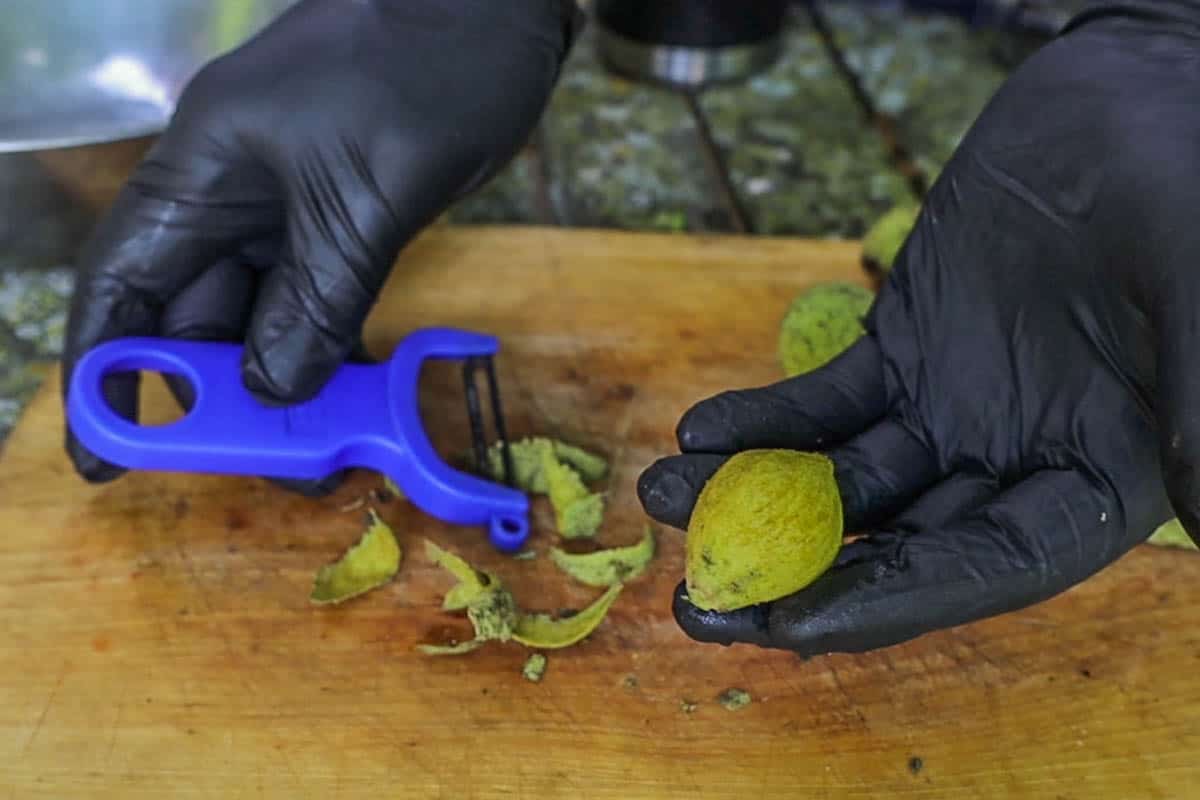
Peeling is the most difficult part, and it will take some time. Most of the older recipes call for "paring" the green walnuts, meaning you cut off strips of the green husk with a knife, but for most people that will be too difficult to be practical.
The best way to peel the nuts I've found is with a Kuhn Rikon peeler. Other peelers may work ok, but the Kuhns are the best, and least irritating. They're cheap too, so I recommend getting a few of them.
Piercing
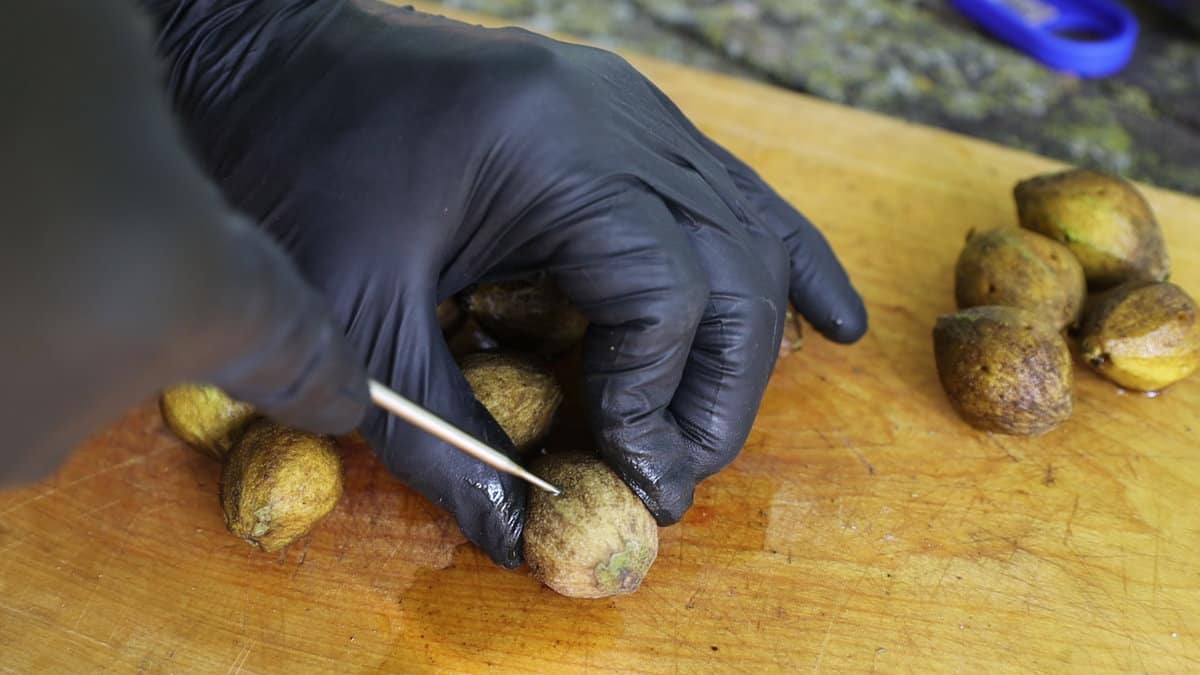
The nuts should be pierced before soaking. It may not seem like a big deal, but the small holes from a paperclip, a large needle, or a thermometer as I use in the video here are important. Holes make it so that water can get into the nuts while they soak, increasing the surface area the water can touch, thereby helping to remove tannins.
The most important part of peeling is that it helps the thick sugar syrup penetrate the nuts during the final cooking and help candy the husk, which is unpleasant to eat if not done properly.
Soaking
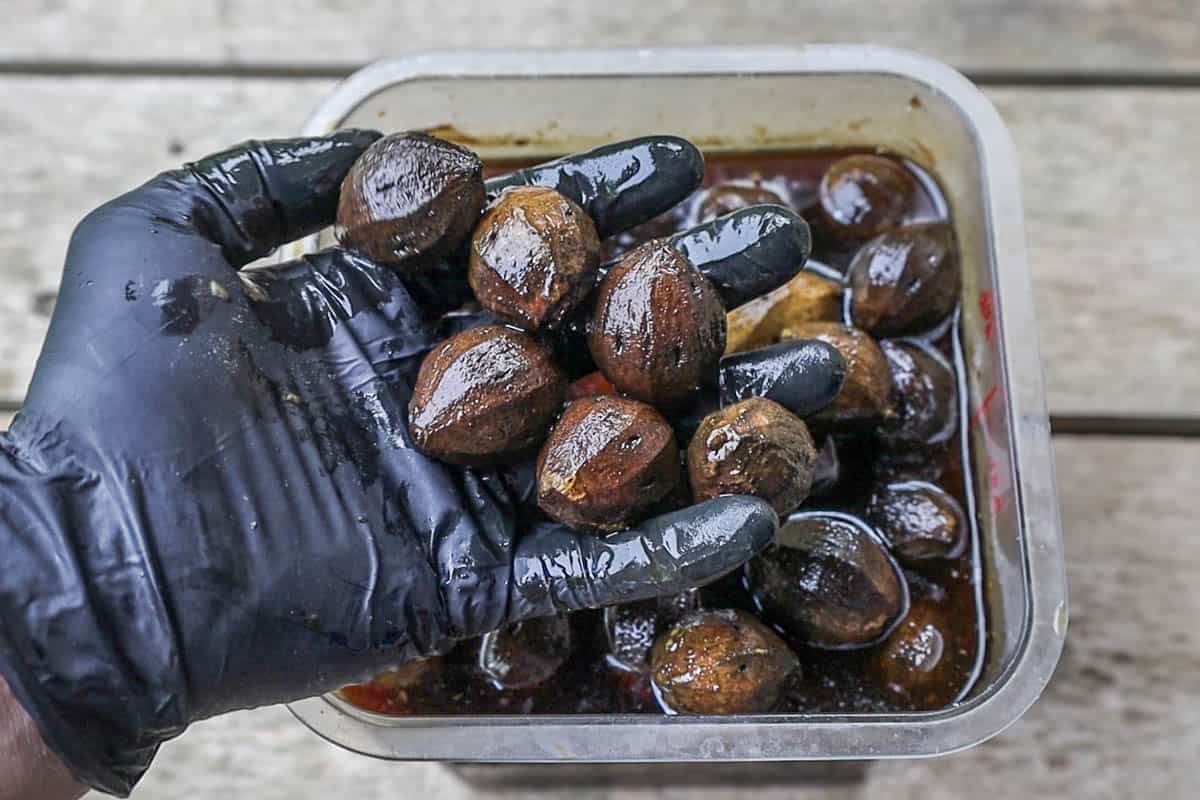
Soaking the nuts is the last step in the process and one of the most important. I leave my peeled, pierced green walnuts in water at room temperature for at least a week, but you could probably leave them for longer, especially if you can keep the nuts refrigerated.
Some recipes call for changing the water every few days and you can do that, but if you forget it's ok-I've tried it both ways. The length of time seems to be more important for calming the flavor of the nuts than changing the water regularly.
Fermentation
As the nuts soak, depending on the ambient temperature, you'll probably see some bubbles. This is totally fine, and natural, as black walnuts easily ferment on their own without salt.
If you see mold, which is unlikely, don't worry. The final stage of simmering in sugar syrup will kill anything you wouldn't want to eat. The finished product is a fermented preserve jarred in heavy syrup with the addition of acid (lemon juice), making it a very safe recipe.
How to Use Walnut Jam
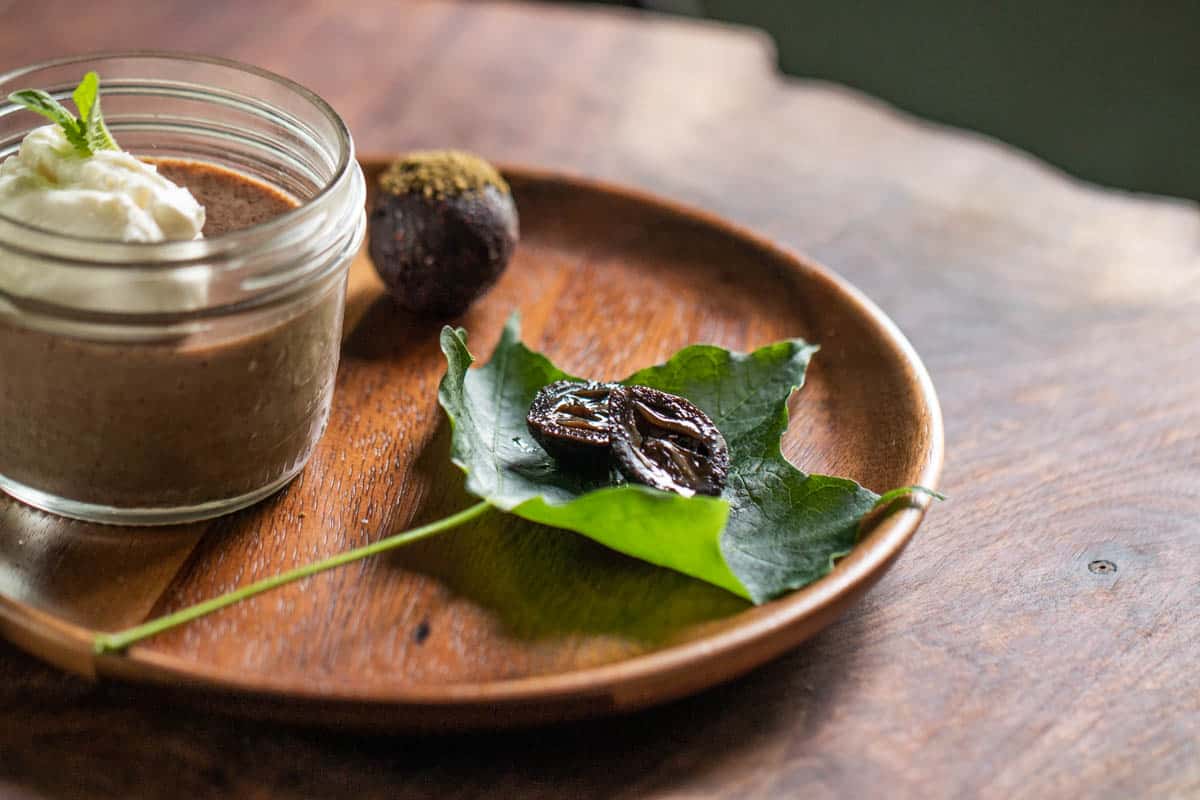
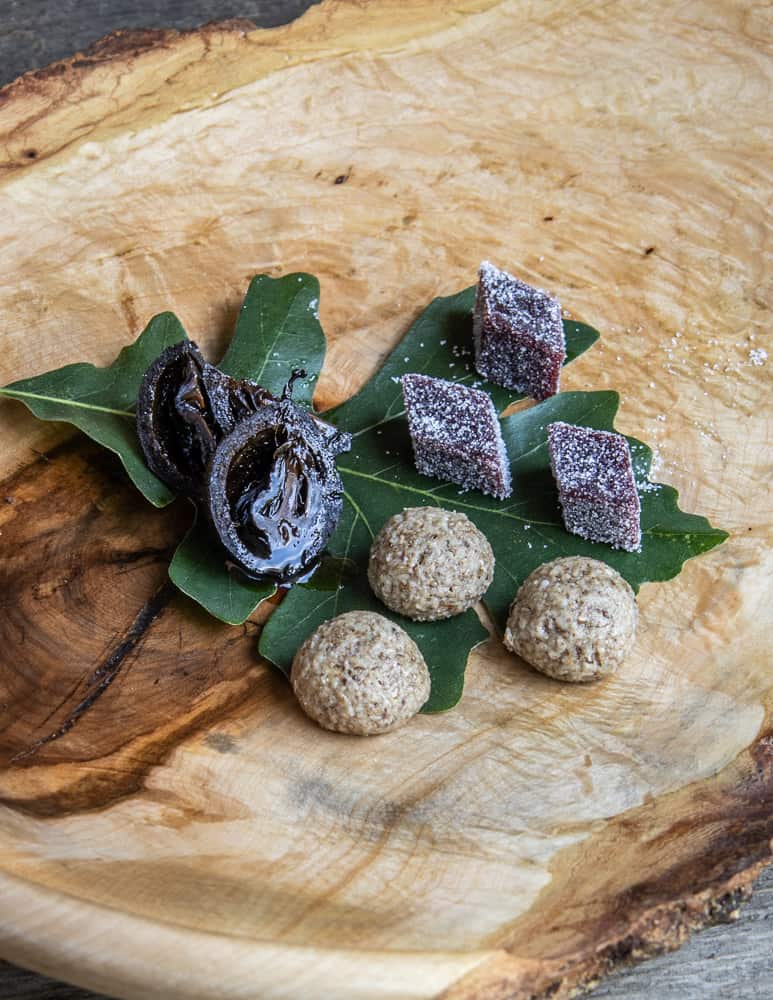
These are a rich, sweet preserve. While a bowl of them looks nice and makes for a great conversation piece, I don't typically sit down and eat more than one of two whole nuts. For the biggest impact, I like to serve the nuts as part of a mignardise tray-a plate of sweets served after dinner.
My mignardises are usually small things like fruit truffles, candied angelica, pates de fruits, amaretti, macarons, etc. If you want to serve them in their purest form, pass around a bowl of nuts cut in half to reveal their shape, along with a small glass of sherry, grappa, marc, etc.
Related Posts
Lastly, it's easy to harvest a lot of these. If you have some extra, I'd encourage you to check out the following:
Green Black Walnut Jam / Preserves
Ingredients
- 1 ½ pounds 680 g (roughly 30–-35) green black walnuts, the size of ping-pong balls
- Handful of dried galium leaves or a vanilla bean (seeds removed), or a tablespoon of vanilla extract
- 4 cups 800 g sugar
- 4 cups 945 ml water
- ¼ cup 60 ml fresh lemon juice
- Handful of dried galium leaves a vanilla bean (seeds removed), or a teaspoon or two of vanilla extract
Instructions
Peeling
- Using a sturdy vegetable peeler and gloves to prevent staining your hands, peel the green walnuts, which will be more difficult than it sounds. Next, pierce the walnuts 5 or 6 times each with a thick needle, the tip of a thermometer, or any other small, sharp object-a fork can work too.
Soaking
- Put the peeled green nuts in a container, cover with water by an inch, and allow them to ferment for a week, burping occasionally and changing the water a few times, or as often as you can remember.
Finishing
- After a week, drain the walnuts and tie the galium in cheesecloth for easy removal if you’re using it.
- Combine with the sugar, and water, and galium or vanilla and simmer for roughly 1 hour on low heat.
- Skim off and discard any scum or foam that rises to the top, to ensure a clear syrup. Discard the galium leaves. If you used a vanilla bean, save it to pack in the jar(s).
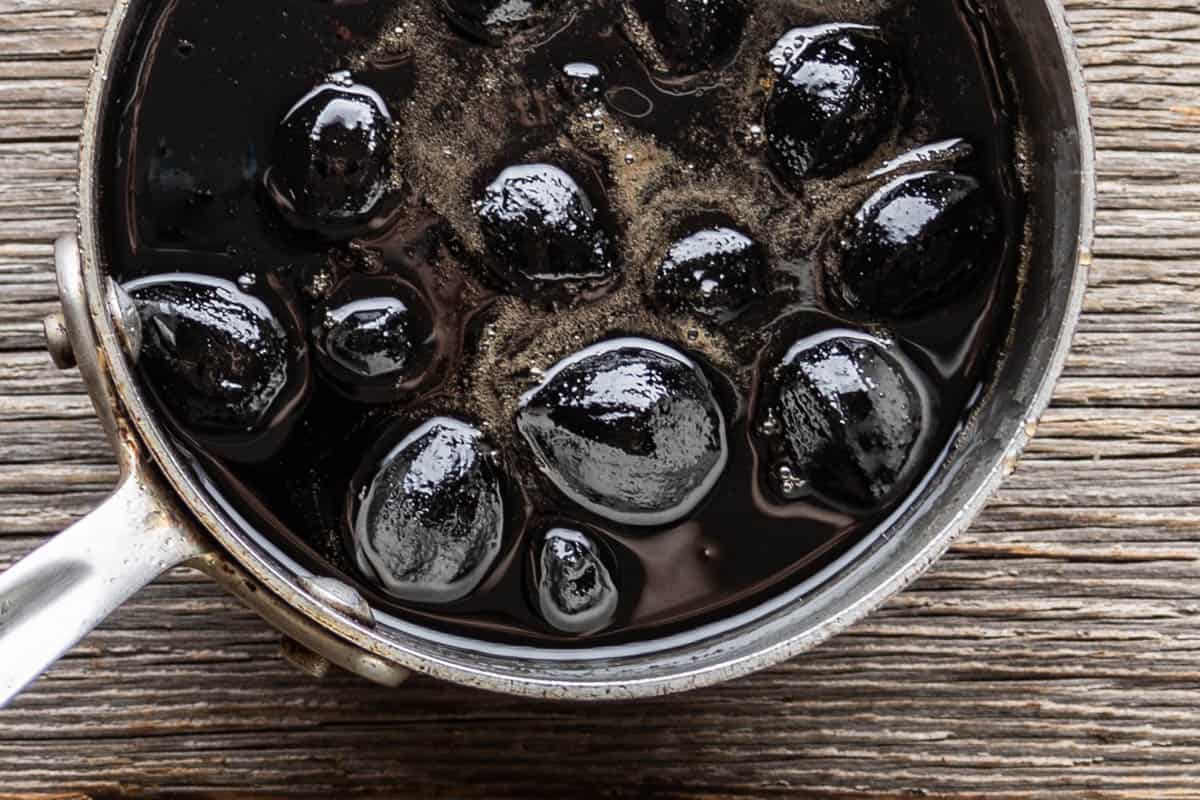
- After an hour, turn up the heat, bring the syrup to a boil, and reduce until it looks like warm honey, and coats the back of a spoon, about 15 to -20 minutes, then turn off the heat and transfer the nuts to mason jars with tight-fitting lids (I like quart jars here) to cool.
- Add a tablespoon of lemon juice to each jar, fill nearly to the brim with the boiling hot syrup, screw on the lids and turn the jars upside down. You’ll probably have some syrup left over.
- There's no need to water-bath process these as the heavy syrup and additional acid make for a very strong preservative. After the jars cool, they should have sealed.
- The jars should seal naturally from the heat of the syrup, but any that don’t can be processed in a water bath. Allow the walnuts to age for at least a month before enjoying. Harvested at the right stage, I guarantee you they’re worth the wait.
Maddie
Hi! I'm sorry if you already said this somewhere, but I didn't see it -- should these be stored at room temperature or in the fridge? Thinking of both the 30 days after candying, and then once the jar is open.
Thanks!
Alan Bergo
Hi Maddie. You treat like any other preserve. After they’re candied, they’re stored at room temperature assuming the jars seal. After opening a jar, you will need to keep them in the fridge.
Maddie
Thanks, Alan! The trees around me didn't seem to produce much this year, so I only did a small trial batch, maybe a third of your recipe. I found, though, that the smaller amount meant that the syrup thickened up much faster than expected. I simmered for the full hour, but then only boiled for about 5-6 minutes before it seemed possibly too thick -- just hoping it doesn't completely harden when it cools. Also, I had one walnut that wasn't submerged when I filled the jar, so I took it out and cut it open just to see, and it looked like it hadn't actually candied all the way through. Do you have any thoughts on that?
Alan Bergo
My thoughts are that the jar may crystallize and get very hard. I’ve never cut one open right away, but I’d assume that could come from not piercing the nuts. Either way I’d let it age a bit and then give them a go to see how you did.
Maddie
I definitely pierced them! I wonder if letting them rest is also an opportunity for the sugar to penetrate further. I guess we'll see!
Thanks again.
Tim
Can I use local honey in the syrup instead of sugar, and what amount would you recommend?
Alan Bergo
Yes you can use honey. You’ll need a lot.
Tom
Hey, how deep should one pierce? All the way through or just the skin?
Alan Bergo
Just through the skin. If you go too crazy with piercing they’ll fall apart.
Tom
Heyho, in your book you soak first soak, then peel. The update is the other way around. What did you notice in improvement?
Alan Bergo
Good eye Tom. The nice part about the website is that I can update things and improve them.
To be clear both methods work, but, it makes more sense to peel them before soaking as they’ll ferment and that means we’re peeling the wet, fermented nuts. Peeling is the most difficult part here, so it’s best to make it as easy as possible for people to have a good experience. Don’t forget that the nuts are pierced as well, in addition to peeling. This helps them absorb the sugar syrup which improves the texture.
Tom
Hey, me again.
When peeling the nuts, some are green but mostly either with another black layer underneath the green or spots that are black and a bit porous. The nut itself if still white and soft. Are those bad, is it too late for them or are they still fine?
Alan Bergo
They should be fine. Im speculating here as I can’t see them and I haven’t noticed this, but here’s my advice.
If the black spots are actually holes made by insects I would discard it.
Nuts that were harvested from the ground may be nuts the tree aborted due to some injury, temperature fluctuation, fungal blight etc, and aborted nuts have definitely given me uneven coloration and quality issues when processing. These are harmless but the texture / quality can be iffy.
If you pierced them with a needle or pin before soaking that would also show up as black spots.
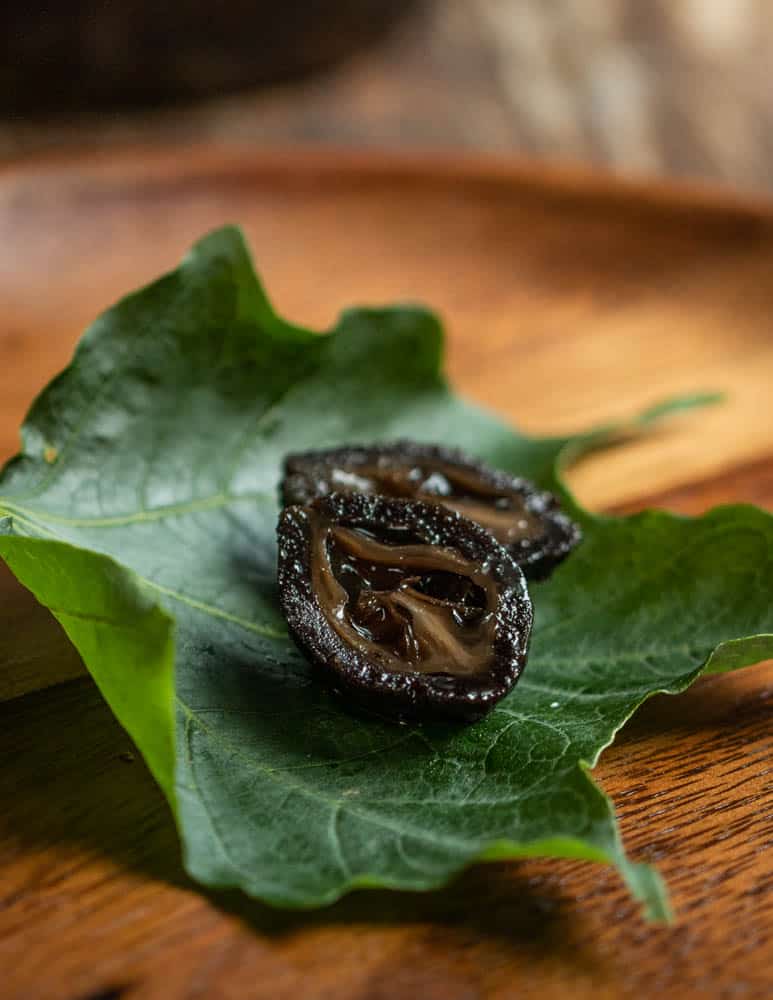
Make sure to cut a few nuts in half-they should look pristine-no bug holes, or hollow/aborted centers.
If it was me, short of seeing white mold covering the nuts or, more likely, a lot of insect tunneling I’d missed, I would keep them and process as usual.
Tom
Hello Alan,
I thus recipe you pierce the nuts to remove the tannins, in the ketchup recipe not. Where does the difference come from? It seem the nuts in this recipe need to be a little bigger than those in ketchup?
Alan Bergo
Hi Tom, think about the recipes here. The piercing helps the nuts absorb syrup, not remove tannins. In the ketchup there's no need to pierce them as they'll be pureed. As for the size difference, yes, you need walnuts for the preserves to be slightly larger-they have to be wide enough to peel or they will be a big chore.