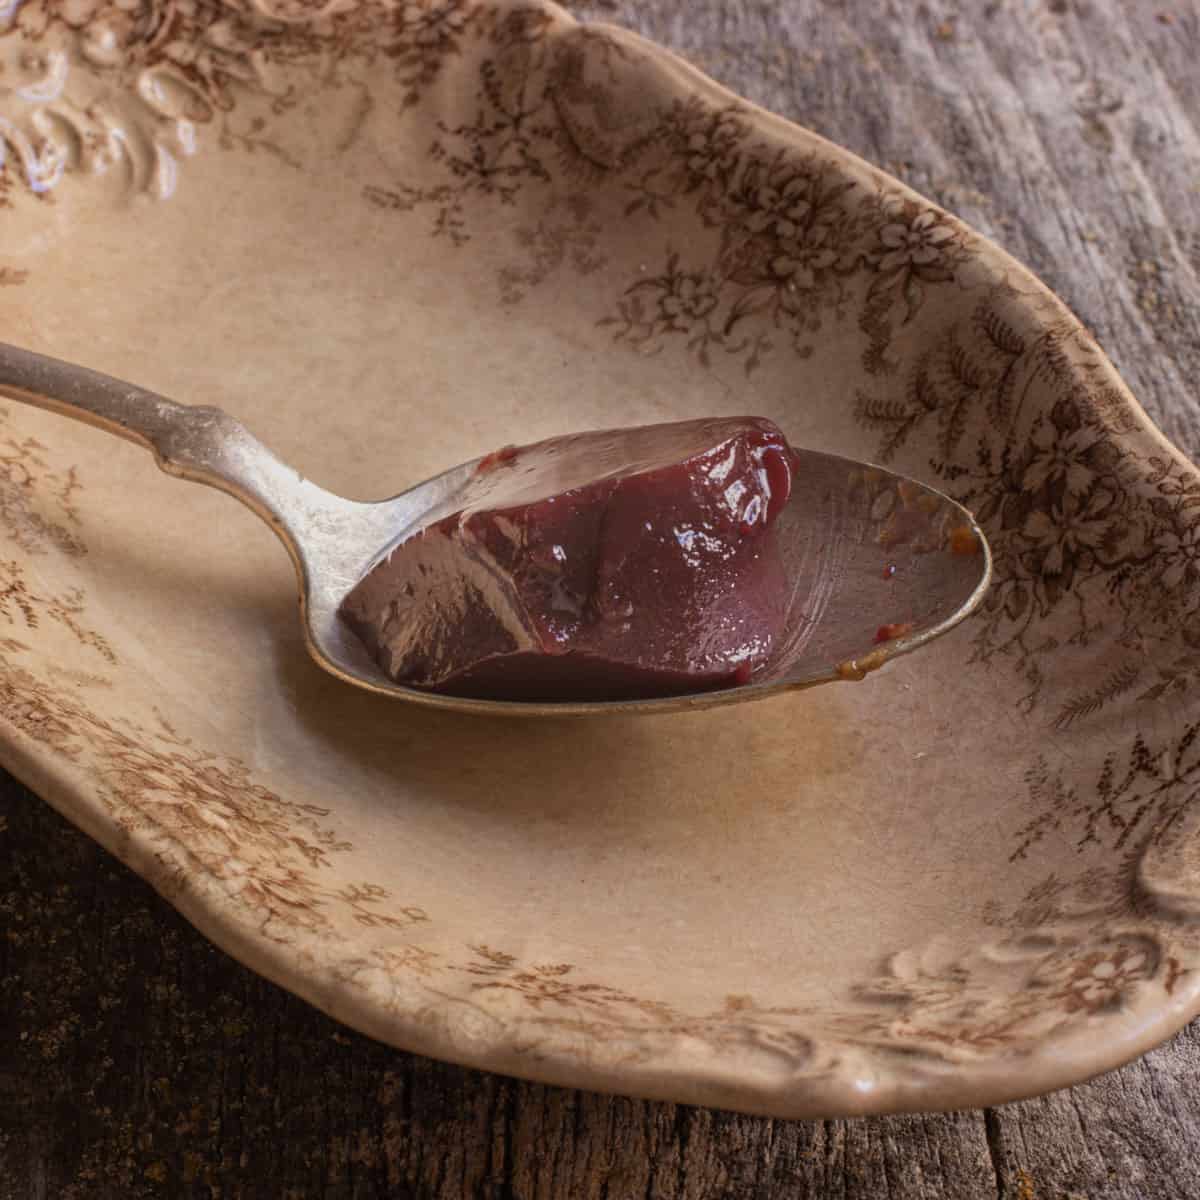
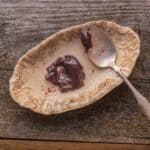
While most people in my circles will know of elderberry syrup, elderberry jelly is also very good, and has a subtle taste of raisins just like the syrup does. In the world of jelly making it's quite unique, and comes with a few caveats that will probably surprise you, including one important step you need to take into account for safety. In this post I'll walk you through a basic elderberry jelly recipe.
How to Make Elderberry Juice
Safety Note
First, know that unripe elderberries, seeds, leaves and stems contain dangerous cyanogenic glycosides your body can convert to cyanide. So, just like chokecherries, you should not puree elderberries in a strong blender whole, strain and drink the juice raw. Crushing the fruit with stems and leaves is also problematic.

Don't let this scare you away from the plant, just know elderberry products should always be cooked before consuming. For an example of elderberry poisoning, take a look at this article.
Just like any other jelly, the first step is to juice the fruit. With elderberries you'll need to remove the fruit from the stems and there's a few ways to do this. One option a farmer turned me onto is freezing the whole clusters of fruits, then rubbing them to remove them from the stems.
I prefer to use a comb, which takes a little more time up front, but yields fruit with less stems. Removing the berries with a comb is also strangely pleasing.

Once you have the elderberries removed from their stems it's time to make elderberry juice. Again, there's a few ways to do this depending on how much freezer space and time you have.
Hot Juice
You can take the fruit with a splash of water and cook them in a pot, mashing them up. This method is useful as it also extracts pectin from the seeds. Freezing the fruit denatures and weakens the pectin, so there's a trade-off here.
Cold Juice
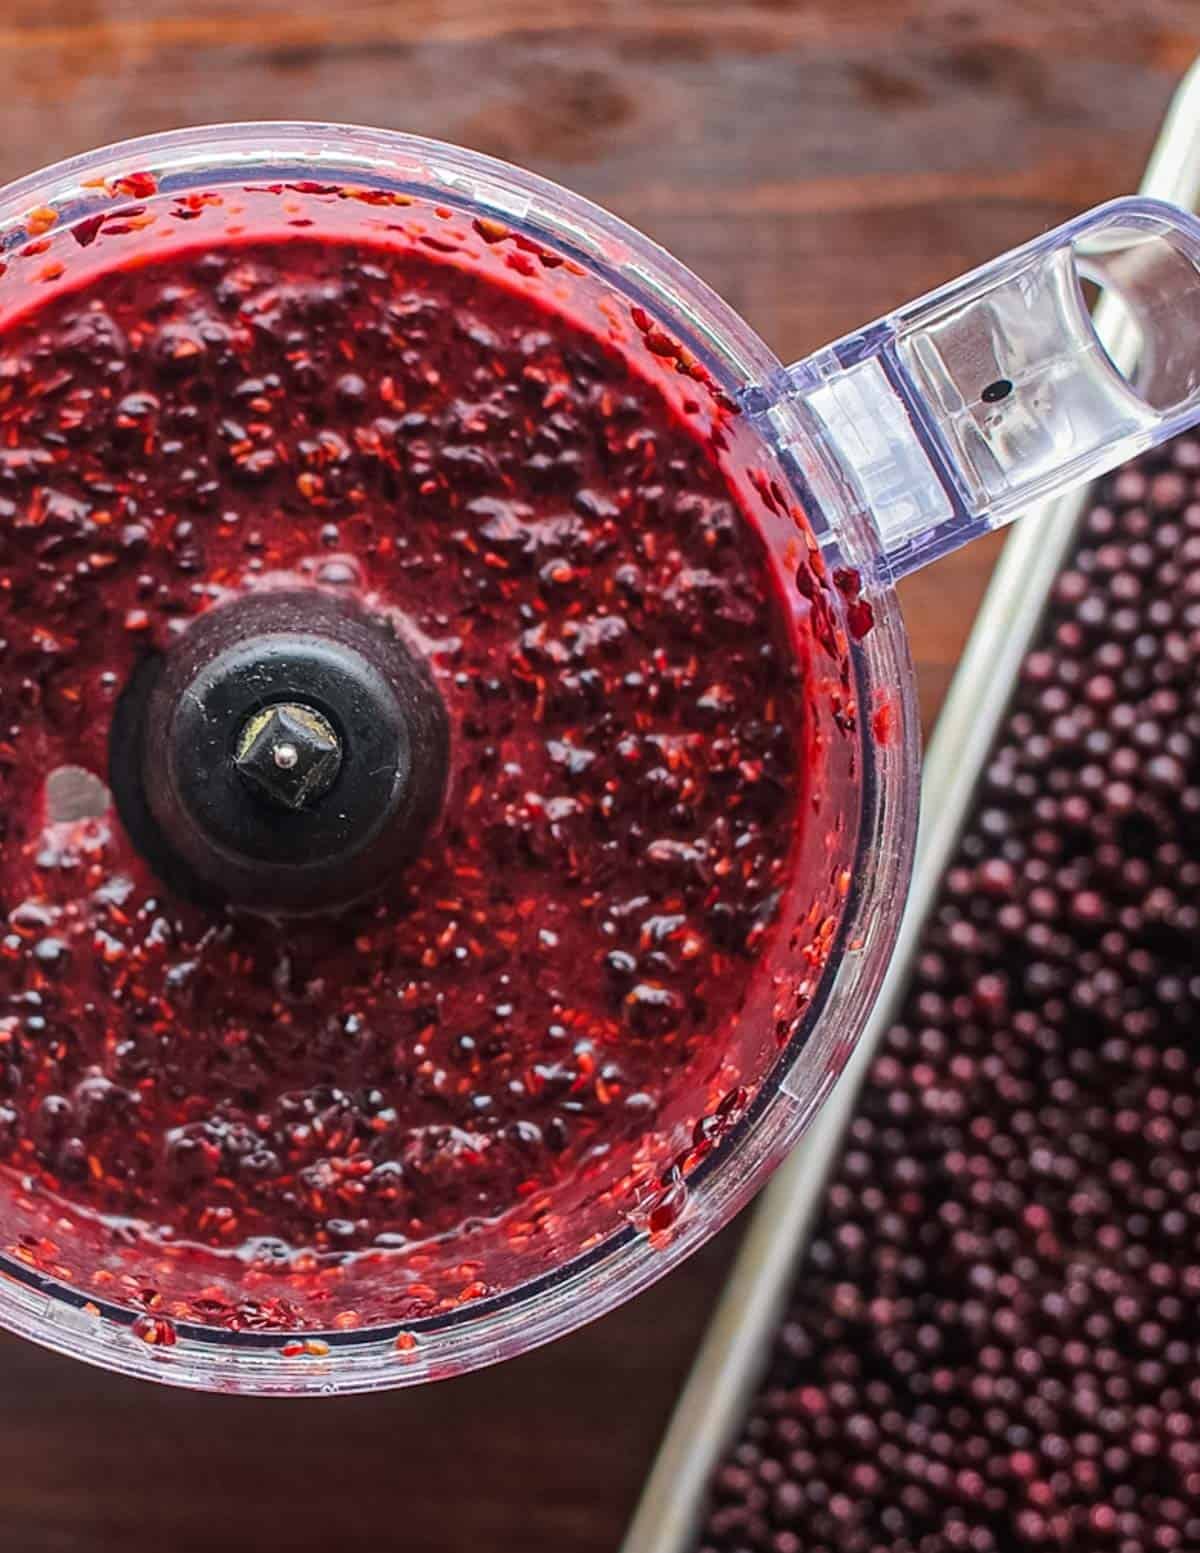
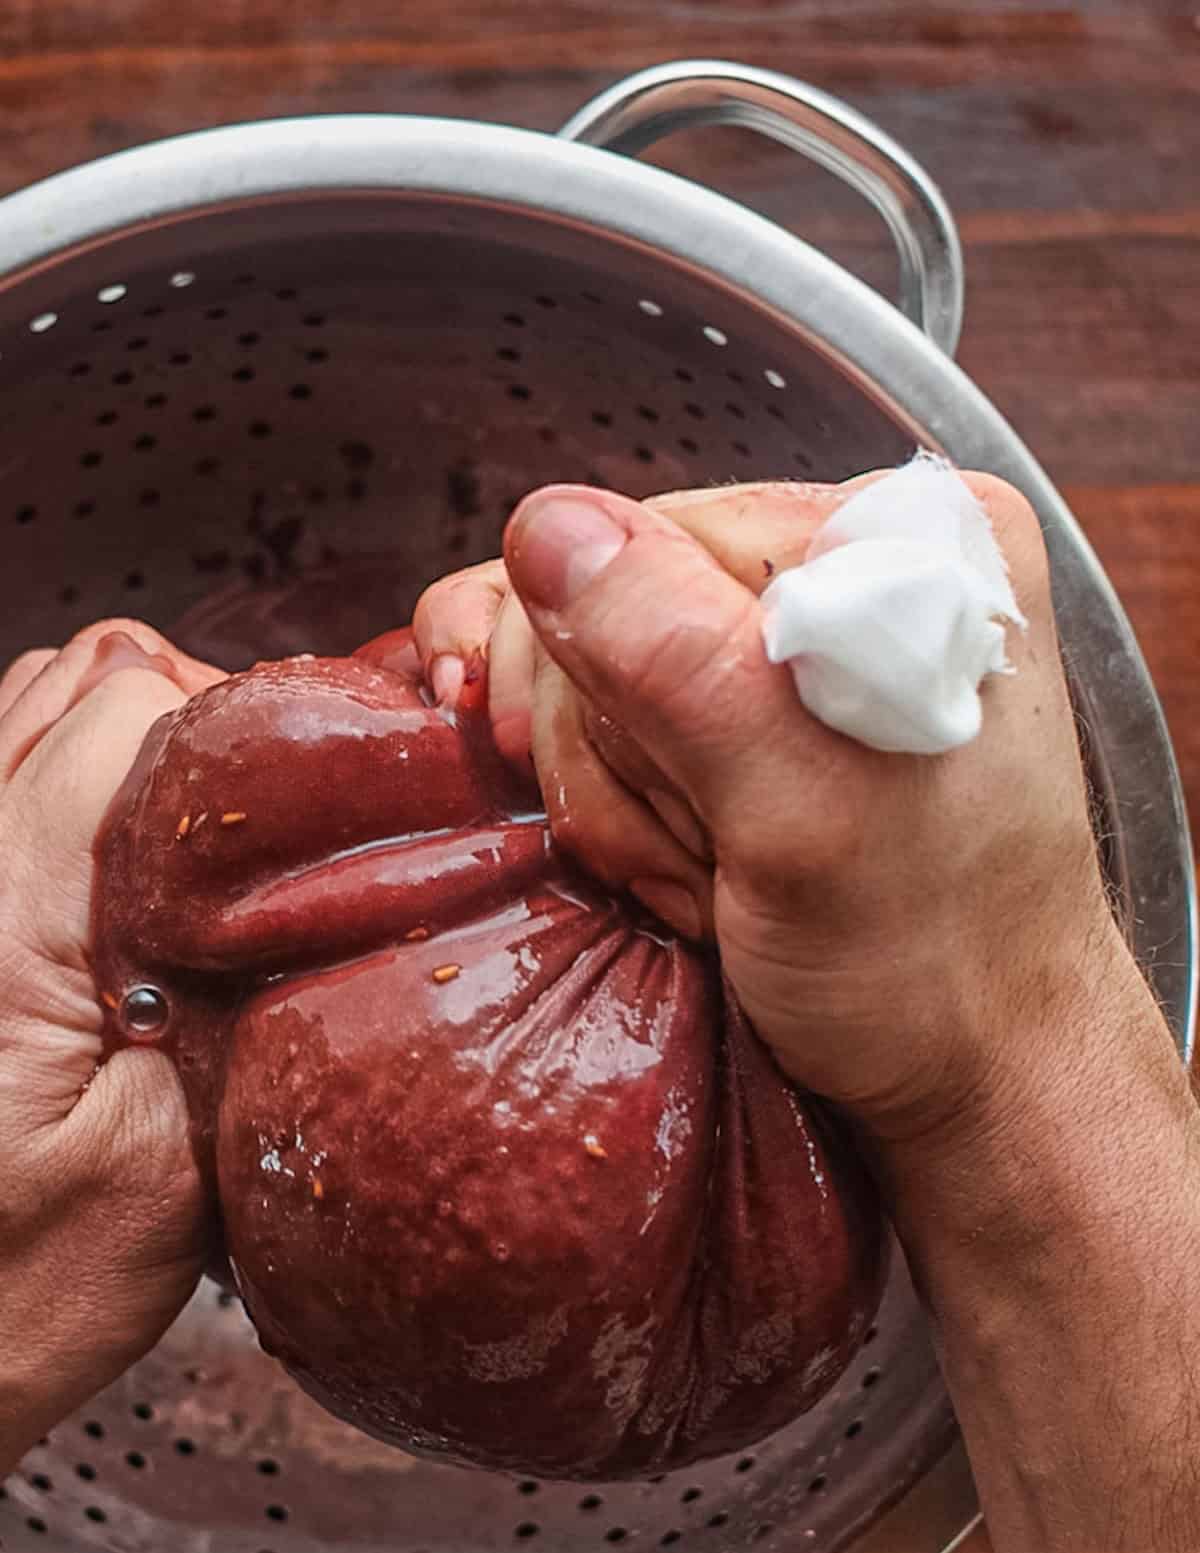
Take the fruit and puree them in a food processor, then strain the juice through cheese cloth lightly moistened with water.
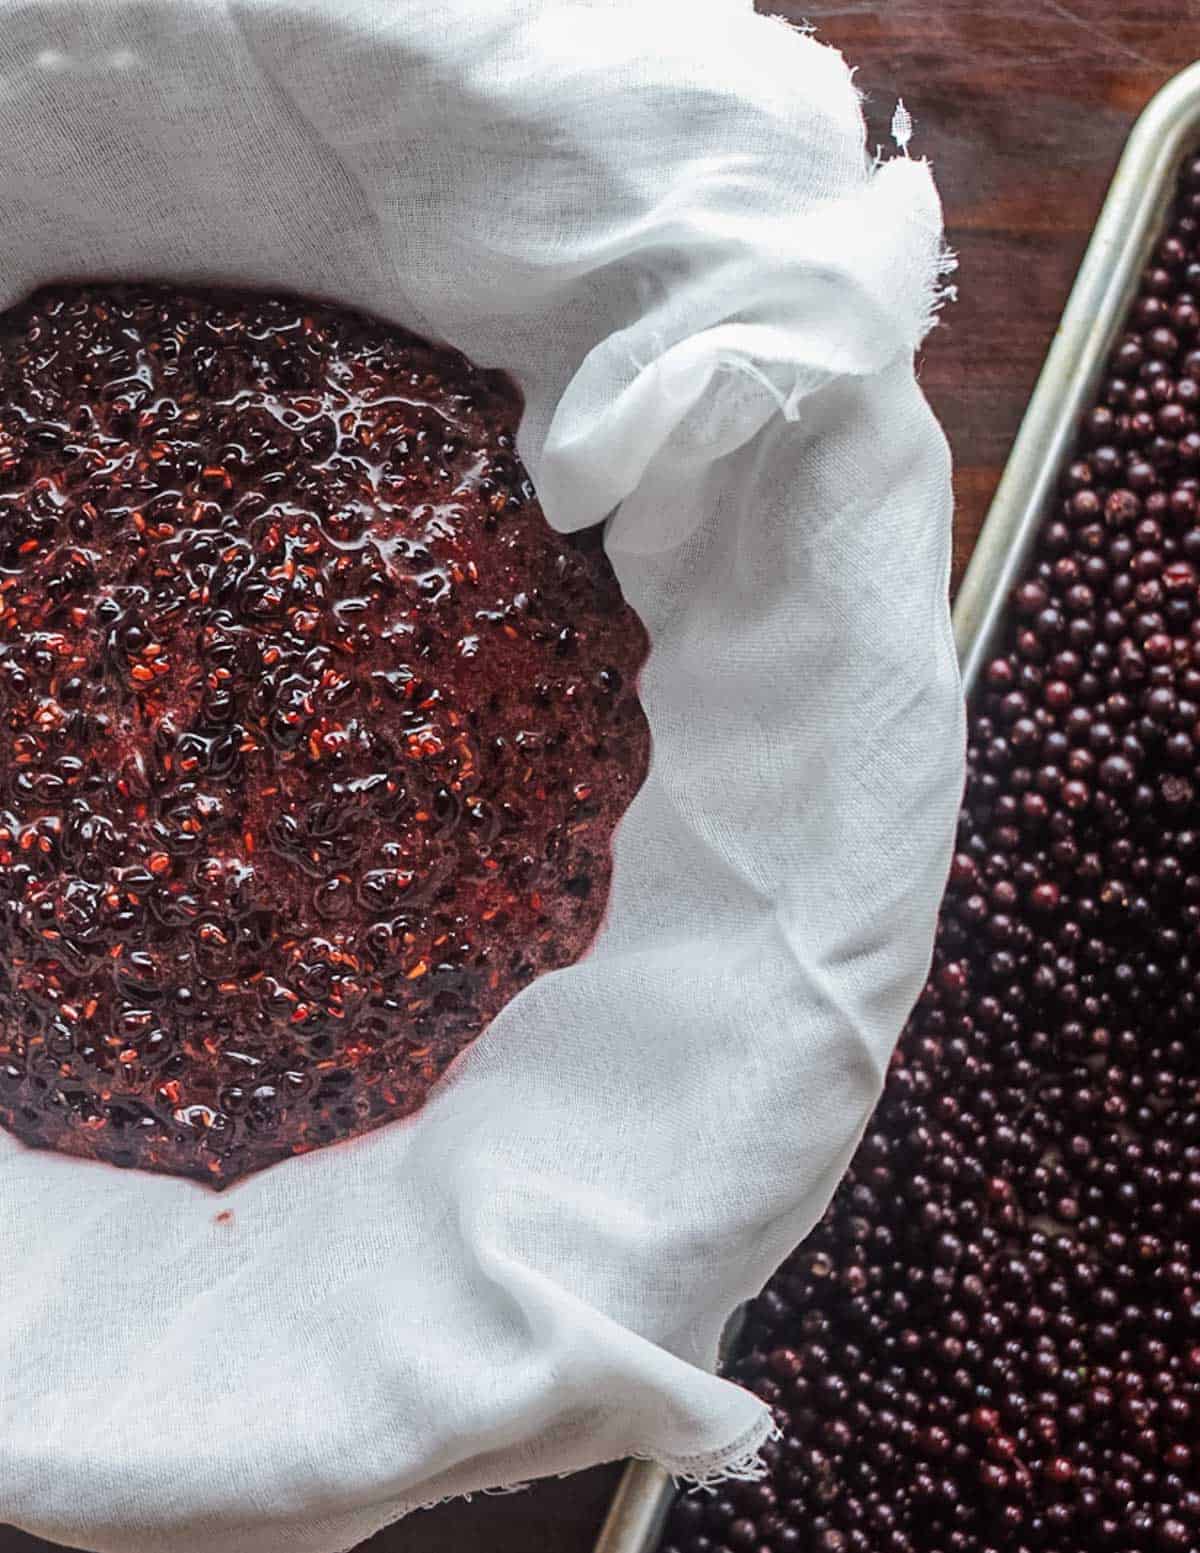
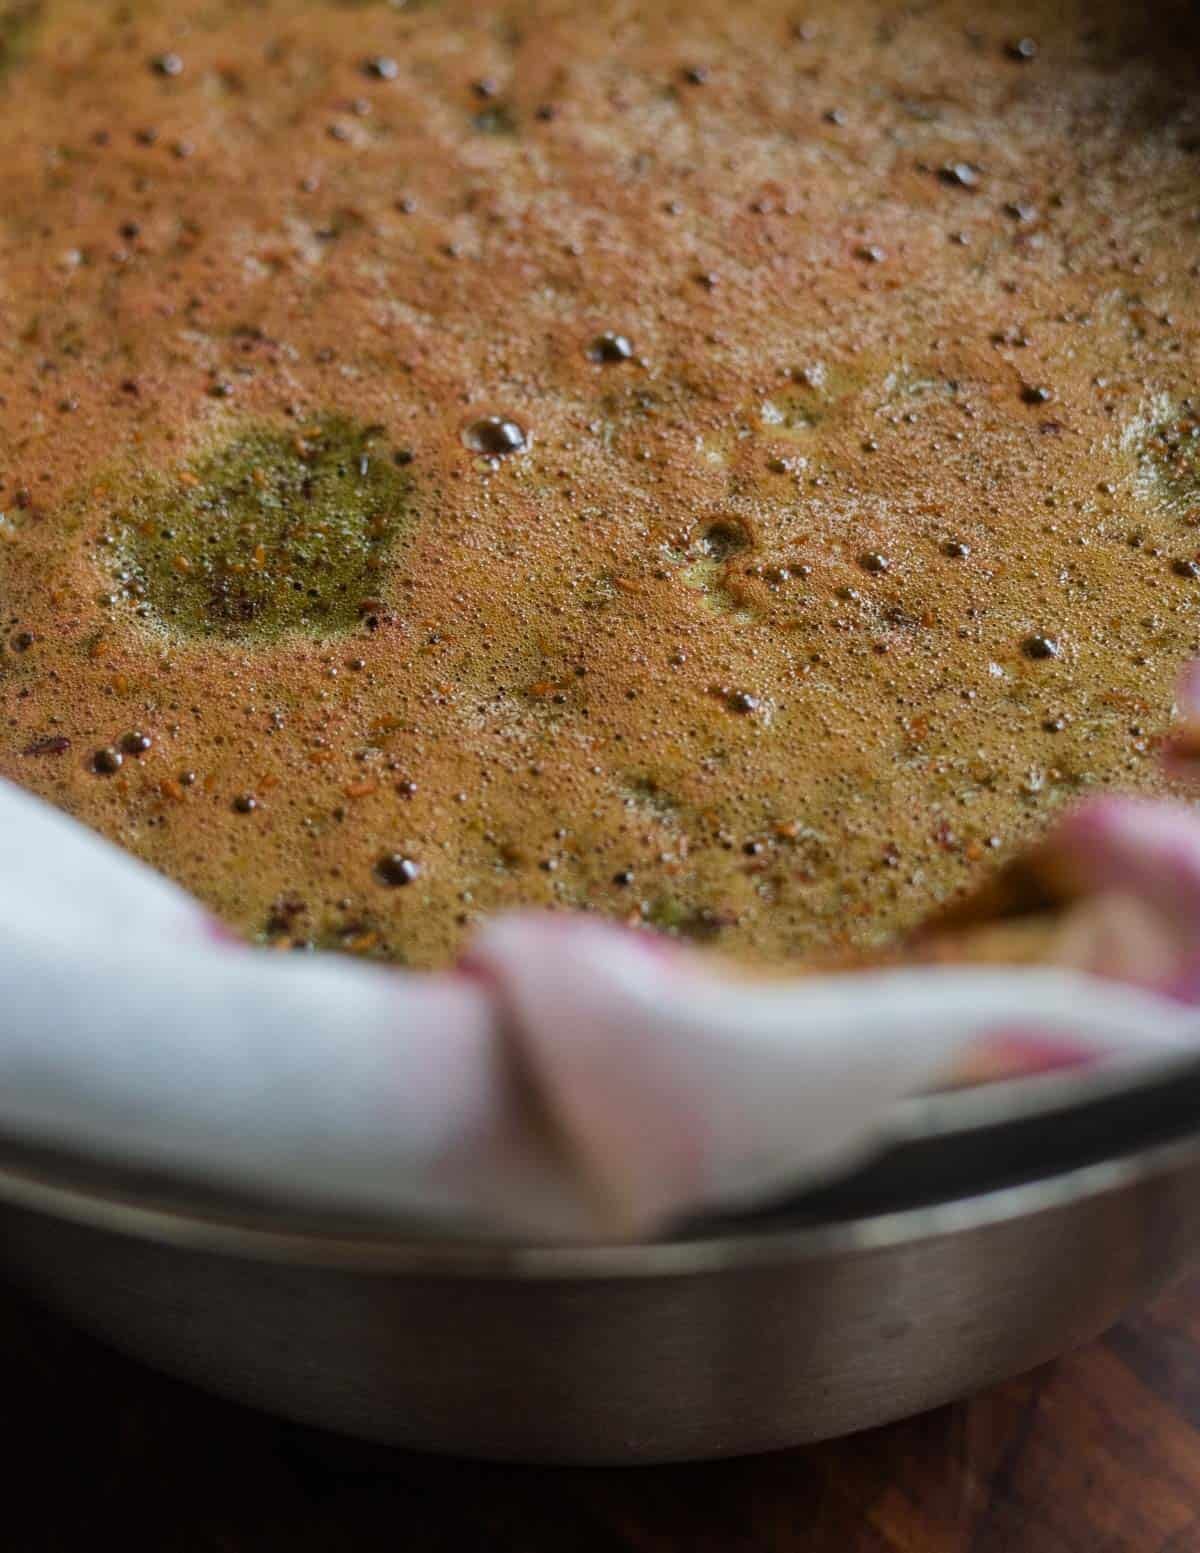
For a perfectly clear jelly you'll want to avoid squeezing the rest of the juice from the cheesecloth, but elderberries are precious, so I always do. Know that squeezing the ground seeds will incorporate impurities into the juice you'll want to skim off during cooking. You can see an example of this in the image below-it's the green-ish foam that rises to the top.
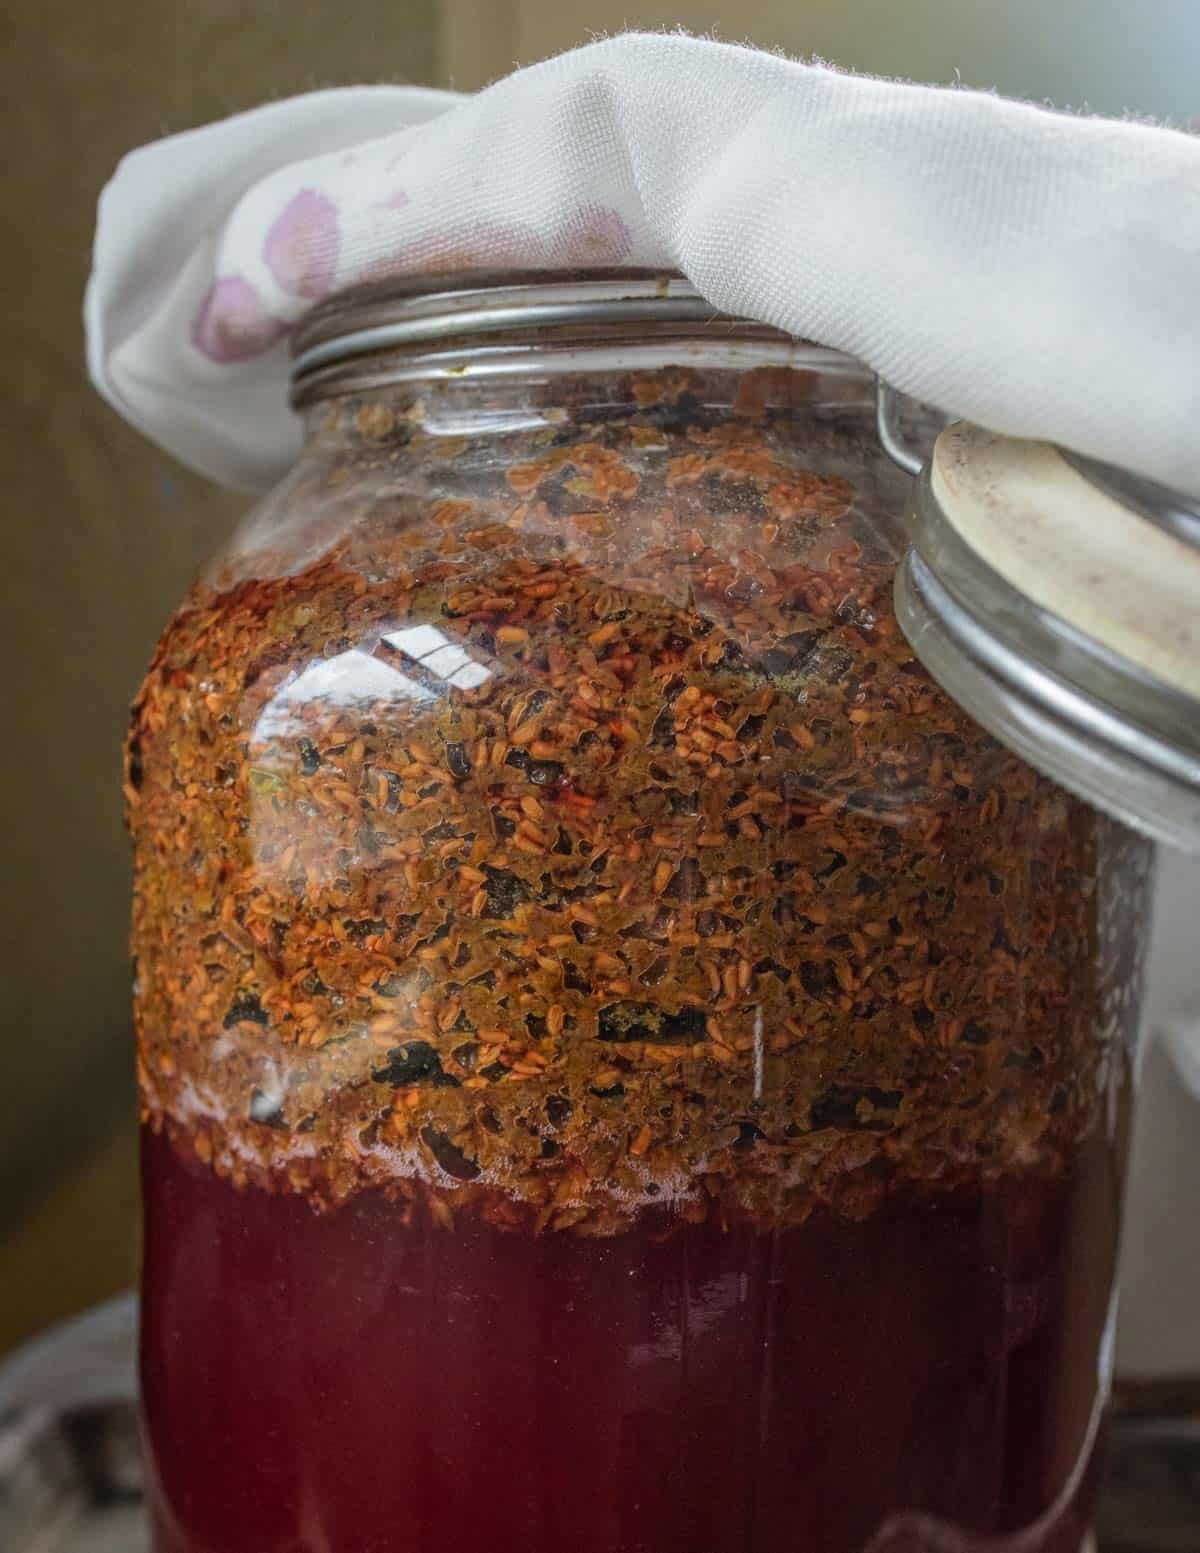
Once you've made your juice, it can be frozen until you're ready to make jelly. If you're like me you'll probably wonder if there's anything you can make from the skins and seeds leftover from juicing and there is. I like to save them to make homemade elderberry vinegar, just make sure to heat it before using, out of an abundance of caution.
How to Make Elderberry Jelly
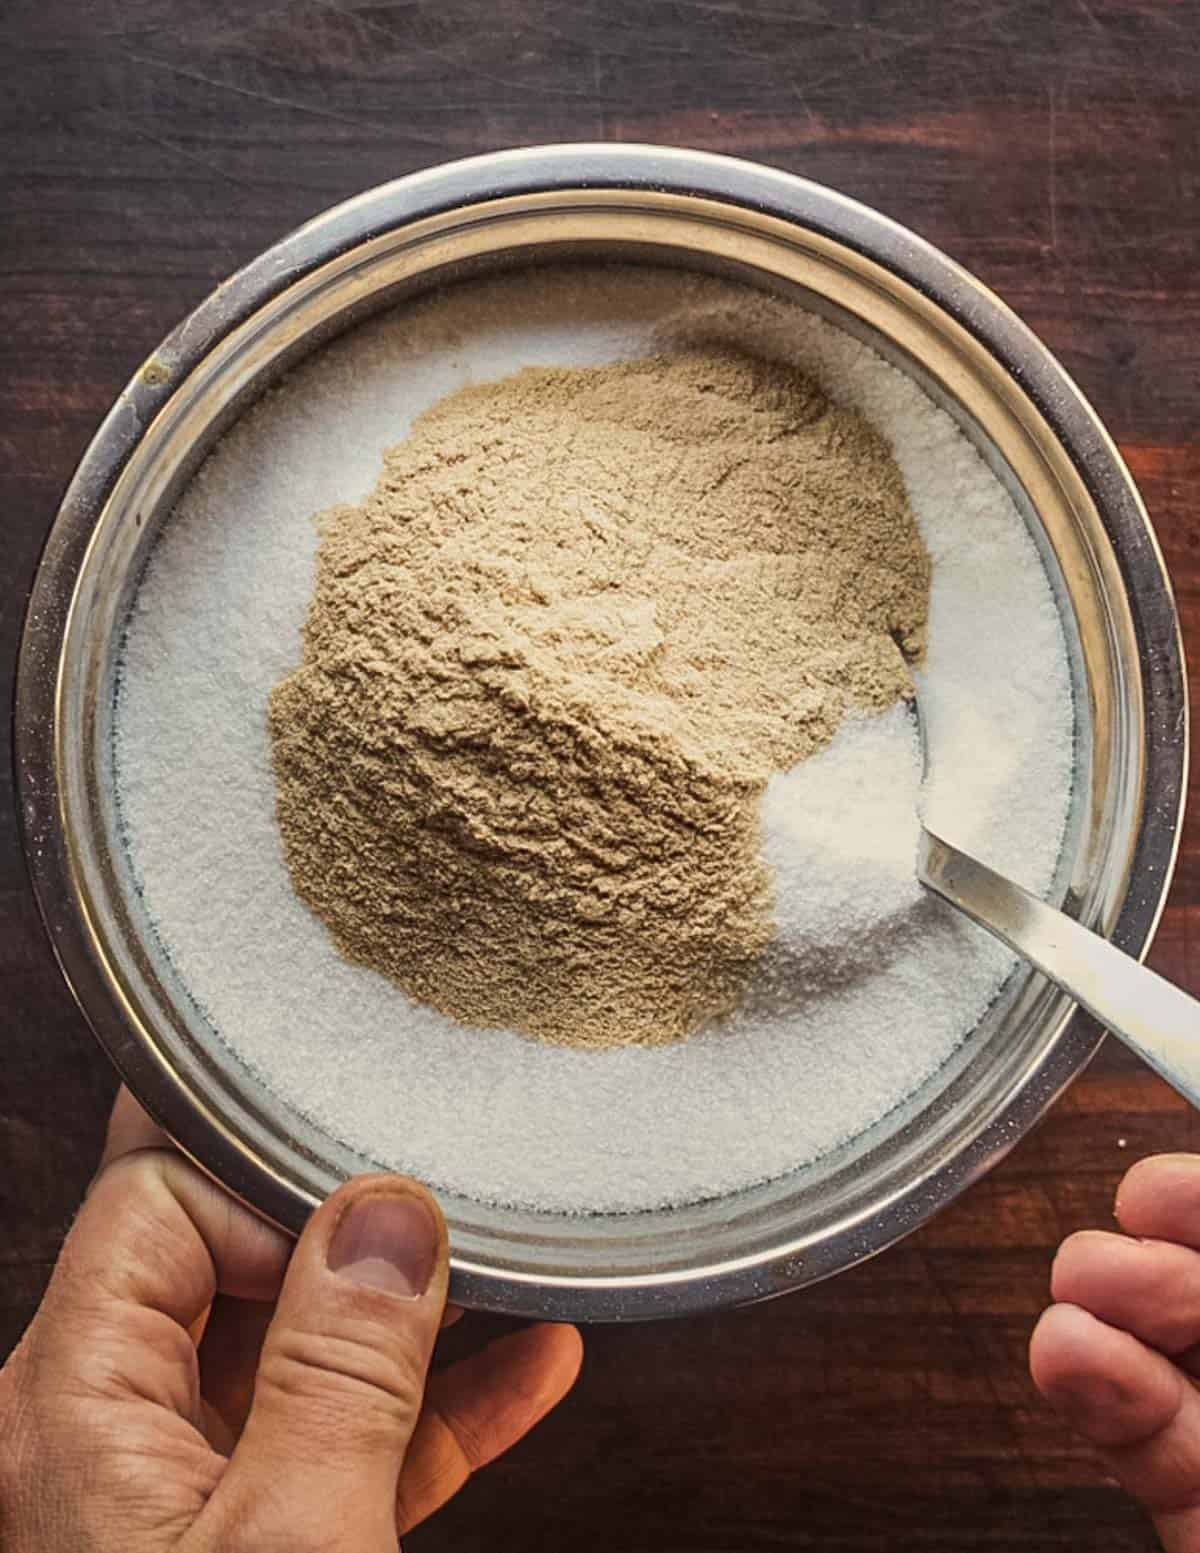
First, mix the pectin with sugar. This helps prevent clumping. Next, whisk the elderberry juice and sugar well in a heavy pot with high sides. I love my 3-qt All Clad for this. Stick a candy thermometer into the side of the pot so you can monitor the temperature.

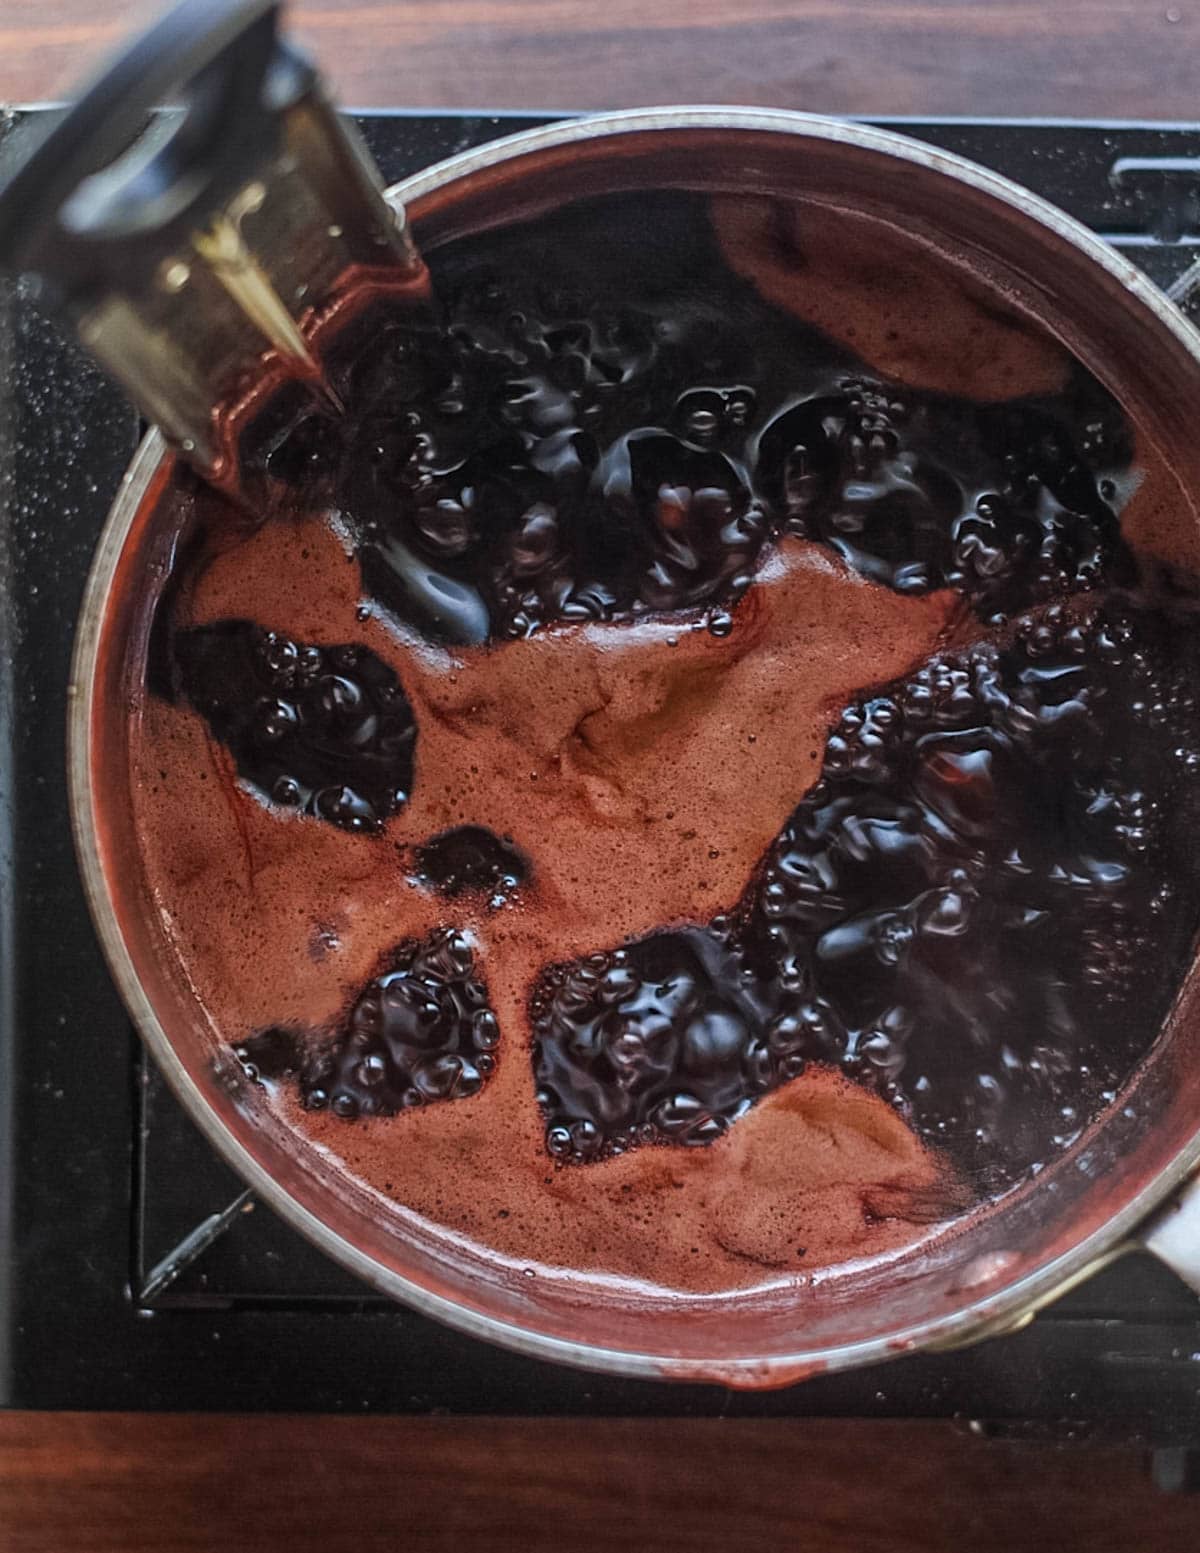
Bring the juice mixture to a rolling boil. If the pot threatens to overflow you can turn the heat down for a minute or two until it settles. Make sure to turn the heat back to a rolling boil to avoid cooking the pectin for an extended for too long, which can weaken it.
As the juice cooks, a lot of foamy scum will rise to the surface. Skim the foam off and discard as best you can but don't obsess over it. Eventually as the jelly cools it won't be noticeable. The negative part of the foam is that it will prevent you from filling jars all the way at the end as it's basically a bunch of air.
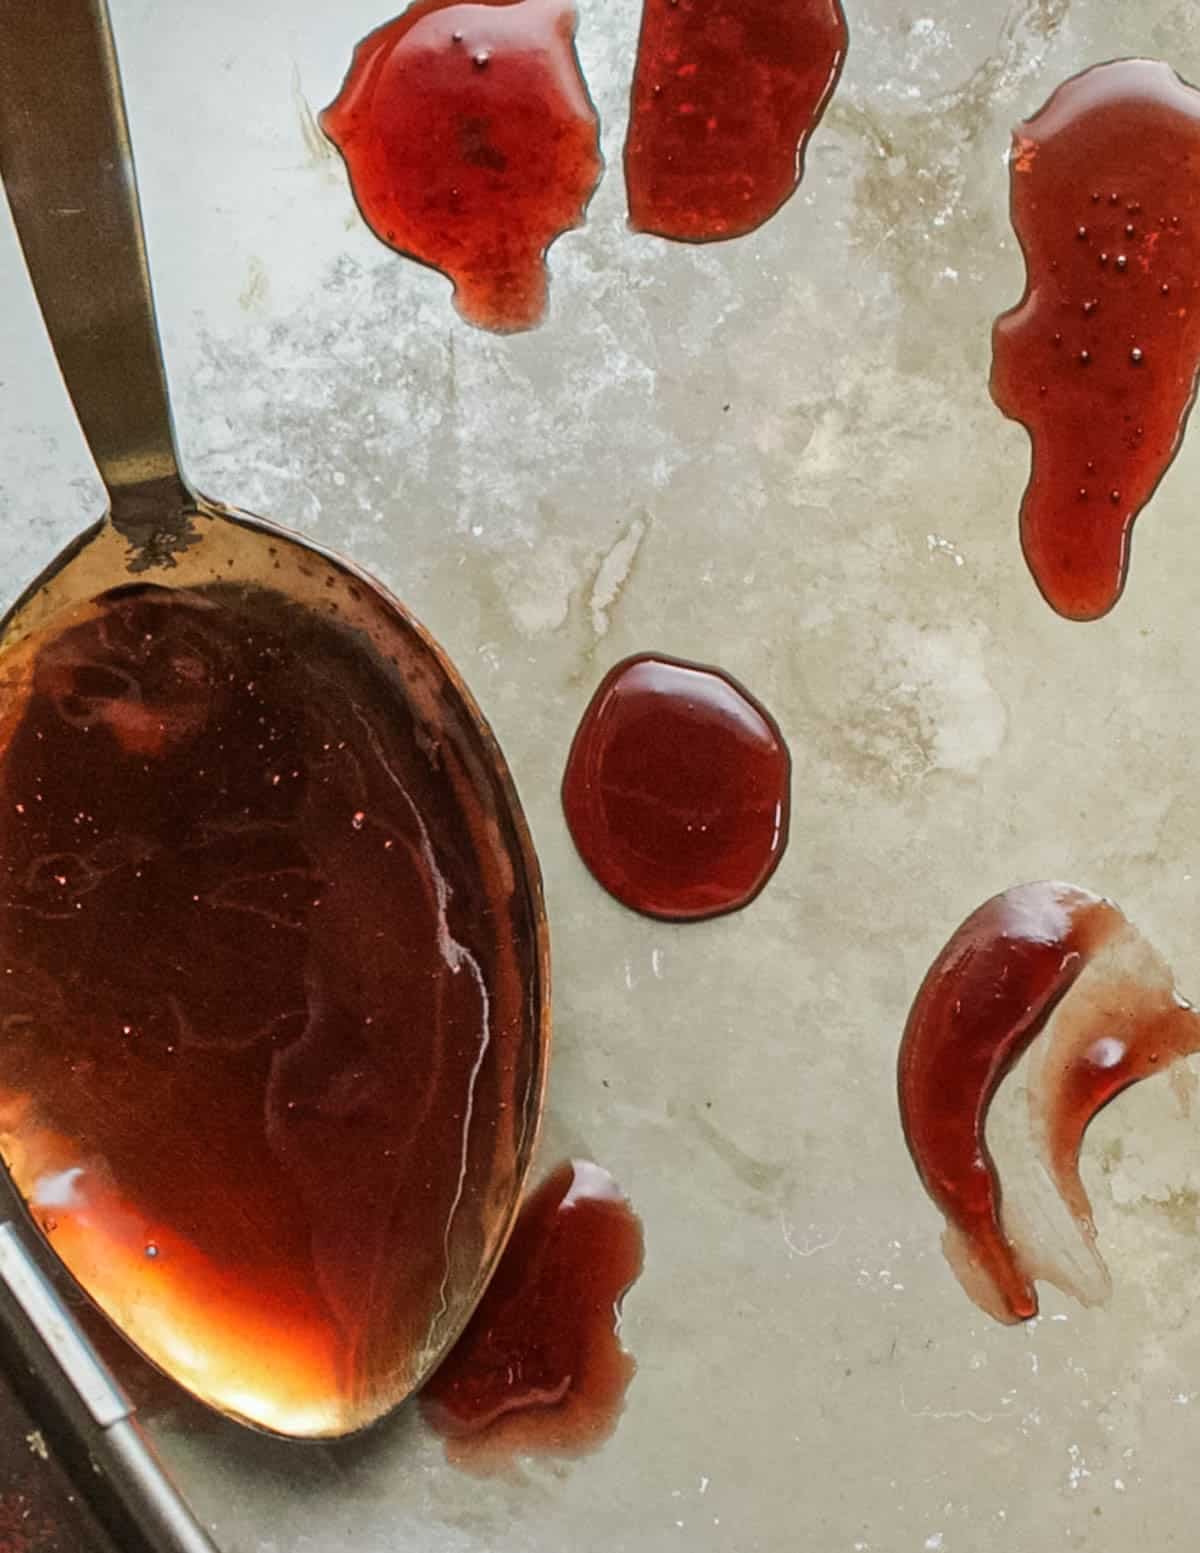
Keep an eye on the temperature, making sure the pot is on high and boiling rapidly. Once the temperature starts to hover around 220F, start doing set tests by spooning a teaspoon of the mixture onto a frozen pie tin or chilled plate. Once the edges of the liquid hold their shape the jelly's done.
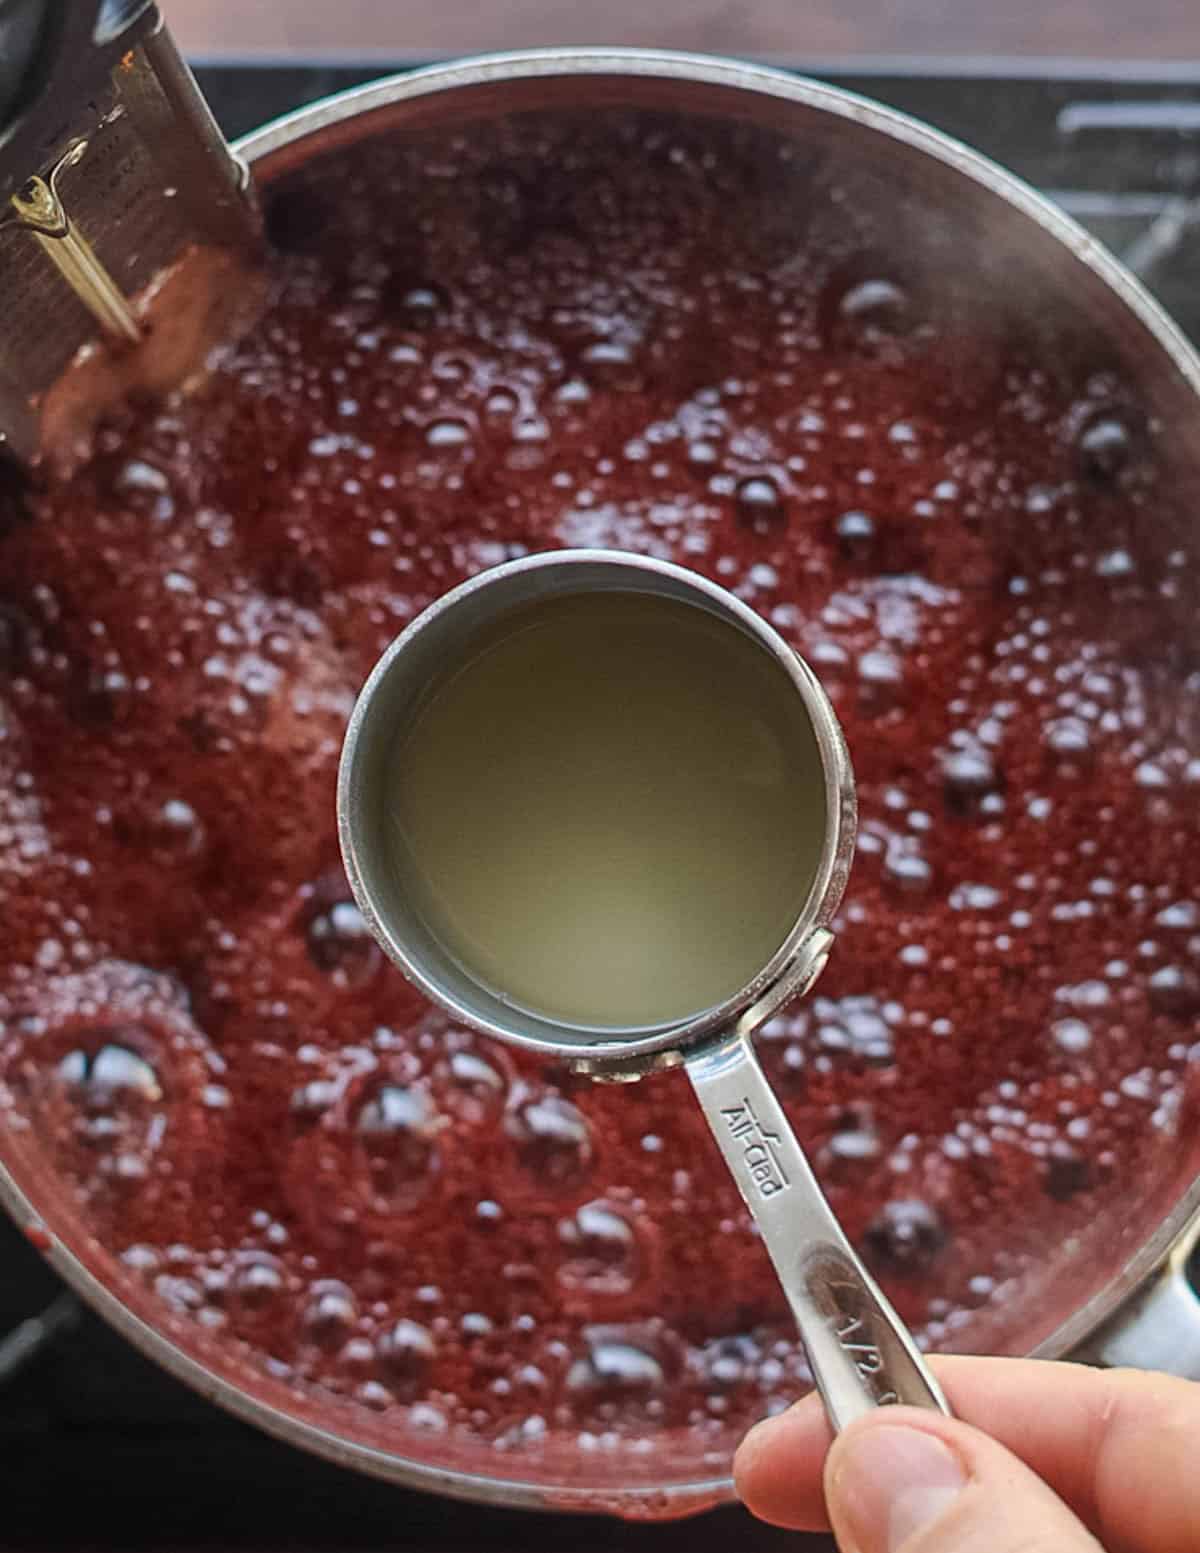
Quickly beat in the lemon juice, then divide the jelly between sterilized mason jars. I love 4 oz jelly jars for this but any size will work.
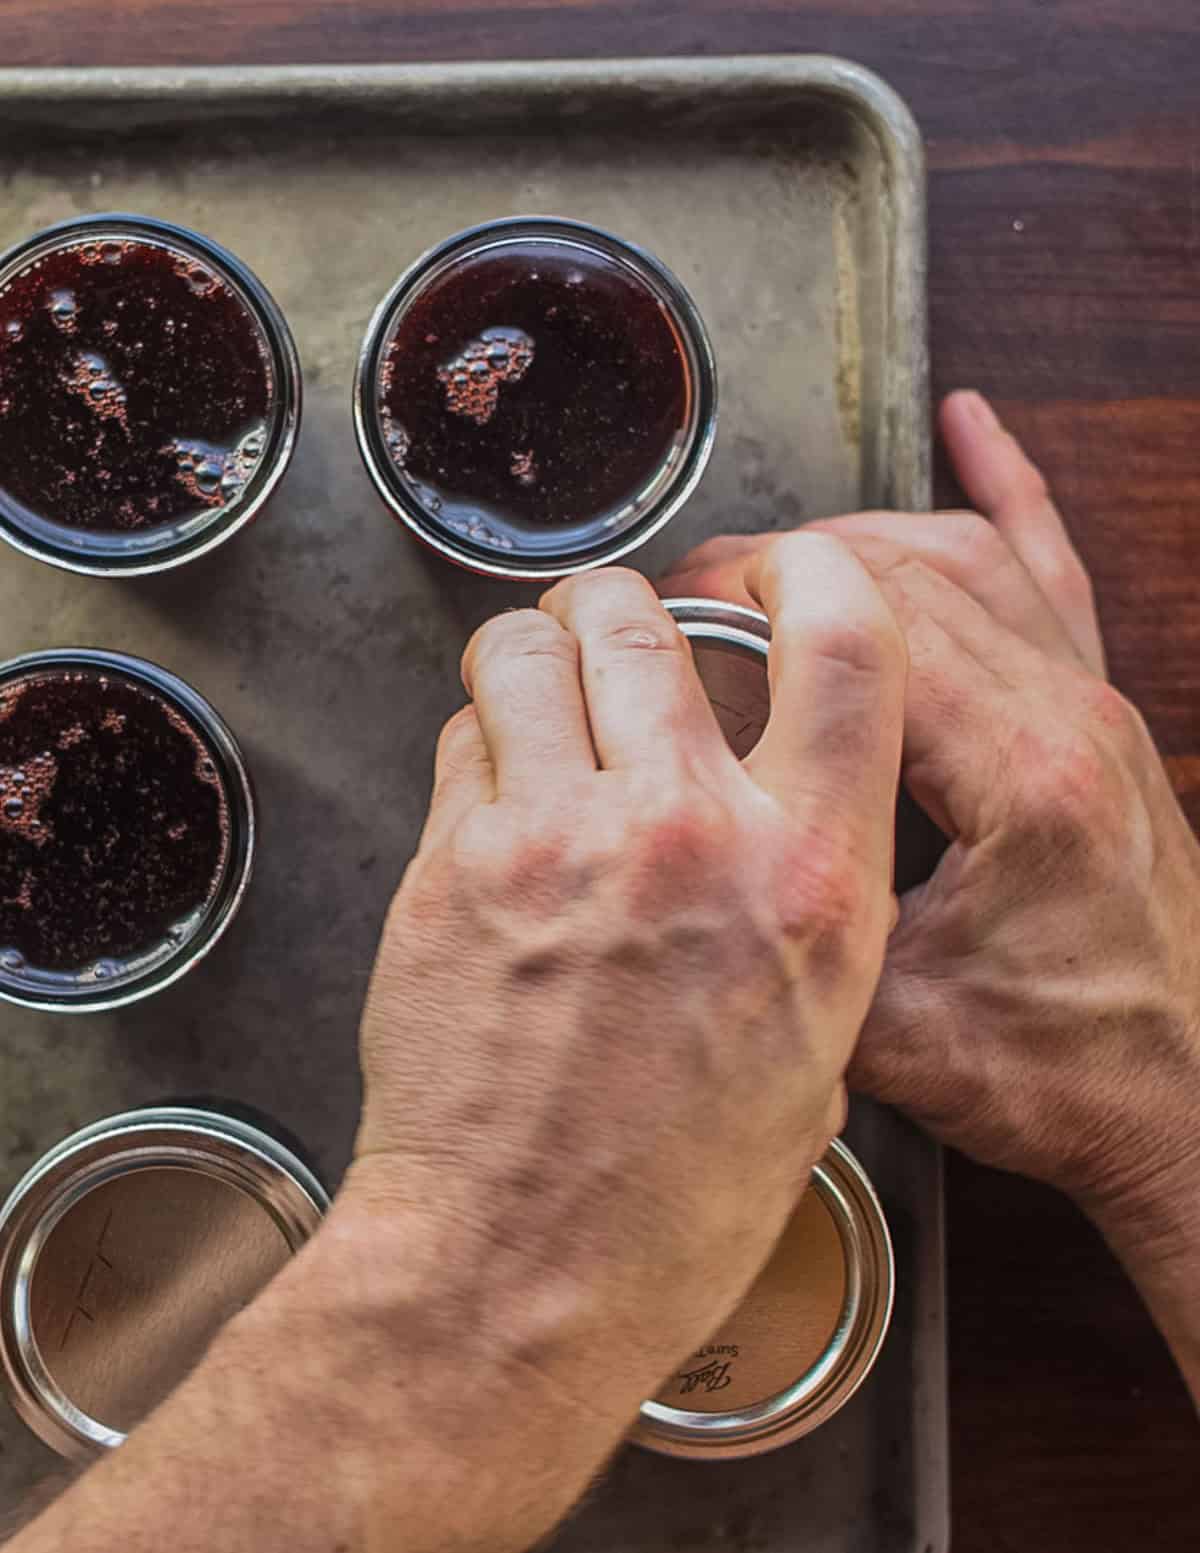
Allow the jars to cool, or process in a water bath for long term storage. Sugar is a strong preservative and jelly will last for a few years in a pantry if it's properly processed.
More Jams and Jellies
Elderberry Jelly
Equipment
- 7 Pint mason jars or other canning jars with lids
- 1 Large, heavy bottomed pot (2 gallon capacity, at least 10 inches wide.)
- Strainer or colander
- Cheesecloth
Ingredients
- 32 oz (4 cups) elderbrry juice (you’ll need about 5 lbs of fruit)
- 4 cups Granulated sugar
- 8 teaspoons powdered apple pectin, full-strength I use Ball Classic Fruit Pectin
- 2 teaspoons fresh lemon juice or ½ teaspoon citric acid
- ½ teaspoon unsalted butter for calming the foam, optional
Instructions
Harvesting
- Remove the berries from the vine in whole clusters using a scissors.
Juice the Elderberries
- Process the fruit in a food processor, then pass the juice through a strainer lined with cheesecloth. Squeeze the extra juice from the cheesecloth.
- Alternately, put the elderberries in a pot with a finger's width of water (1 cup), mash, bring to a simmer and cook for 20 minutes.
- Strain the juice while it's still warm through cheesecloth, squeezing out the excess. Save scrap for making elderberry vinegar.
Make the Jelly
- Put small metal pie plate or other thin surface over a bowl of ice for the set tests.
- Mix the pectin and sugar. Whisk the elderberry juice and sugar mixture, add the butter, bring to a rolling boil on high heat and until it starts to approach 220F. There may be a lot of foam-do your best to skim this off and discard. If the jelly threatens to overflow, your pot is too small.
Set Tests
- This is where your intuition plays a role. Once the jelly reaches 220°F, take a ½ teaspoon of it and place it in a cold metal bowl to check if it has set. If the jelly maintains its shape around the edges and no longer resembles liquid, it's ready to go. If it doesn’t, keep cooking for a little longer. The drops from the spoon should pause before falling, which is referred to as sheeting.
- I typically feel assured about the jelly setting between 223-225°F. However, if you cook the grapes with their seeds to create juice (which adds natural pectin), it can set at around 220°F. When the jelly retains its shape when dropped onto a cold plate, you can turn off the heat and mix in the lemon juice.
Storing
- Fill sterilized pint or half-pint jars with the jelly and secure the lids. Process the jars in a water bath canner for 10 minutes. Occasionally, I skip the water bath canning since they are high in acid and quite safe.
Rob
Question about safe preparation of elderberries: other sites on the Internet say to cook elderberries with a splash of water for 30-45 minutes to neutralize the toxic compounds.
This recipe references a temperature to reach rather than a cooking time. Does reaching 220 degrees effectively neutralize the toxic compounds in the fruit? Just want to make sure I understand the safety aspects correctly here. Thank you!
carly
Hi! I love your recipes very much and am looking forward to trying---did you happen to mention the amount of sugar to use?
thanks!!!
Alan Bergo
Hi Carly, yes it's in there, equal parts sugar to juice for a classic jelly, so if you have 4 cups of juice it'll be 4 cups of sugar.
Bill McDuff
I'm planning on making some elderberry jelly but I'll be mixing with crab apples so I can avoid the gelatin.
I like your blog covering foraging and using offal to make gourmet food.
Giancale or salted pork cheek would be another thing you could try if you haven't already done so.
Regards
Bill
Alan Bergo
I love guanciale! Learned to make it while I was working with a butcher from Rome. Bucatini all'Amatriciana is a favorite pasta of mine. Thanks for the kind words.
Diane
Thank you for the sherry Friday night. Our favorite foraged elderberry jelly is Ull Gibben's (sp?) elderberry and sumac jelly. Thanks for the tips on gelatin. The Salt Cellar is great!
Alan Bergo
Nice to see you too again, Diane. Thank you.
sue|theviewfromgreatisland
This sounds like a nice alternative to cranberry sauce for the holidays!