After you're done making elderberry jelly or syrup, you'll want to save the fruit seeds, skins and scrap to make a simple homemade elderberry vinegar. There's a few recipes for infused and fermented vinegars on this site, but elderberries need a little more attention as they have some important things to know. Read on and I'll explain the basics.
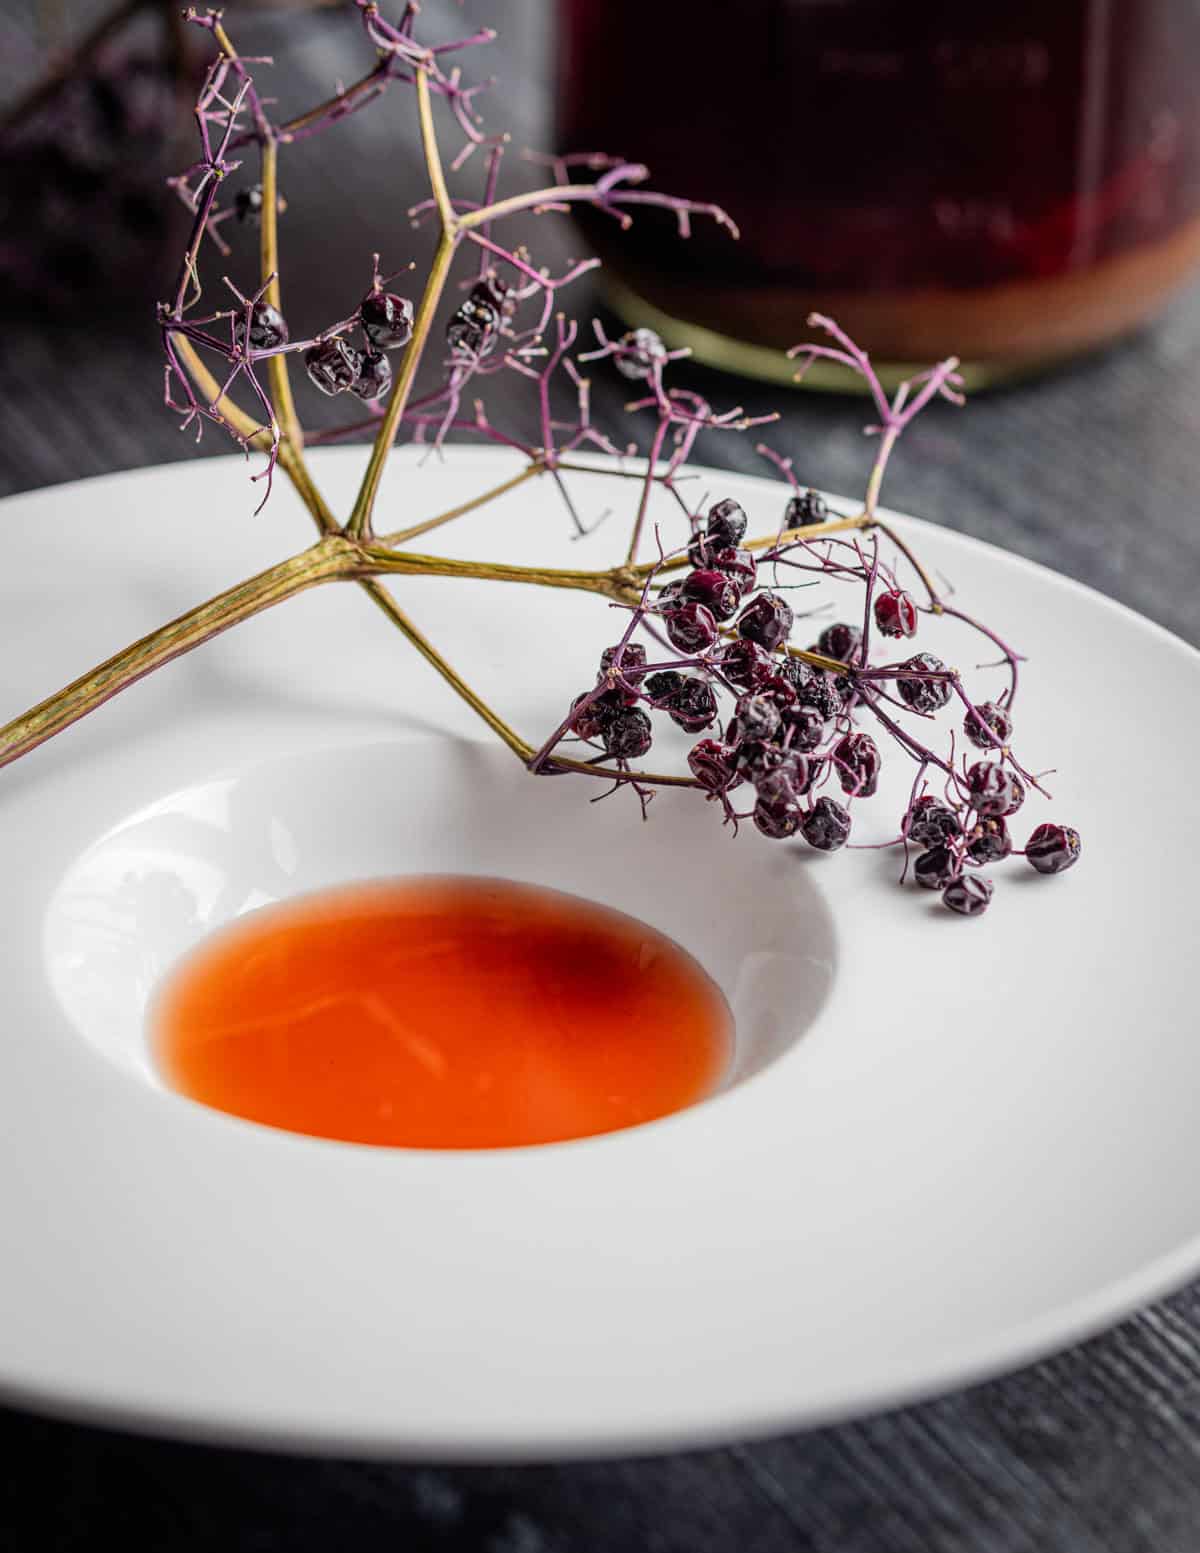
Probably the most important thing to know here is that elderberries are poisonous raw. Taking that into account, there's two ways you can make the vinegar. You can cook the fruit to extract the juice for making jelly, or you can heat the finished vinegar if you use raw scraps as shown here. This is also described in the video for reference. Other than that, the process is the same for my homemade fruit scrap vinegar.
How to Make it
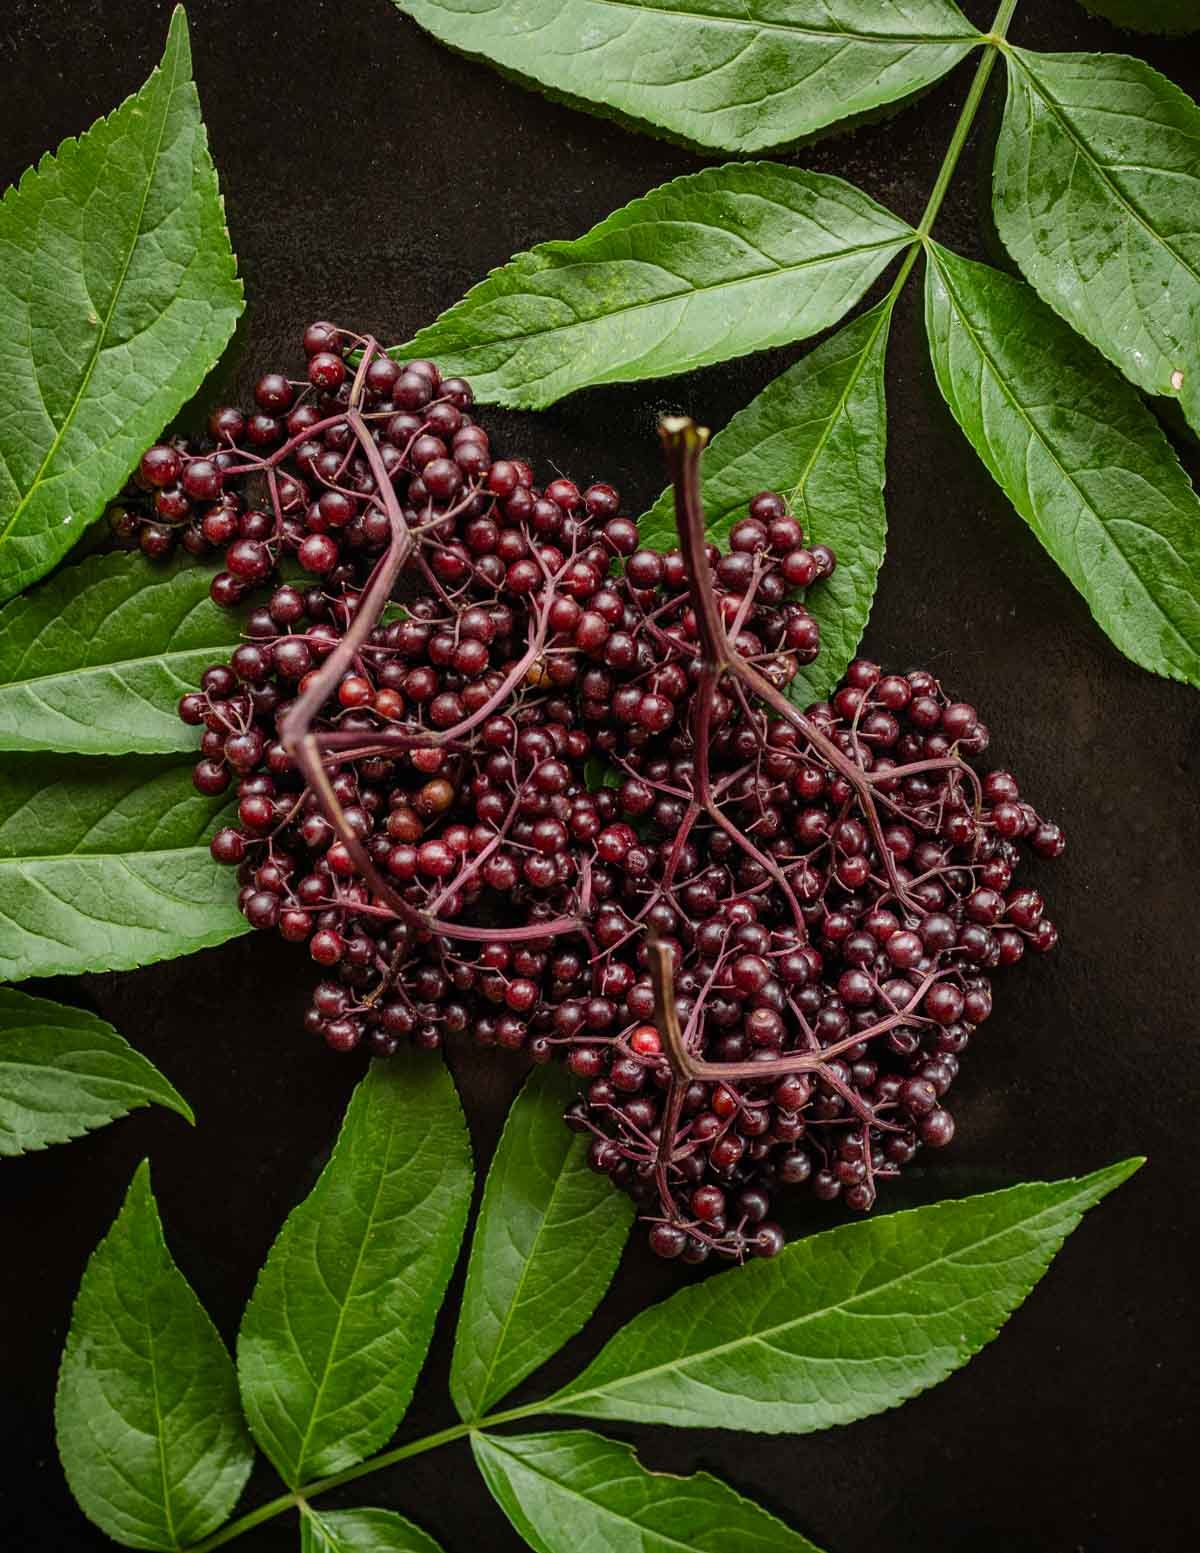
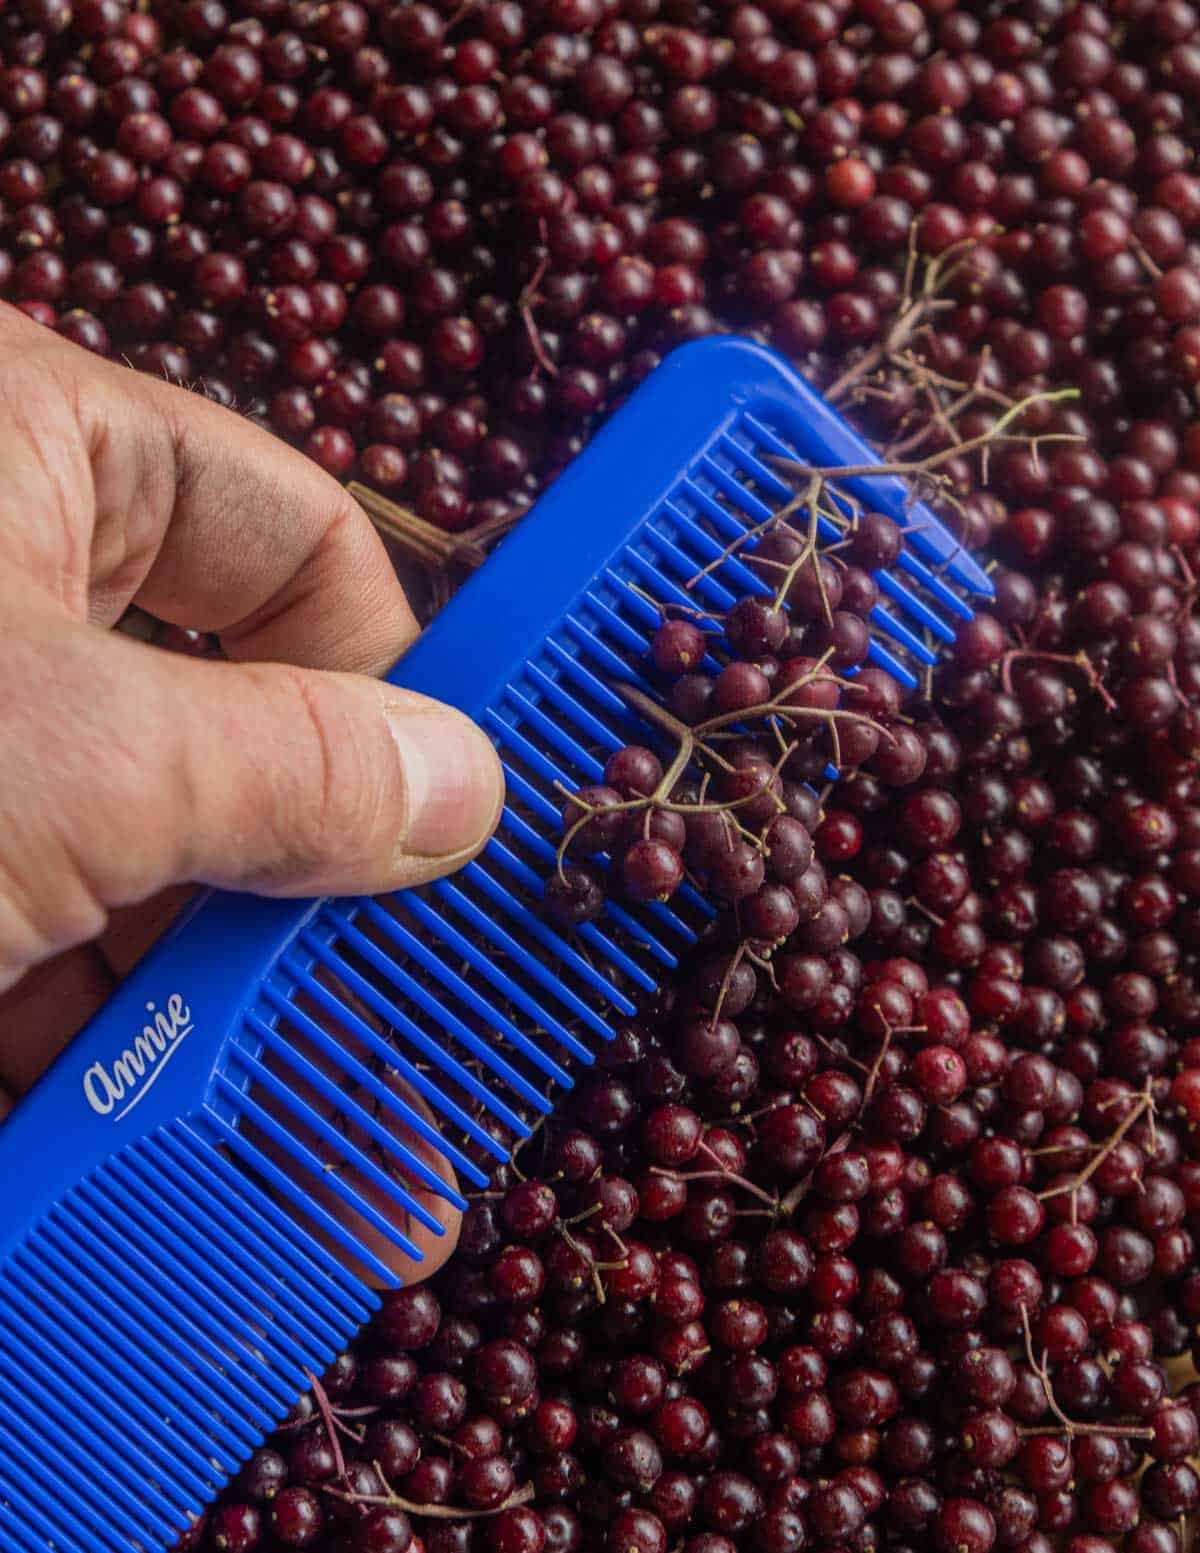
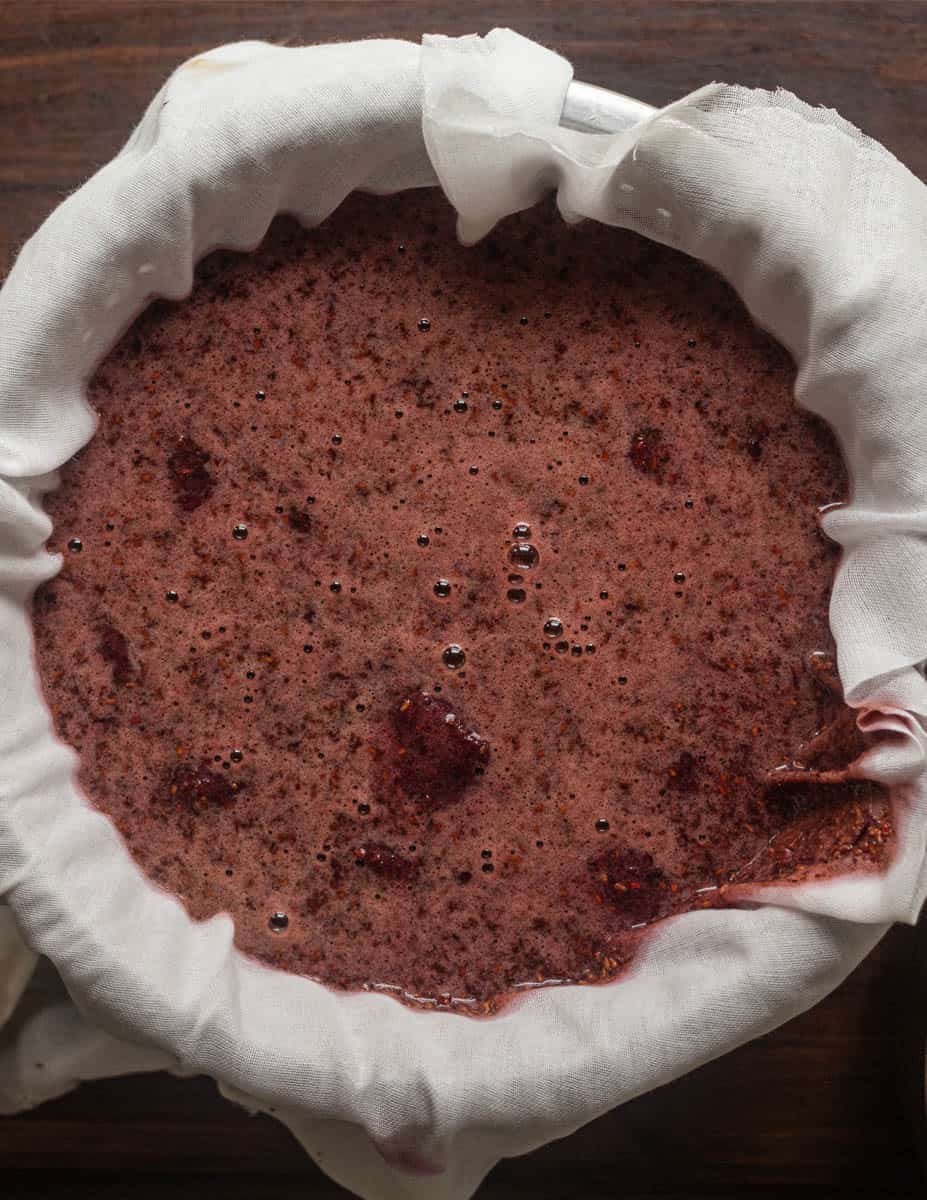
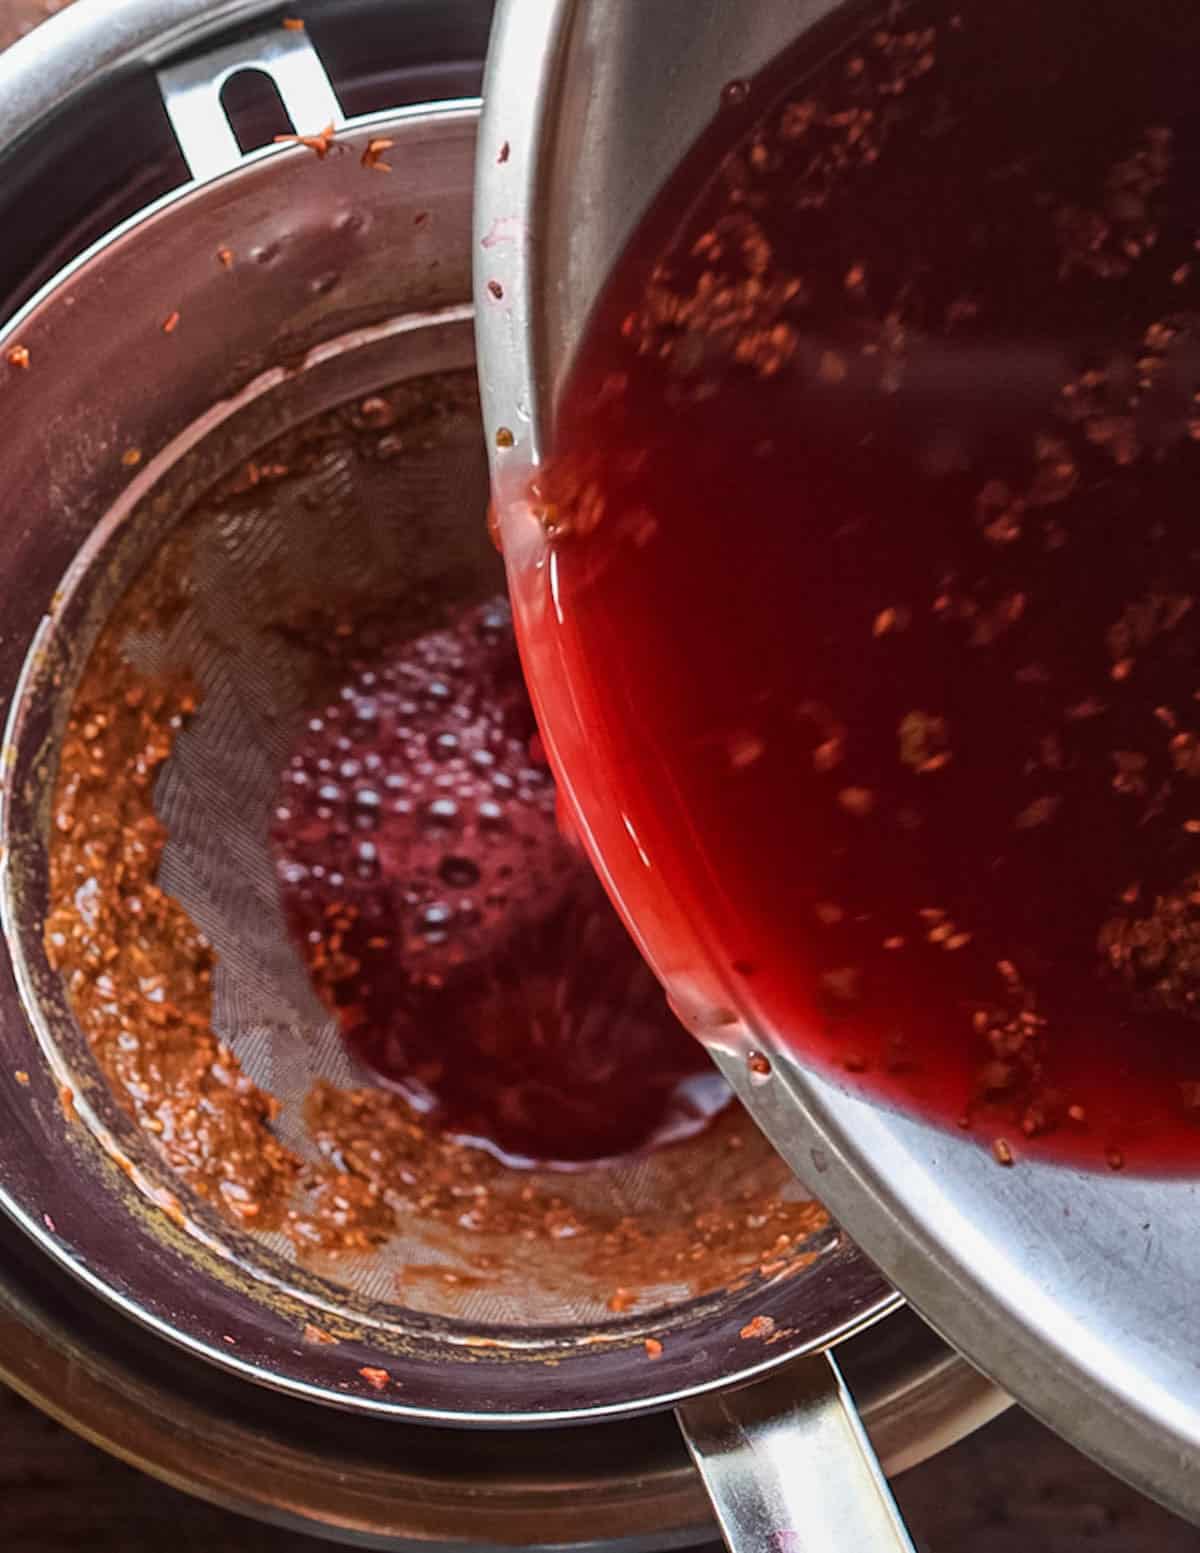
The first steps are the same as making jam or jelly. Remove the elderberries from the stem using a comb or your fingers. Puree the fruit in a food processor, then strain through cheesecloth. You can also cook the fruit with a small amount of water which will mean you don't need to heat the vinegar after it's made.
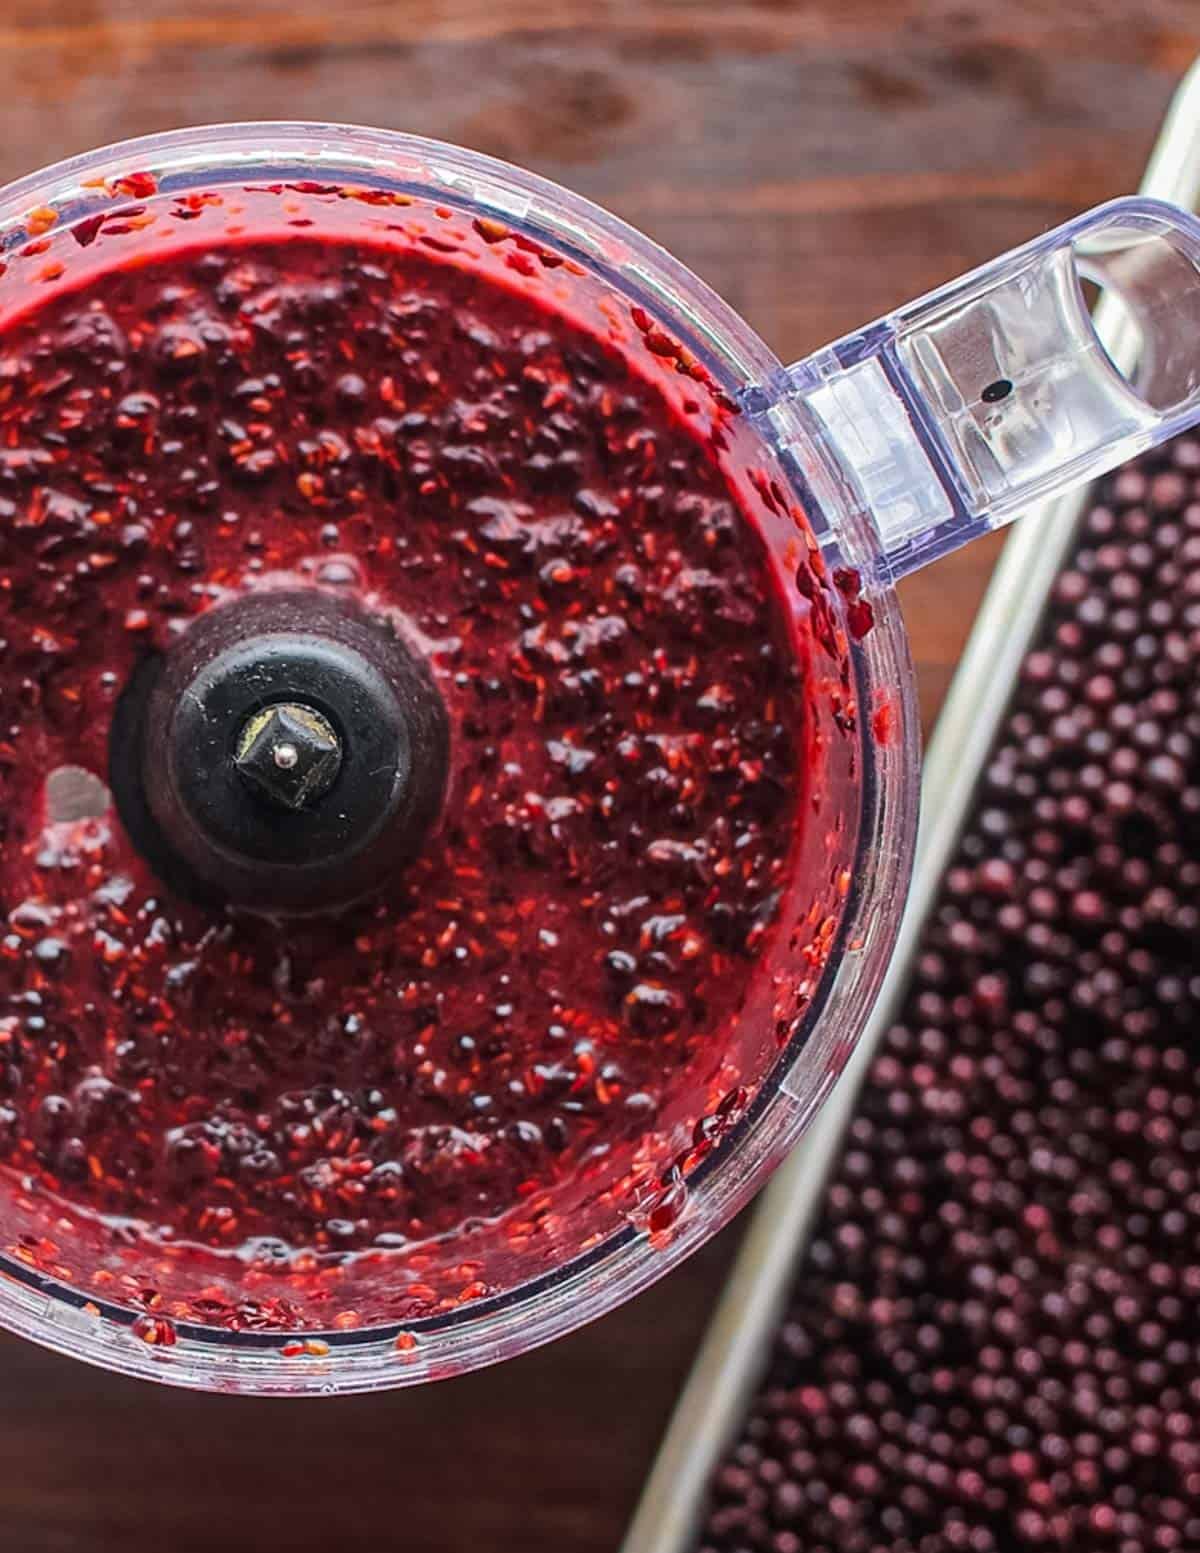
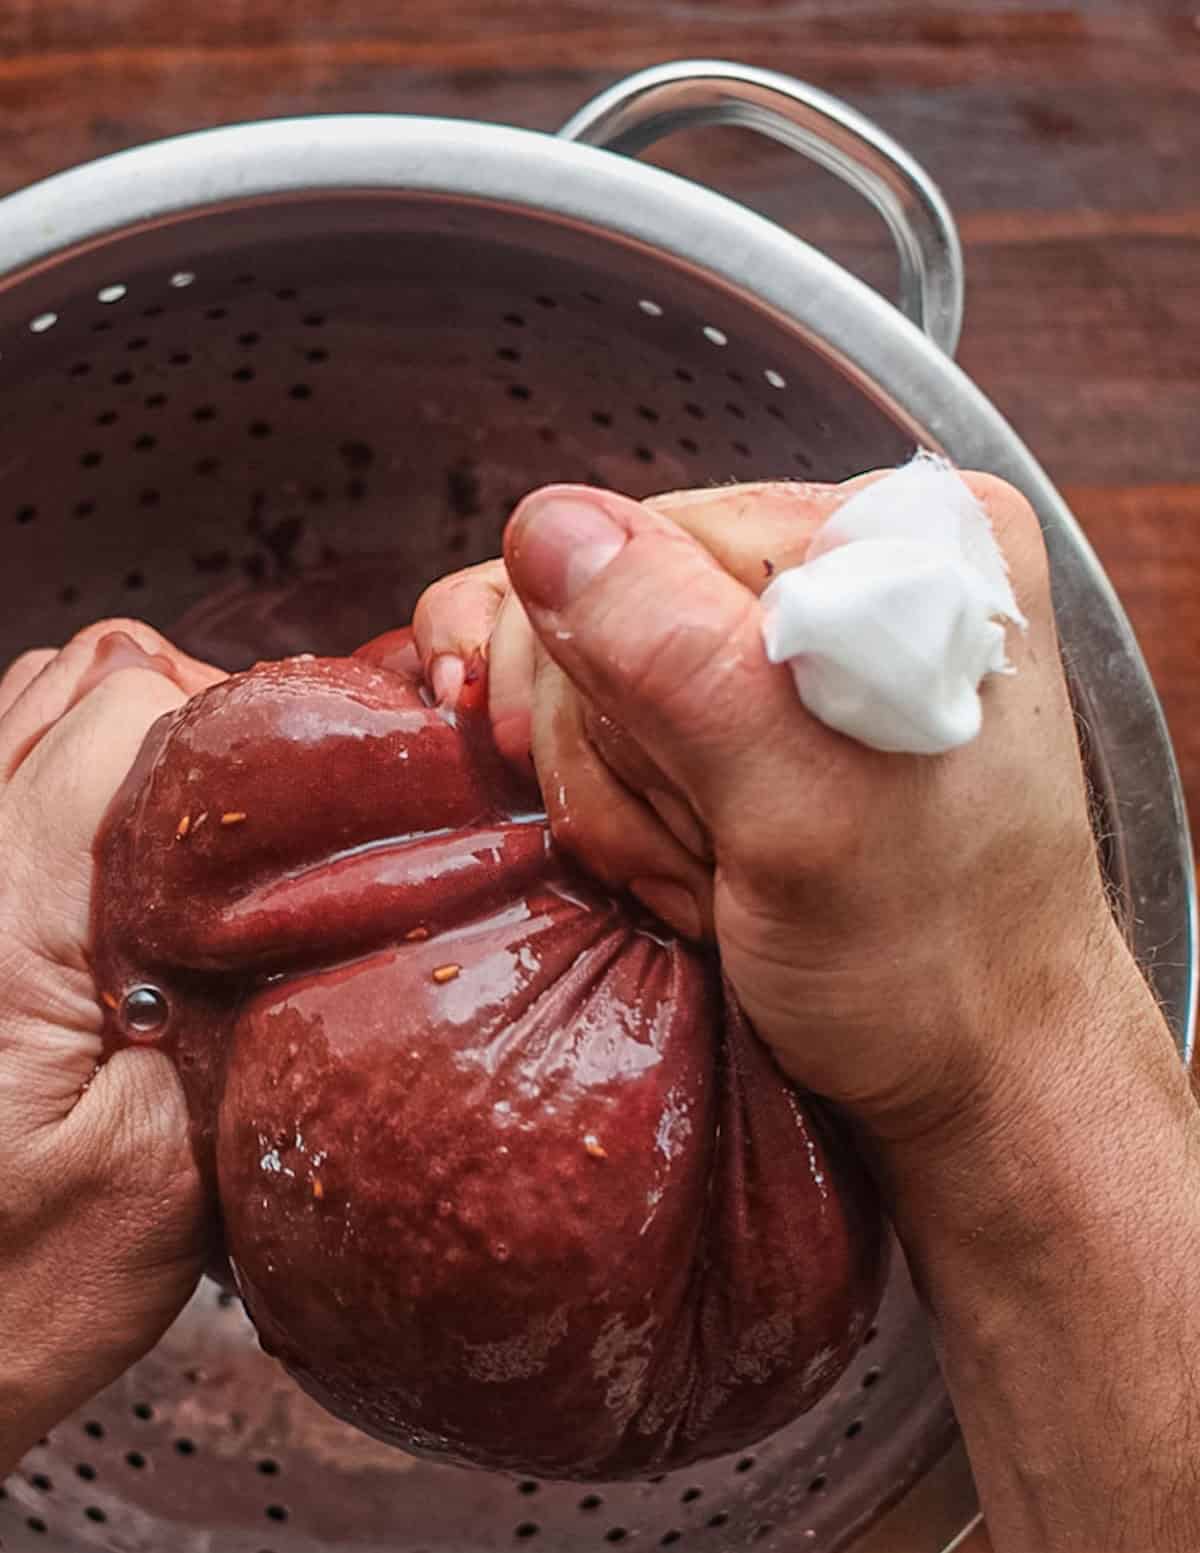
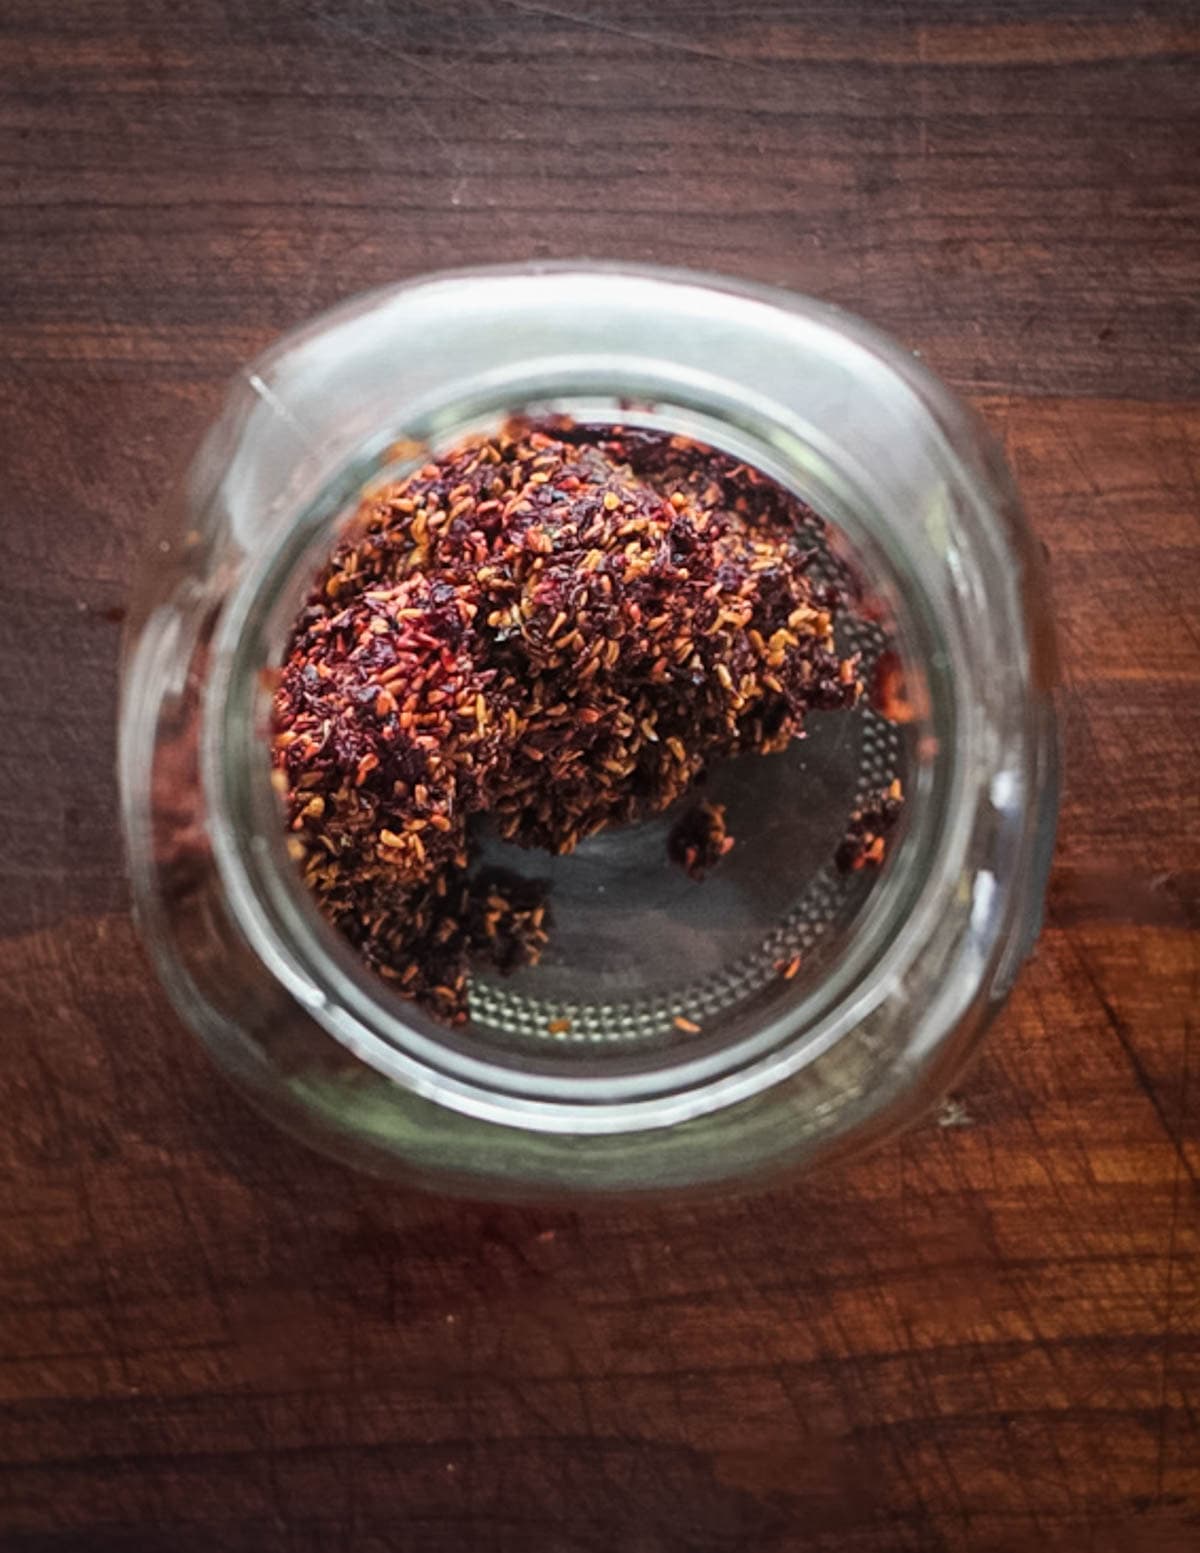
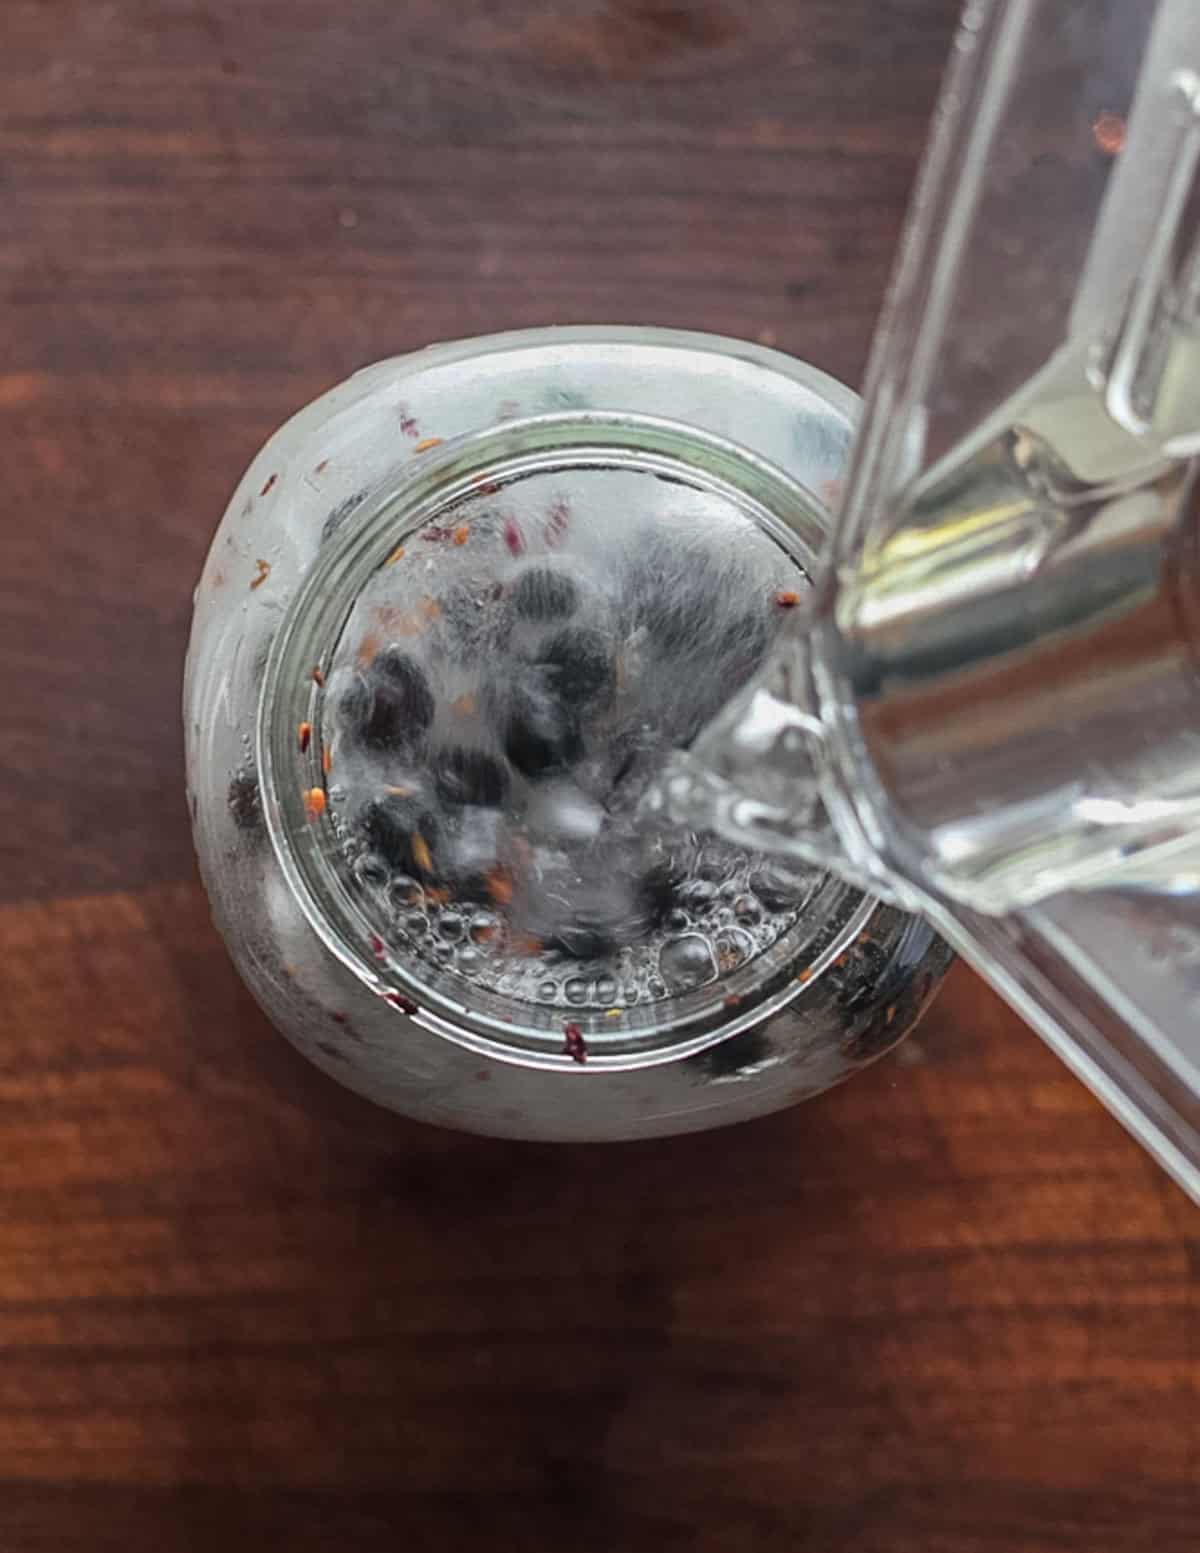
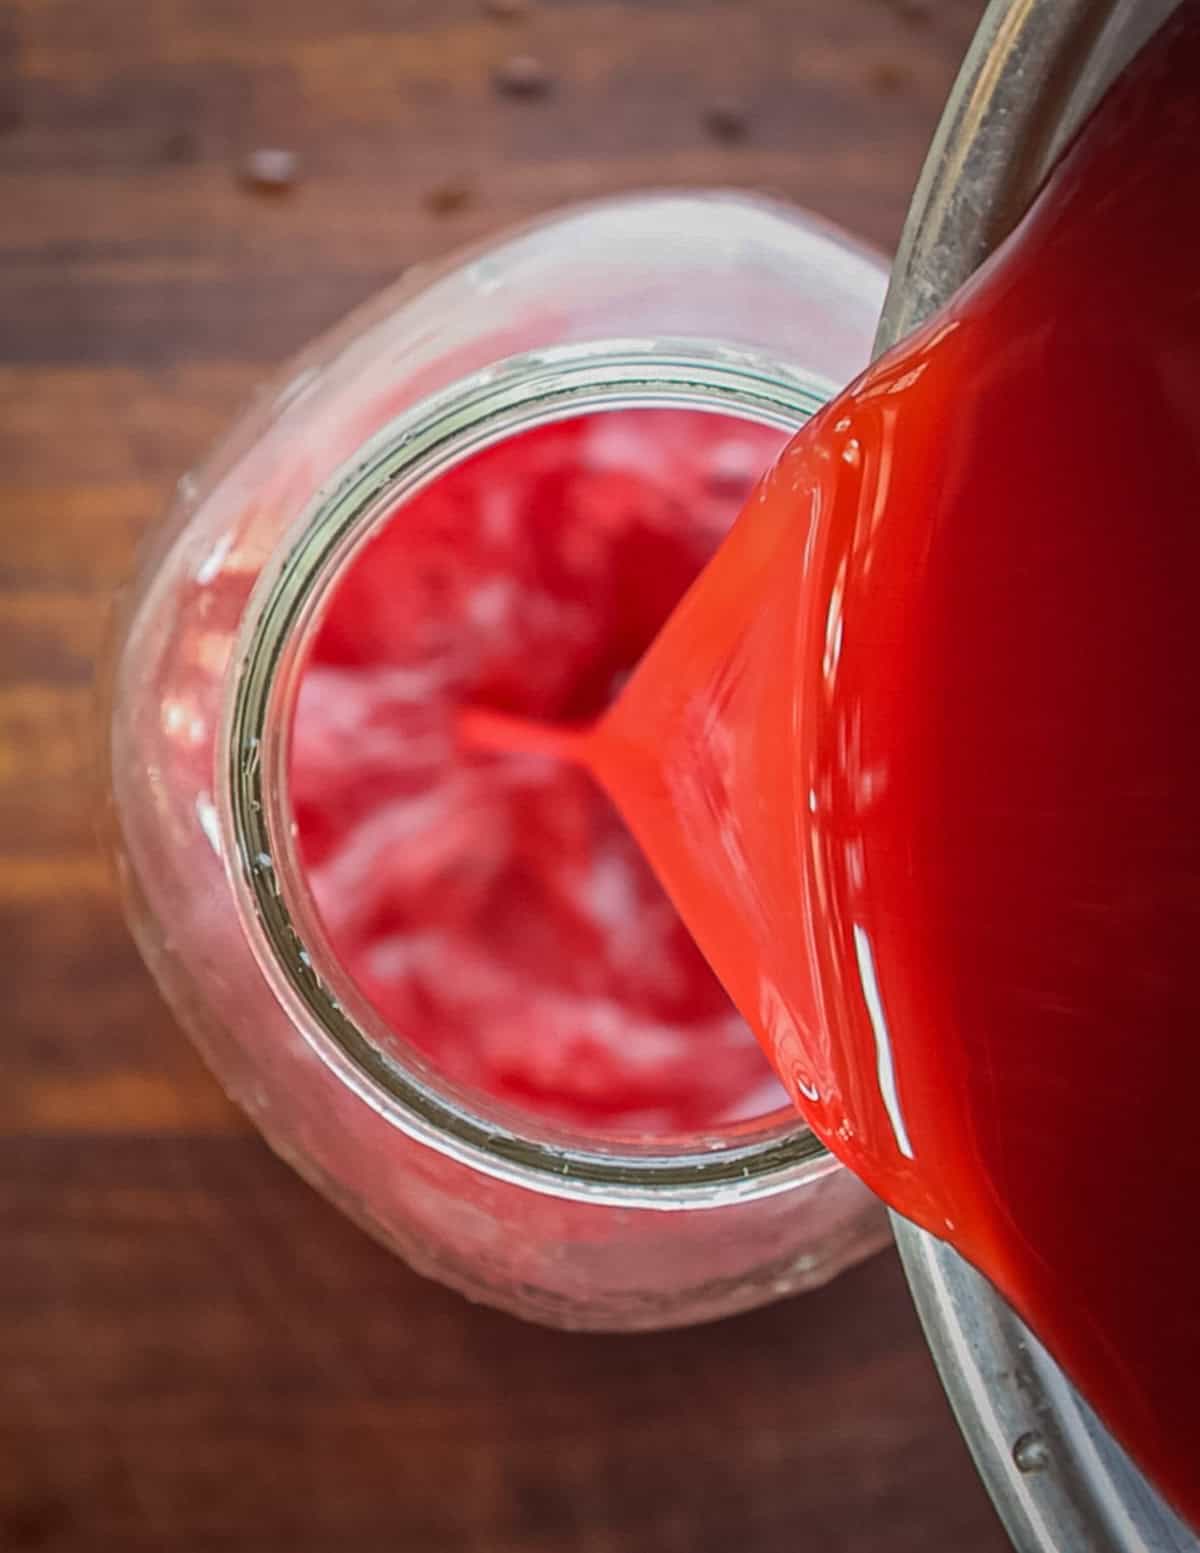
Next, squeeze the juice from the cheesecloth and save it for another purpose like elderberry jelly or syrup. Take all of the skins, seeds and scraps and put them in a jar.
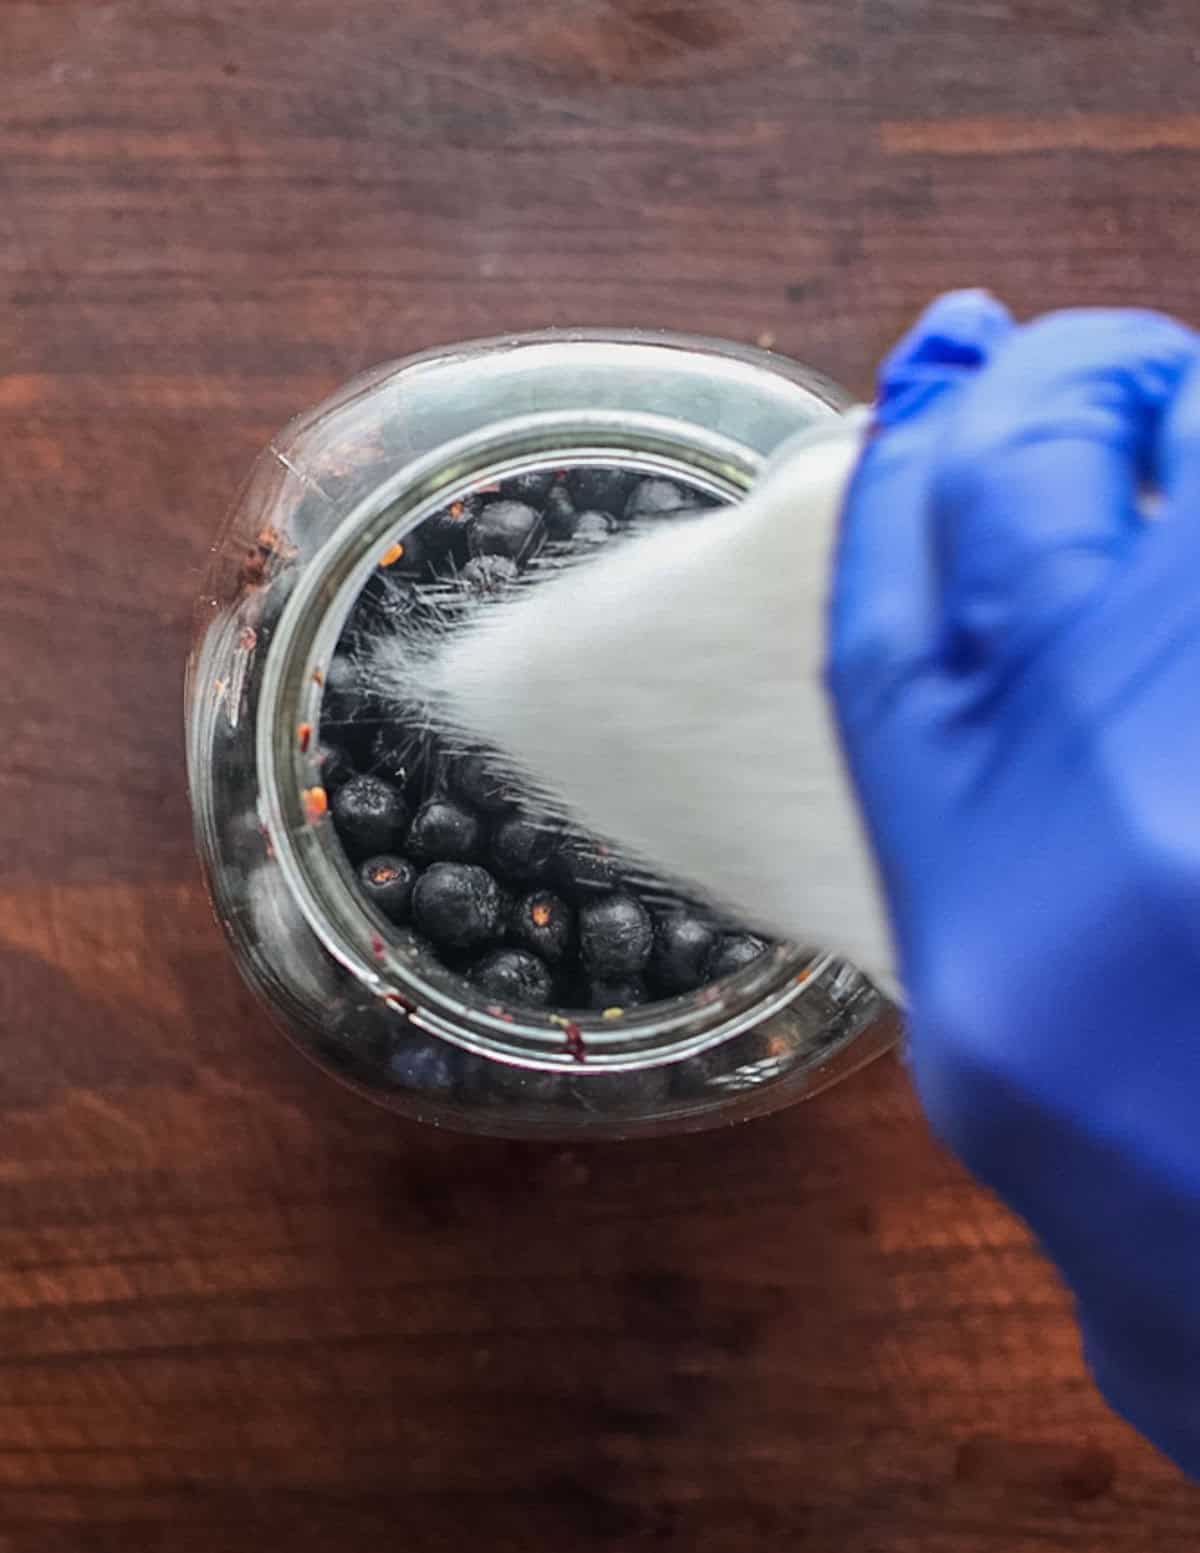
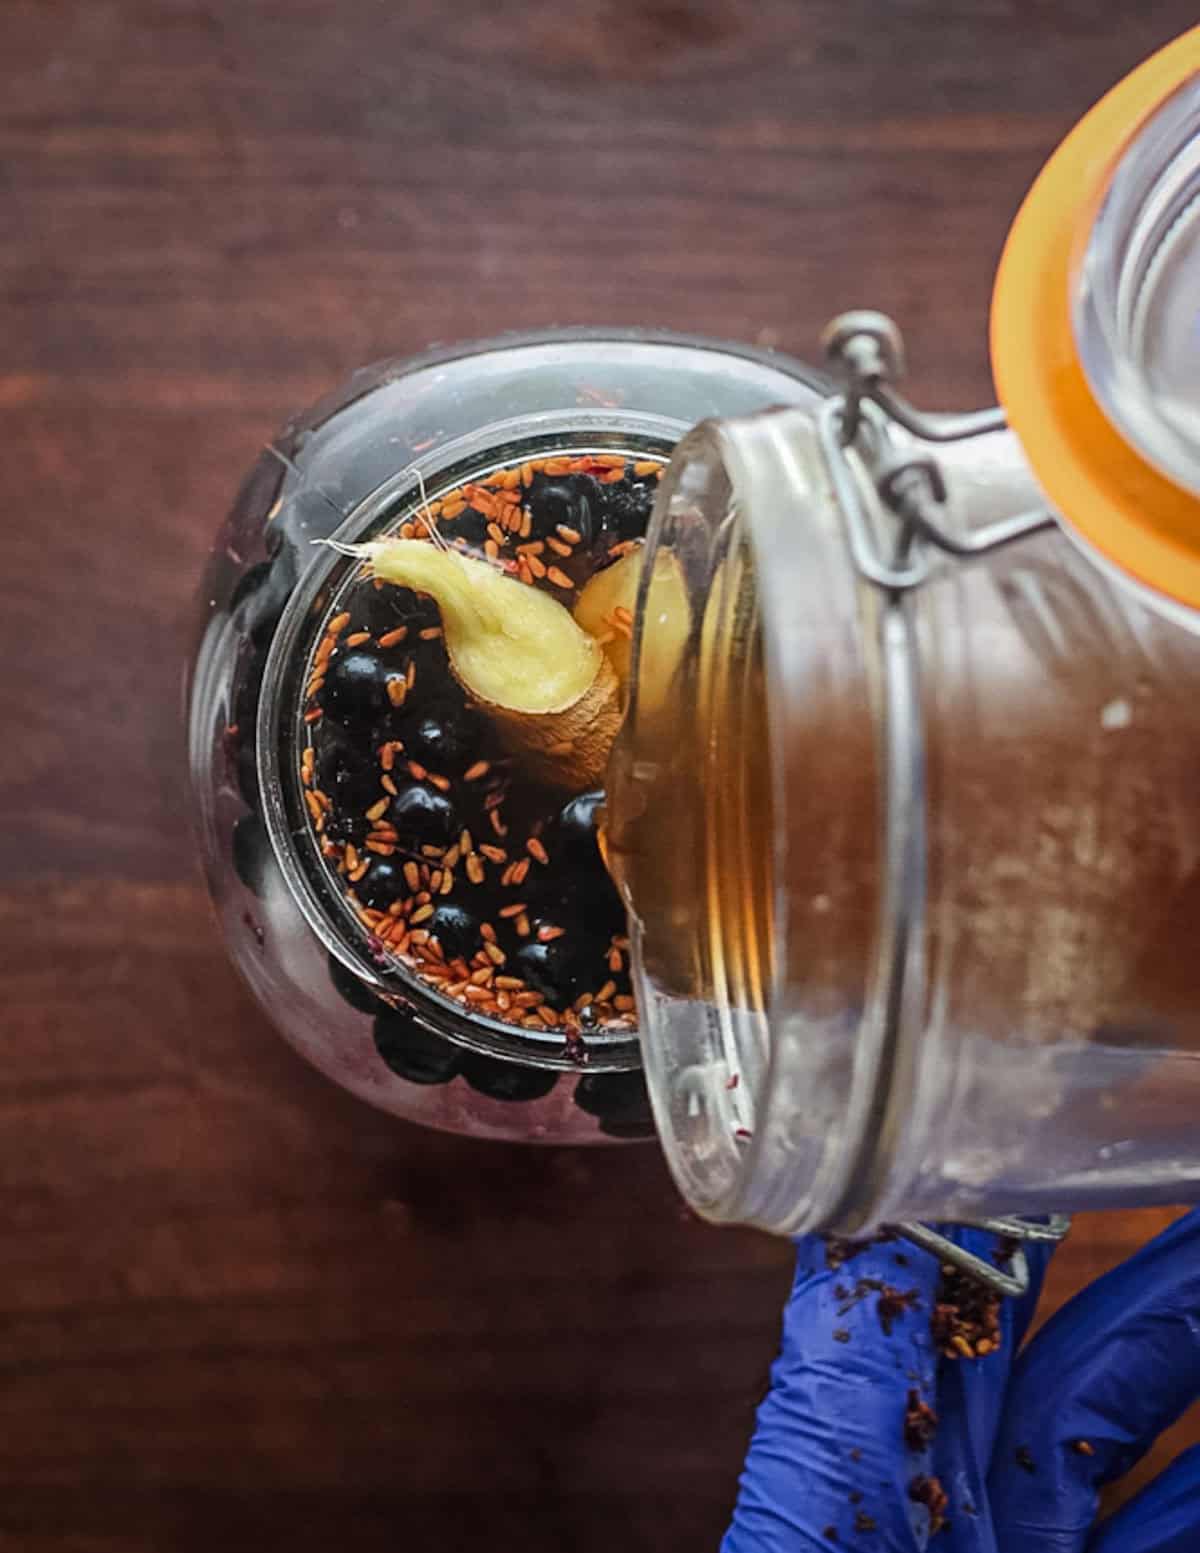
Next you'll add some juicy, red fruit to enhance the color. I've used aronia berries / black chokeberries here, but blueberries or blackberries will work fine too. After the fruit, add sugar and water, along with a piece of ginger or a splash of living vinegar from a previous batch to help jump-start the fermentation.
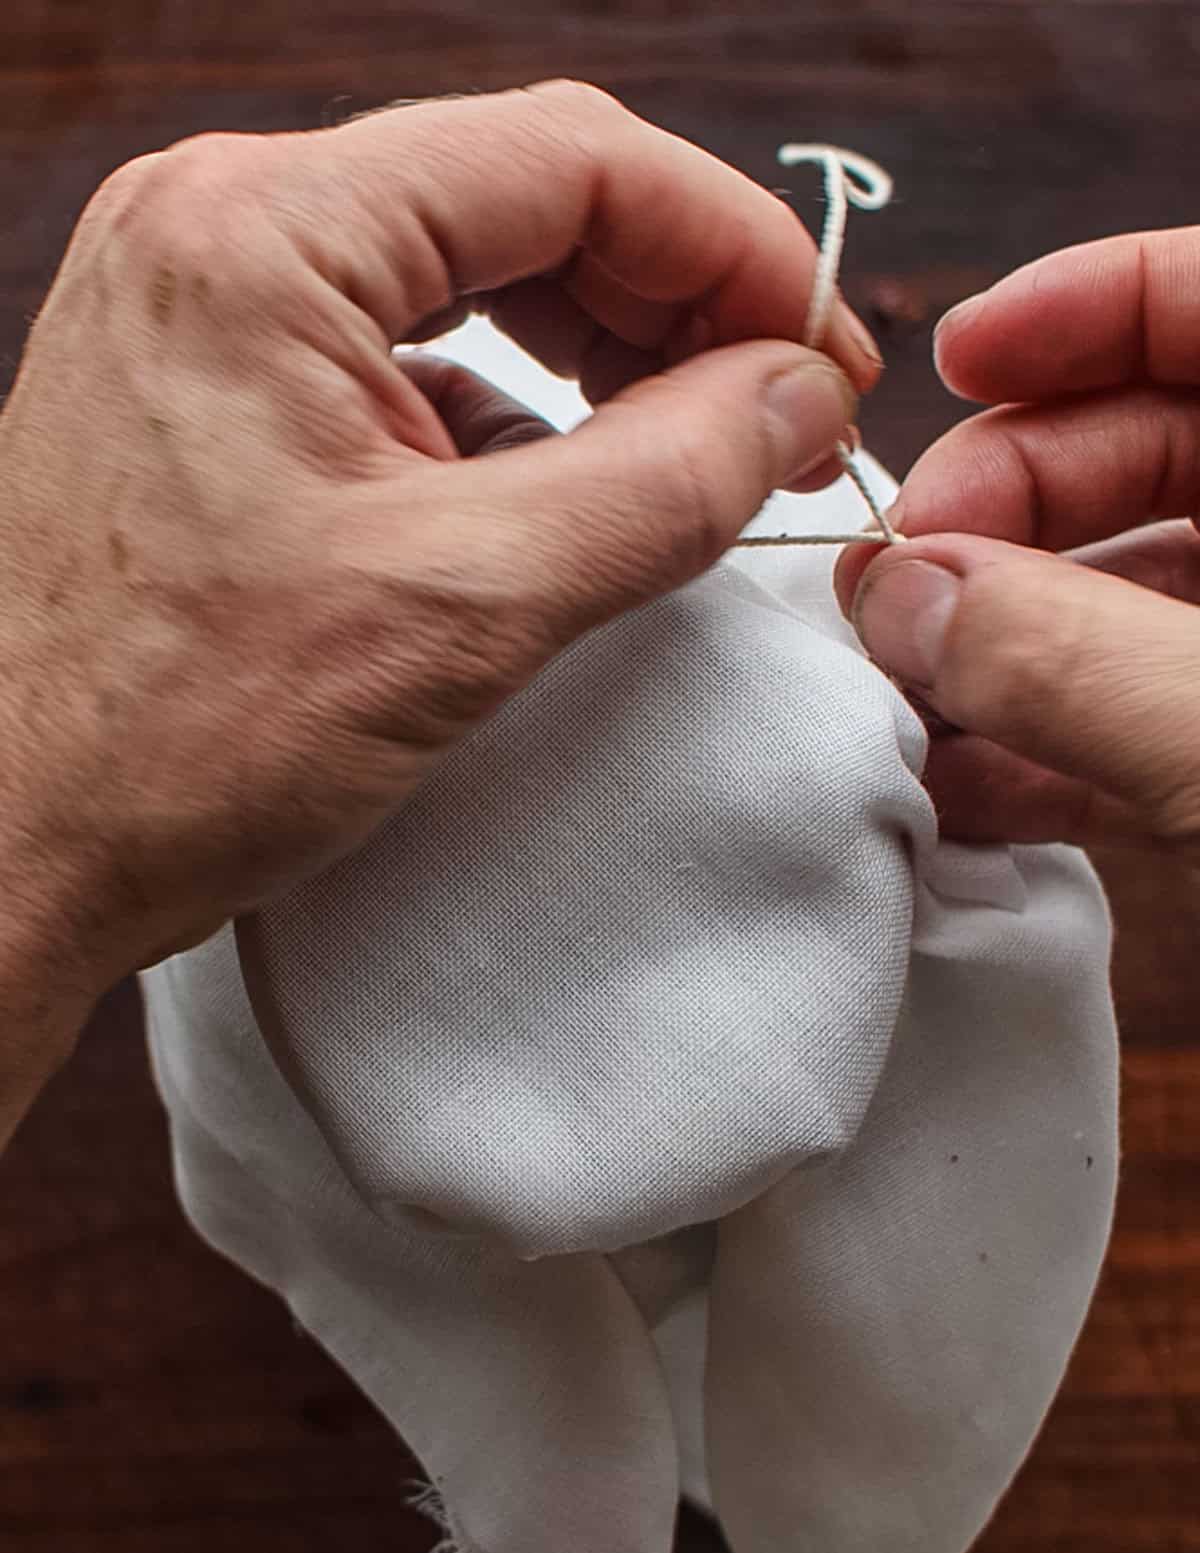
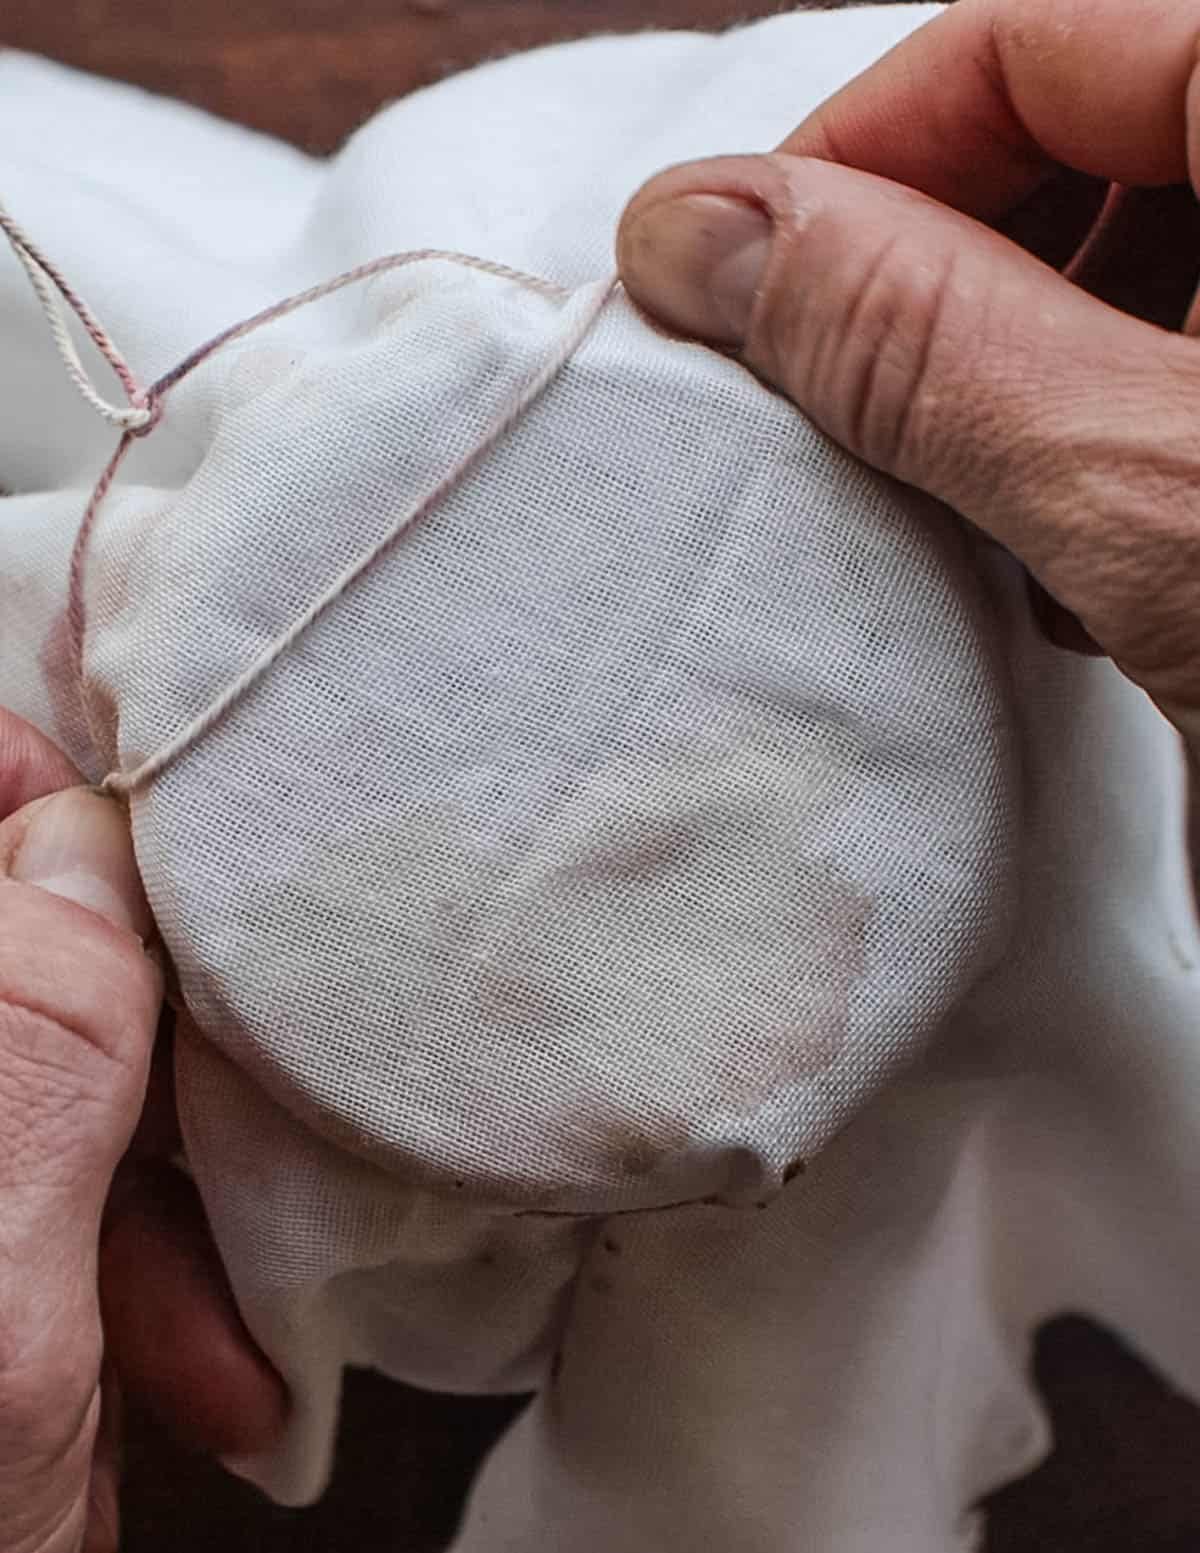
Next, the top of the jar is covered with cheesecloth and secured with twine or a rubber band. This step is very important as the vinegar needs air to respire and breathe as it ferments. After it's done it can be stored in a sealed jar.
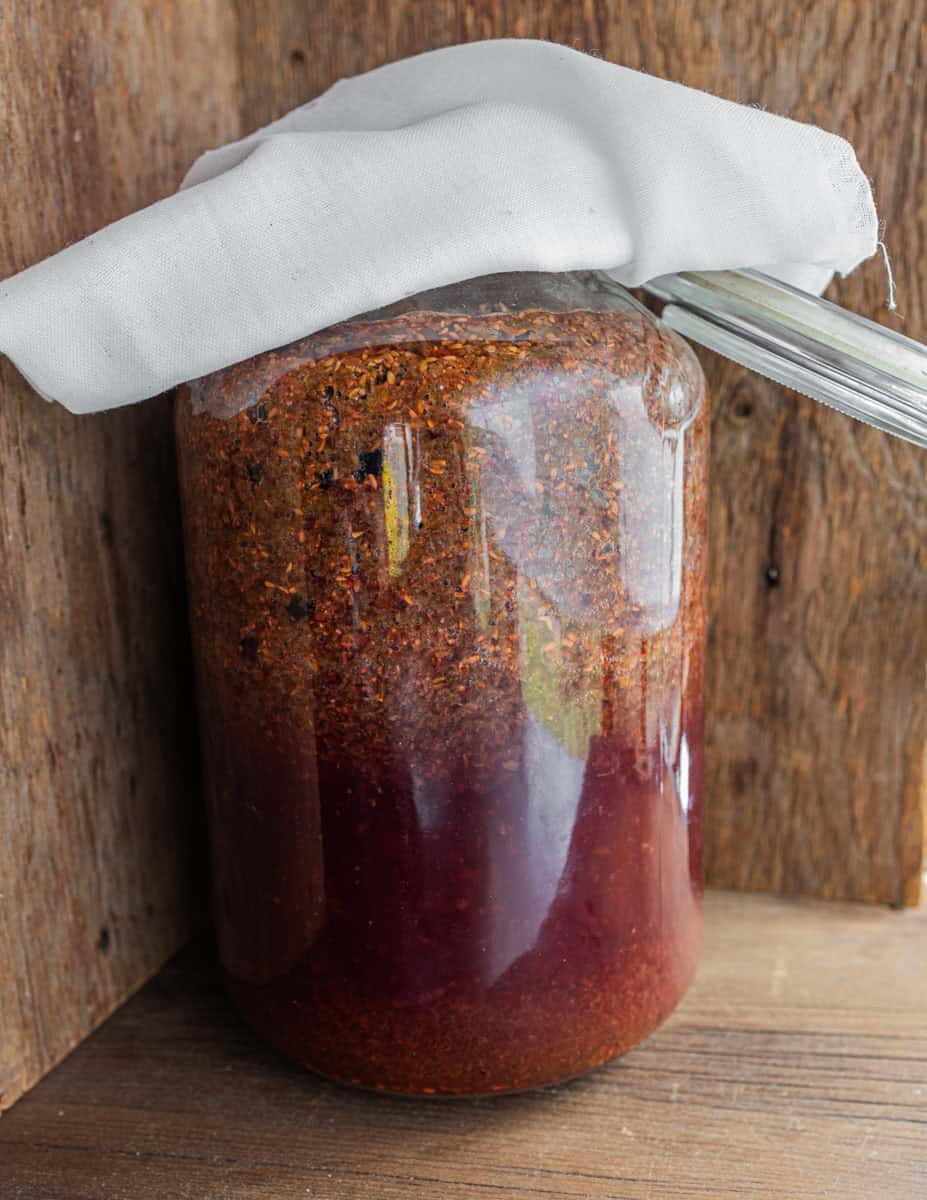
Allow the fruit to ferment for two weeks, then strain. After straining, put the vinegar into a slightly smaller jar (or the same one if you have to) and replace the cheesecloth. Let the vinegar continue to sit at room temperature until it's very sour, another 3-4 weeks or so.
How to use it
There's tons of things you can do with the finished vinegar. Here's a few of my favorites:
- Use the vinegar to deglaze the pan a piece of meat was cooked in for a quick pan sauce.
- Use the vinegar to add balance to sweet things like jams and preserves as I do with my mulberry jam recipe.
- Sweeten the vinegar lightly with sugar or maple syrup for seasoning salads and vinaigrettes.
- Combined with sugar it can make a nice, tart syrup for using in drinks.
- If you cook the vinegar, it can be used to make a shrub drink, as I do with milkweed.
- Use the vinegar in places where red color is welcome: spooned into sweet and sour red cabbage and cooked down with a bit of sugar or elderberry jelly, or used to deglaze a pan of roasted beets.
- Of course you can also use the vinegar to make pickles, beets and red ingredients being the best options.
Related Posts
Homemade Elderberry Vinegar
Equipment
- 1 1 gallon mason jar
- Cheesecloth
- Strainer
Ingredients
- 1 cup granulated sugar
- 28 oz elderberry scrap skins, seeds, etc
- 4 oz bright colored berries, like blueberries or aronia for color
- 1 thin slice fresh ginger to speed fermentation, optional
- 2 Tablespoons living vinegar such as apple cider, or vinegar from a previous batch to speed fermentation, optional but recommended
- 2 qts water
Sweetening
- 1 cups sugar, honey or maple syrup or to taste
Instructions
Fermentation
- Mix all ingredients, stir well to dissolve the sugar and put into a container, such as a gallon mason jar.
- Cover the lid with cheesecloth to ensure the vinegar can respire and get air, which is necessary for fermentation. Leave the jar at room temperature.
- Strain the jar after two weeks, then put the strained juice into a smaller jar (½ gallon size) replace the cheesecloth, and continue fermenting at room temperature.
- Don't worry if you forget to strain the jar after two weeks-it won't harm the vinegar at all.
- After another 3-4 weeks the vinegar should be very tart and sour. At this point it's likely reached maximum tartness and doesn't need to have the cheesecloth anymore. Put a non-reactive lid on the jar and store in a pantry, using as needed.
Heating the Finished Vinegar
- If you made the vinegar with raw fruit, pour it into a pot, bring to a simmer and cook for five minutes, then allow to cool naturally.
Sweetening the Vinegar
- I really like sweetening fruit vinegars to use for pan sauces and salad dressings. Start with about ½ cup of sugar or maple syrup per quart of vinegar. Sometimes I may also add a splash of brandy.
Leave a Reply