
Fruit leather's always been in my repertoire but I thought of it as a bit of a novelty. After making a big batch for a recent event I had a paradigm shift. A few weeks and 100 pounds of fruit later, I see it as one of the more efficient ways to preserve fruit without excess sugar, with creative options and flavors limited only by your imagination. Buckle up: today we'll go down the rabbit hole of how to make fruit leather at home.
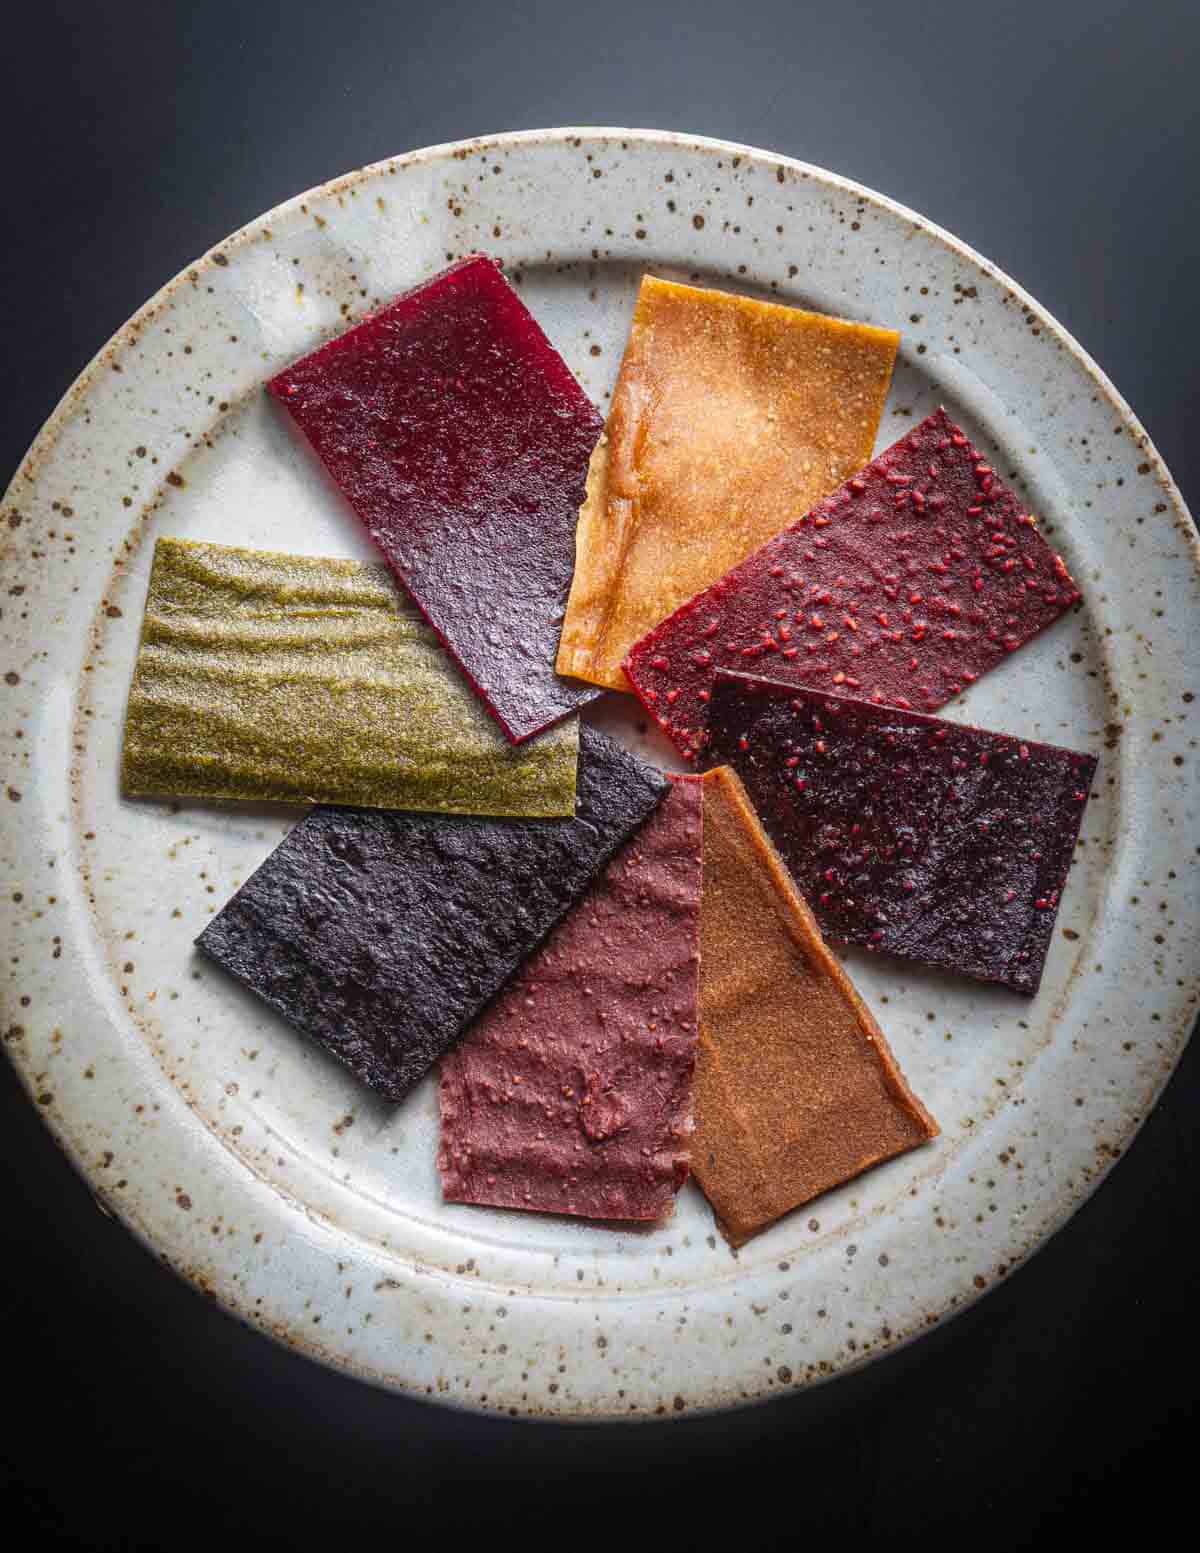
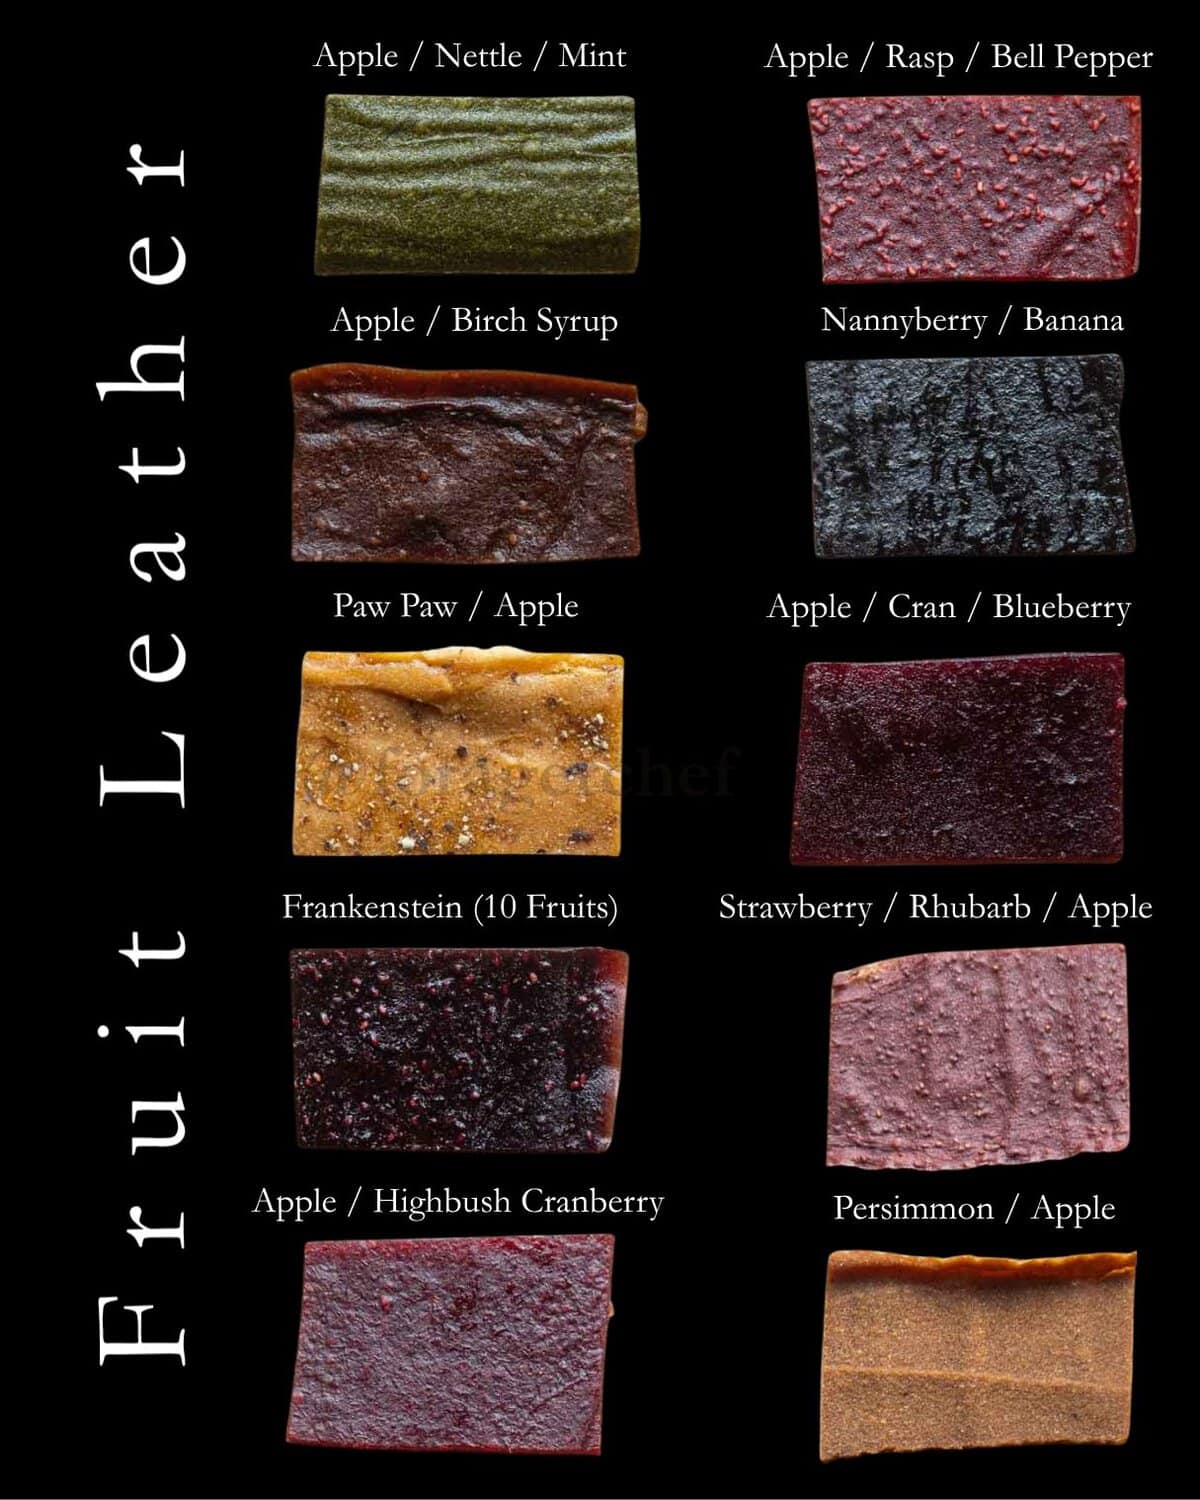
There's thousands of types of fruit in the world, and if you can puree it or mash it into a paste, you can dry it into leather. I processed a wide variety of fruits into as many combinations as I could dream up over the past two weeks.
How to Make it
You have a choice to make first: cutting up whole fruit, cooking and straining through a food mill, or using peeled apples and other fruit that don't need to be strained after cooking. I'll use either method depending on the ingredients.
Whole Fruit Method
This is the rustic version and is good for small apples and other fruit that would be tedious to peel, or have seeds that you want to remove. Wash the fruit if needed, then cut it into pieces and put in a non-reactive pot. I like using a slow cooker for this method.
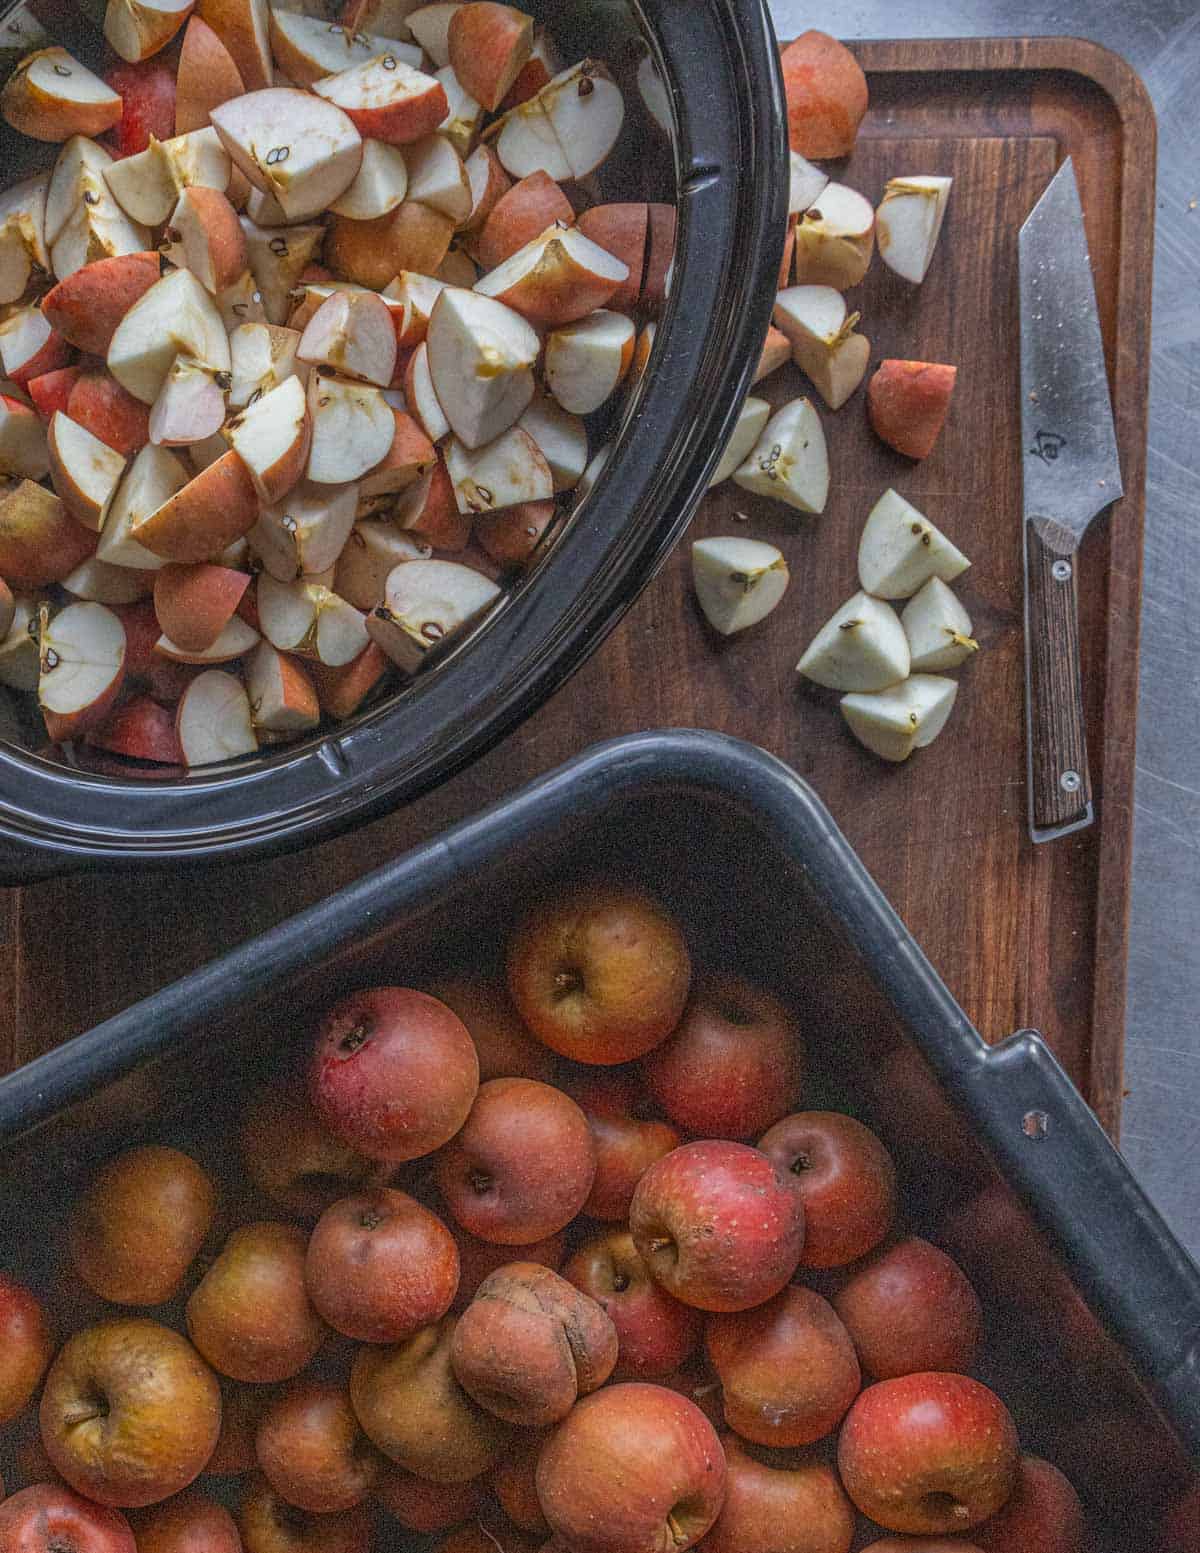
Add other fruit along with the apples if you want, which can be anything from blackberries to raspberries, pears, or pitted stone fruit like cherries, peaches and apricots. Cook until the fruit's broken down and soft.
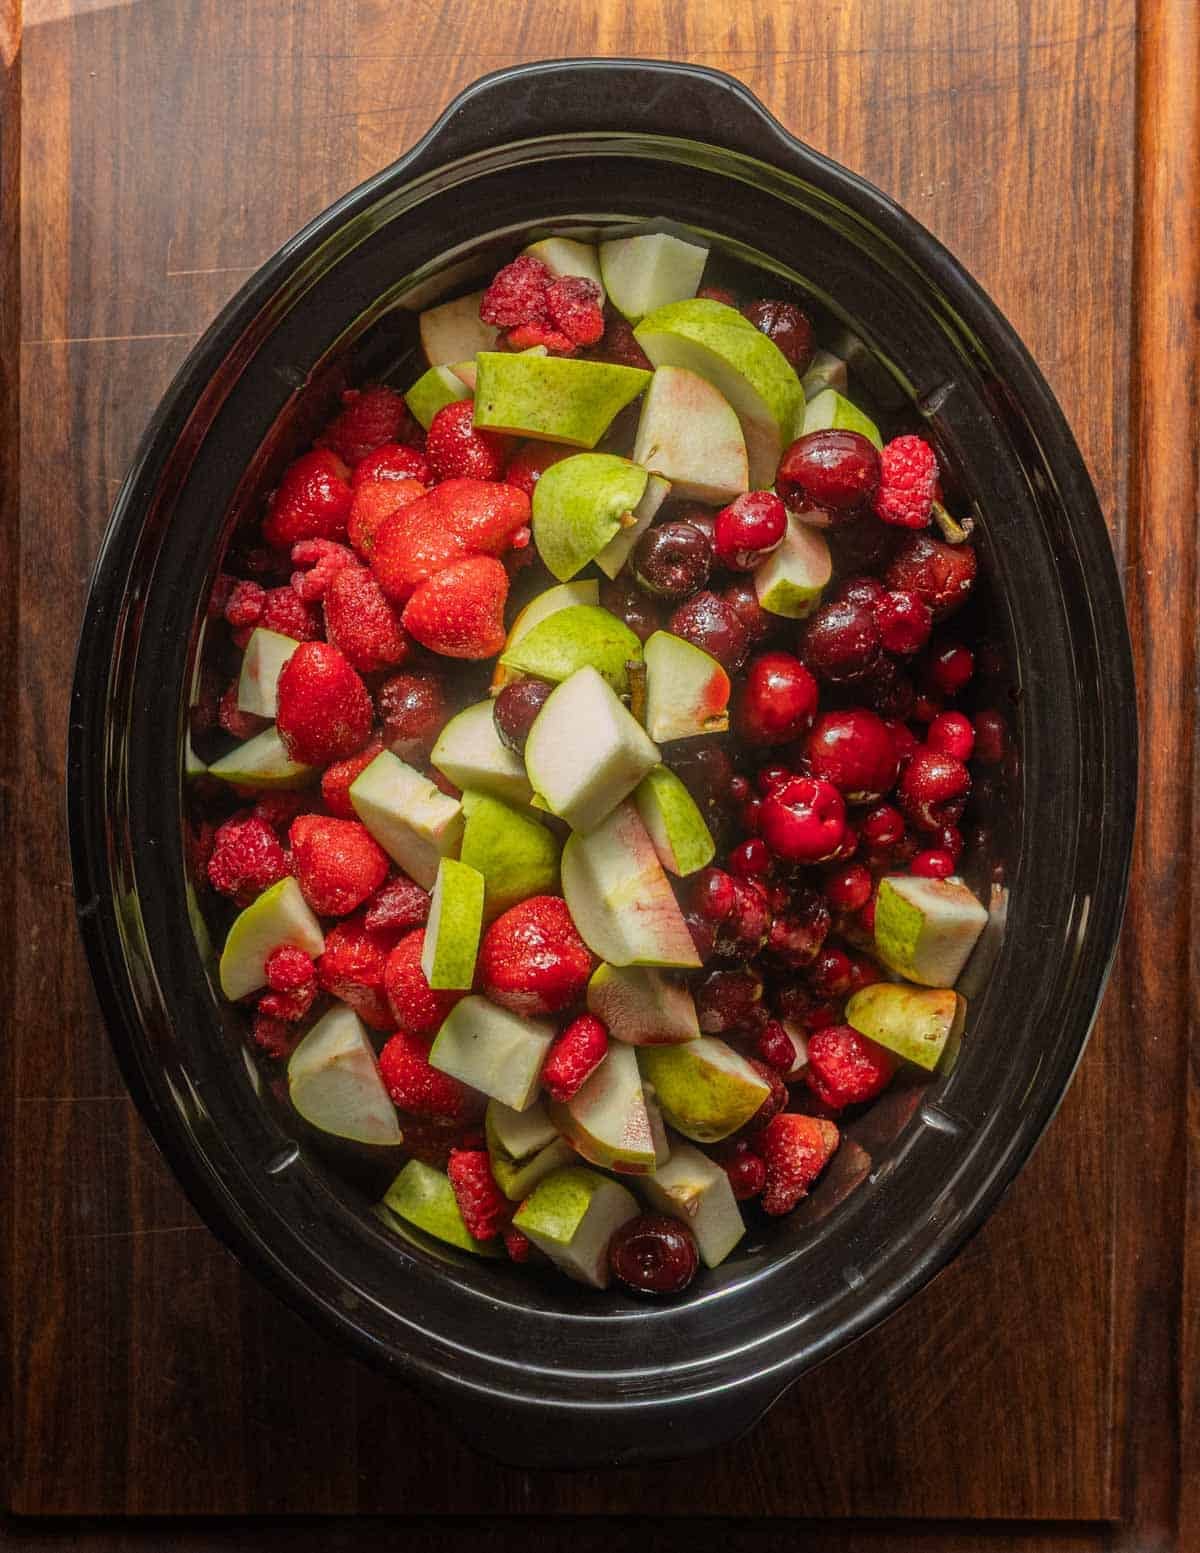
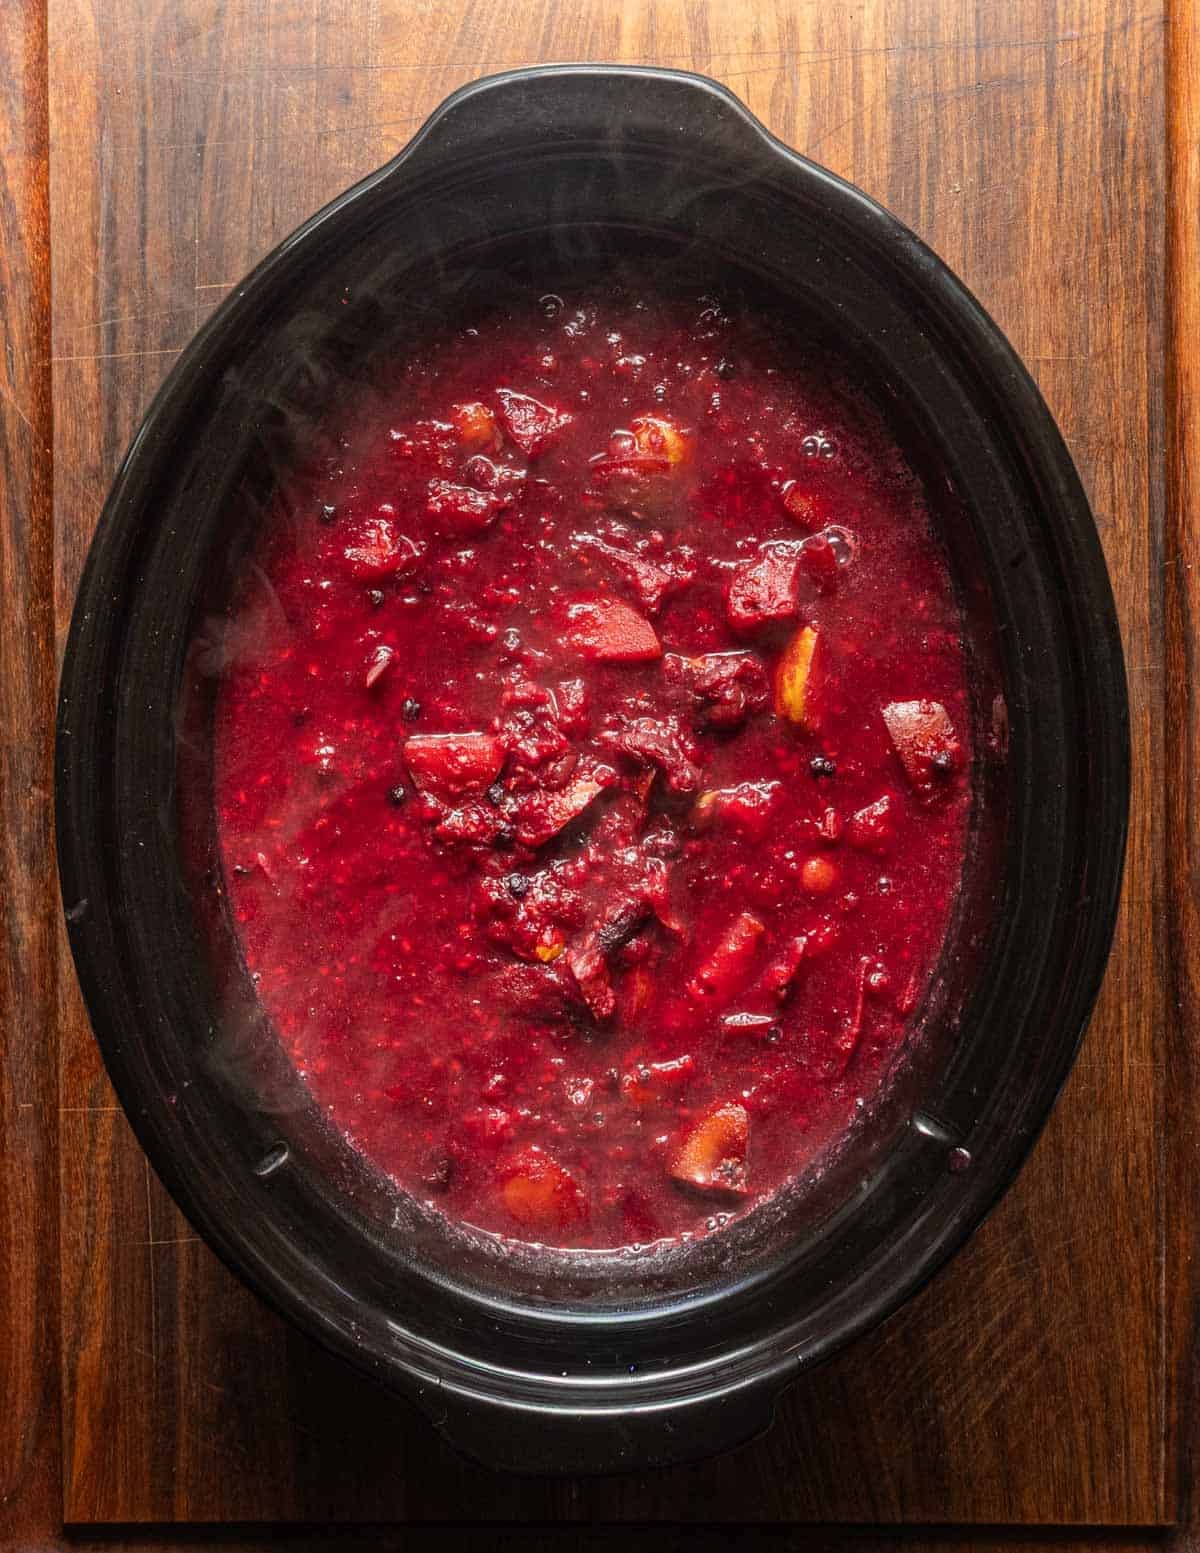
Ladle the fruit mash, skins and seeds into a food mill and process to extract the pulp, discarding the skins and seeds. The discard can also be used to make fruit scrap vinegar.
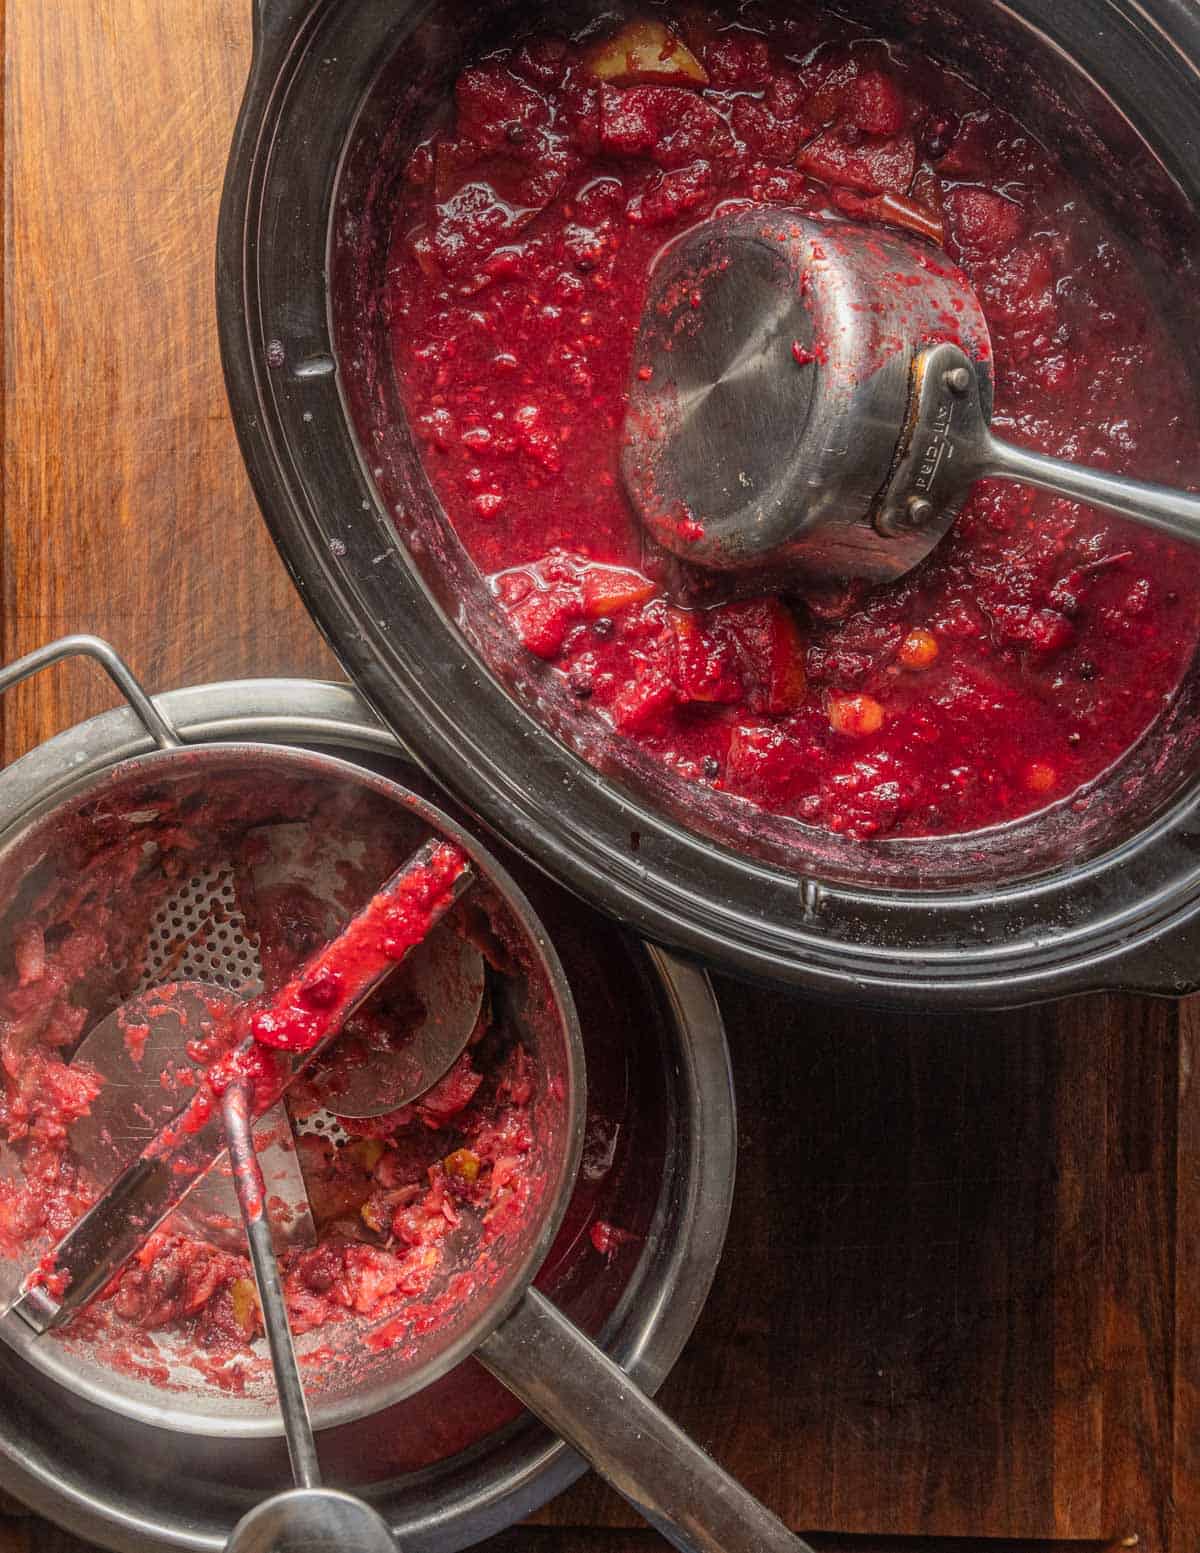
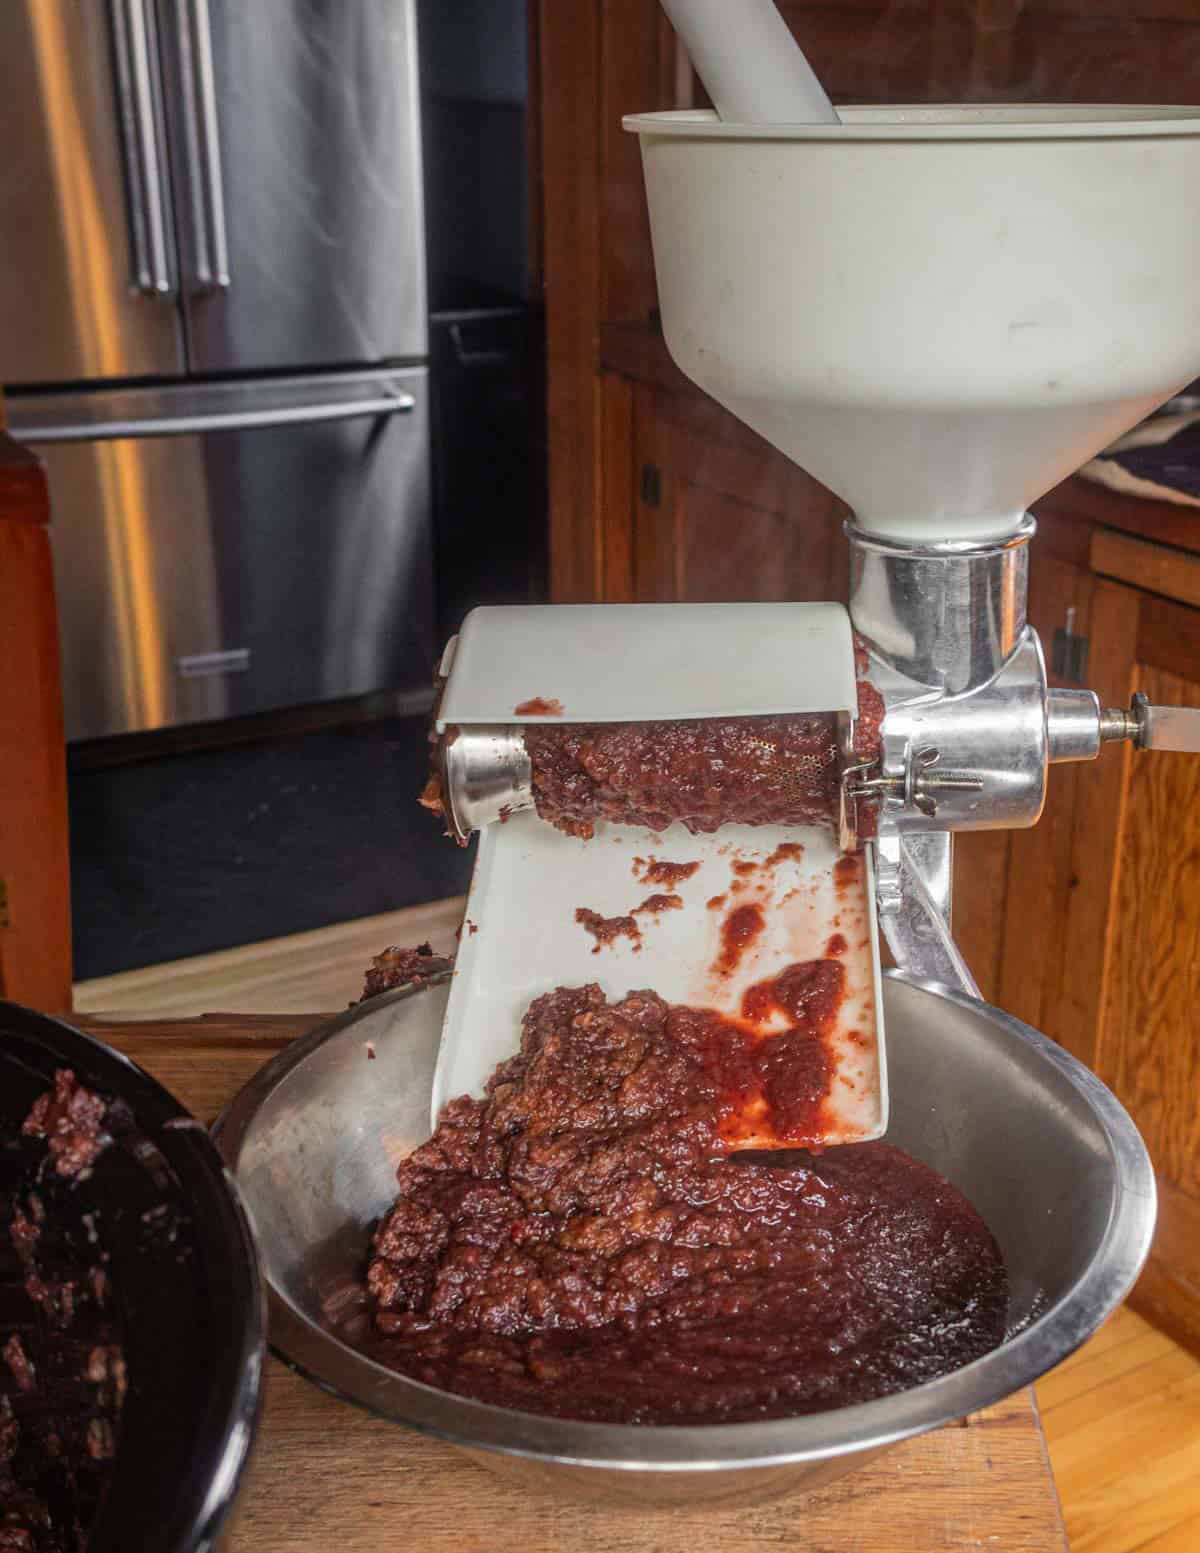
A food mill works well for batches of fruit 10 lbs and under. For larger batches I'll use an apple sauce maker known as a Squeezo, shown below.
Peeled Fruit Method
The easiest method is to cook peeled & seeded fruit. This is best with large apples, cranberries, or other fruit that can be pureed and have negligeable amounts of seeds.
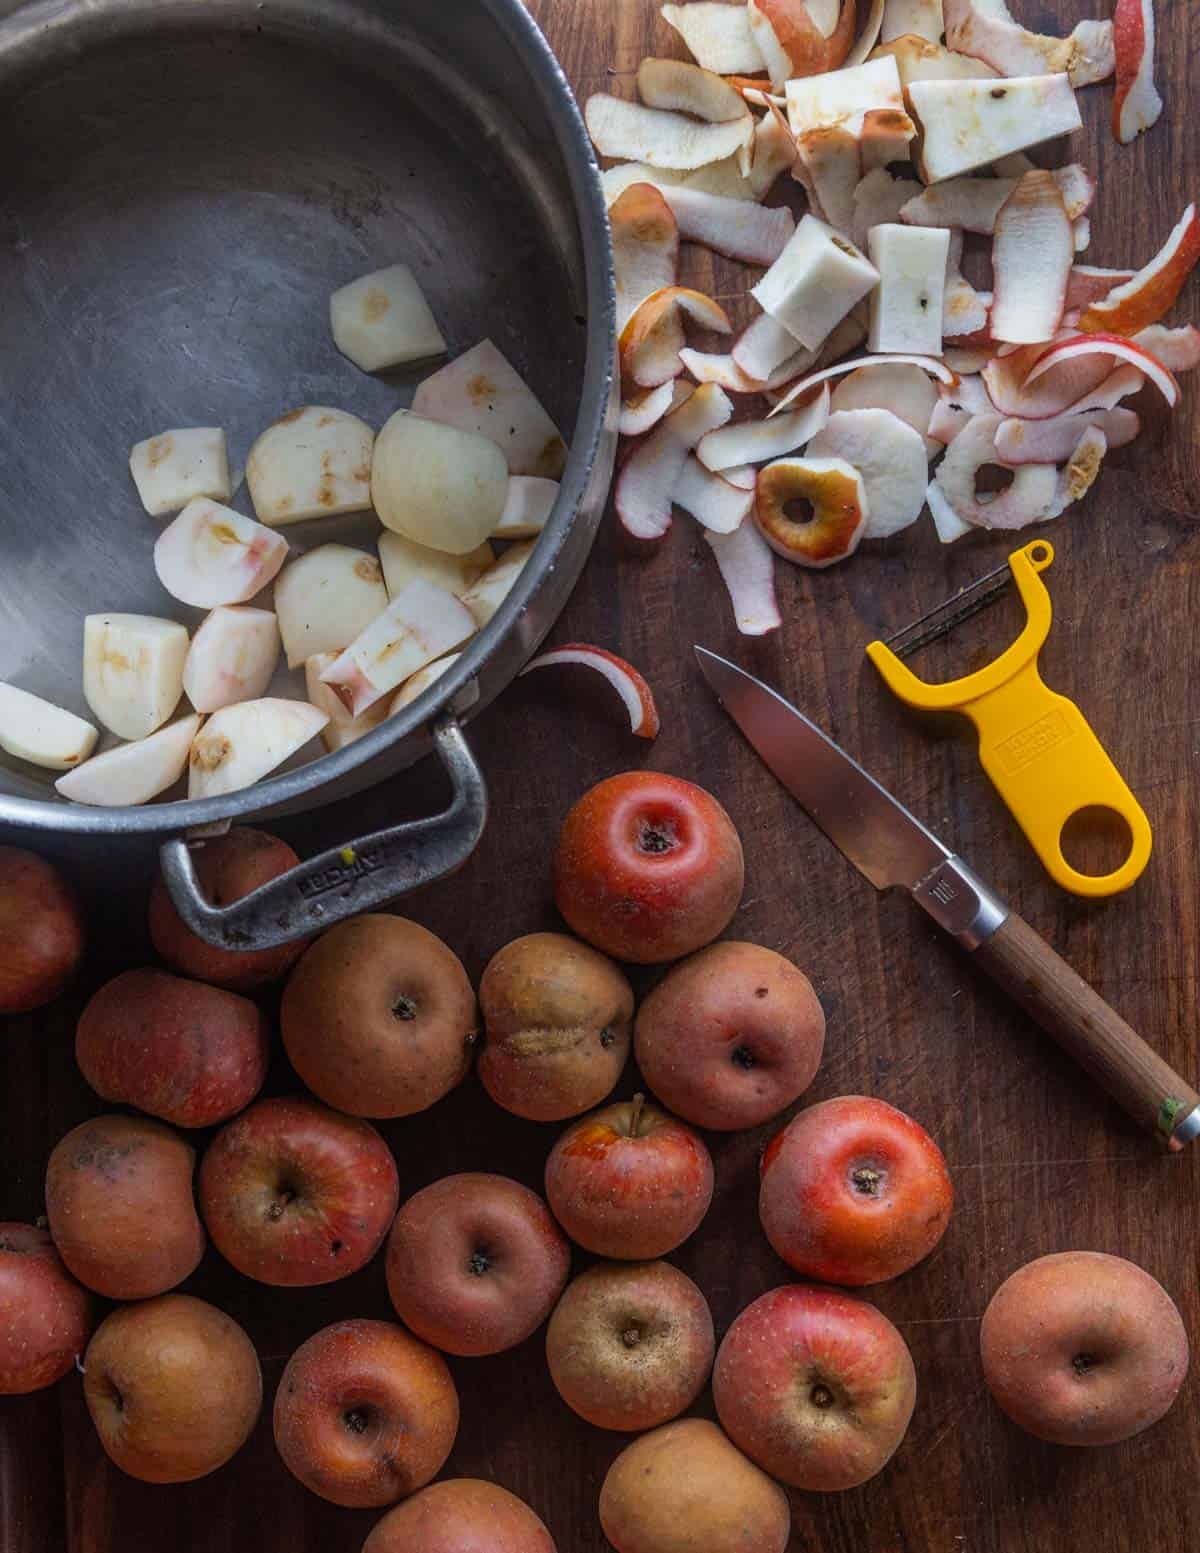
Put the peeled fruit in a wide pan and cook, covered on medium-high heat for about 30-45 minutes.
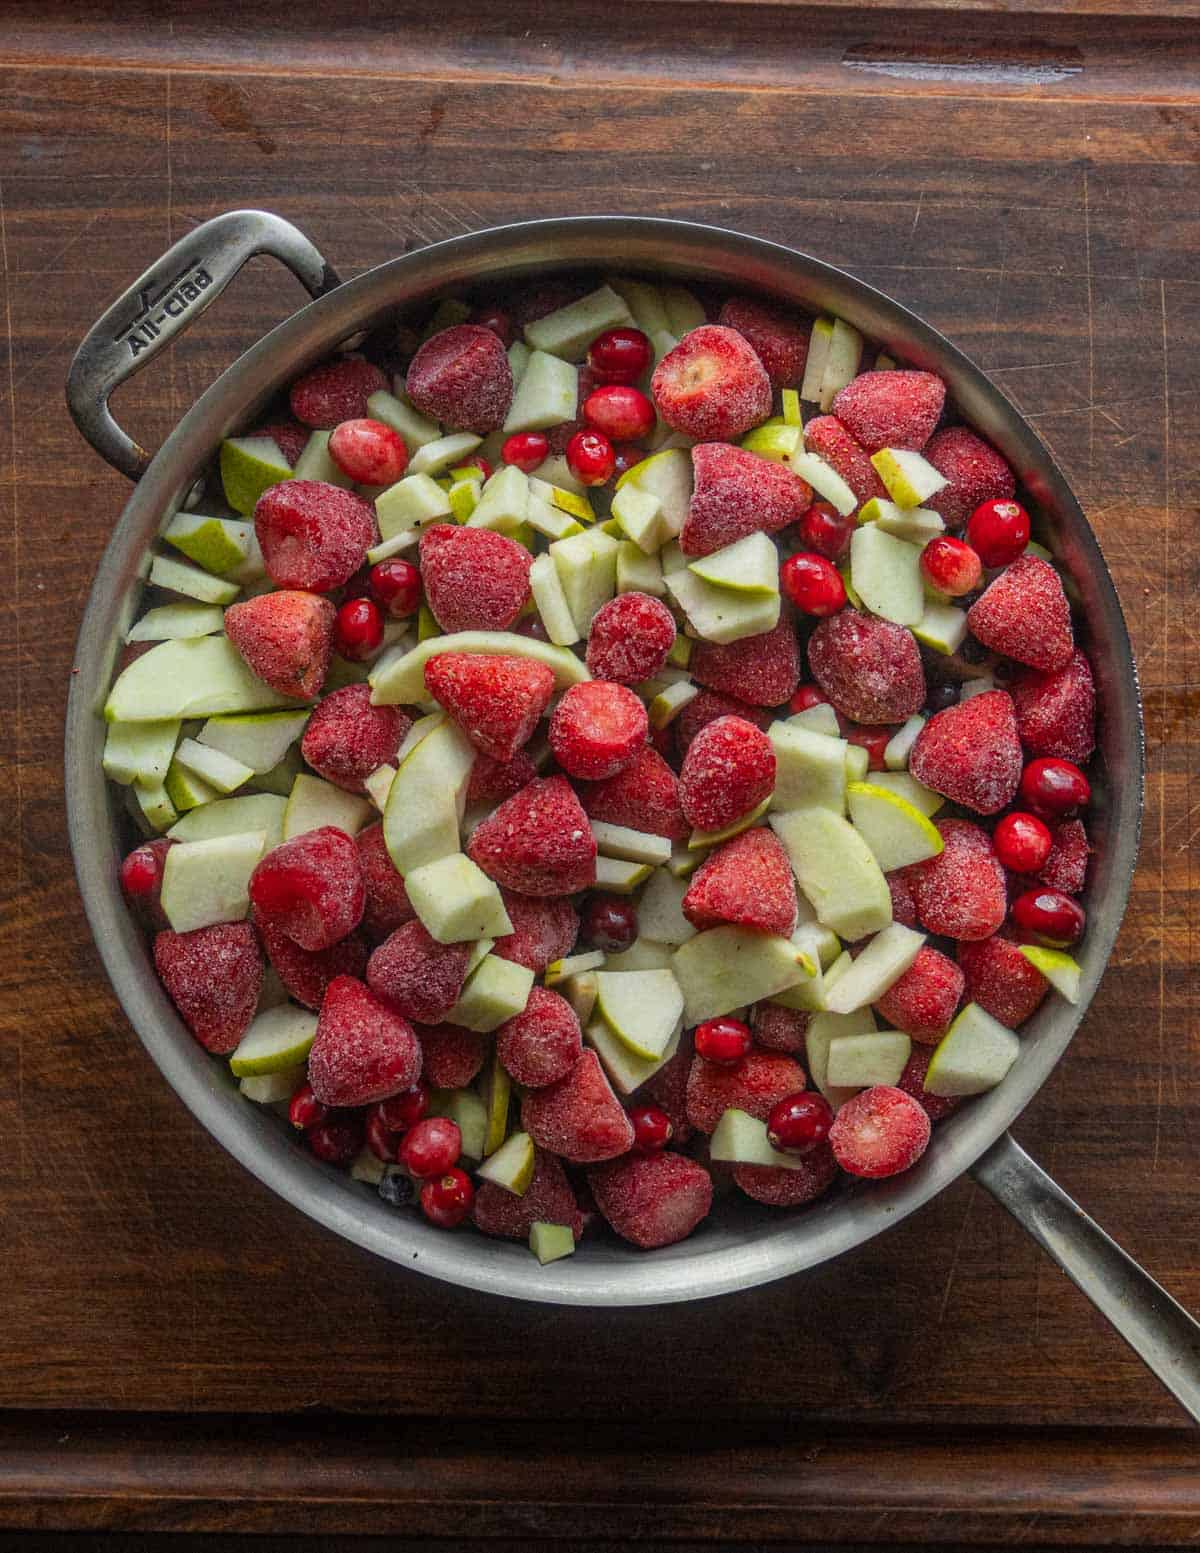
I like to cook the fruit just until soft and the water's released. As it will be blended and then baked to remove water, leaving it juicy at this stage will help it puree easily.
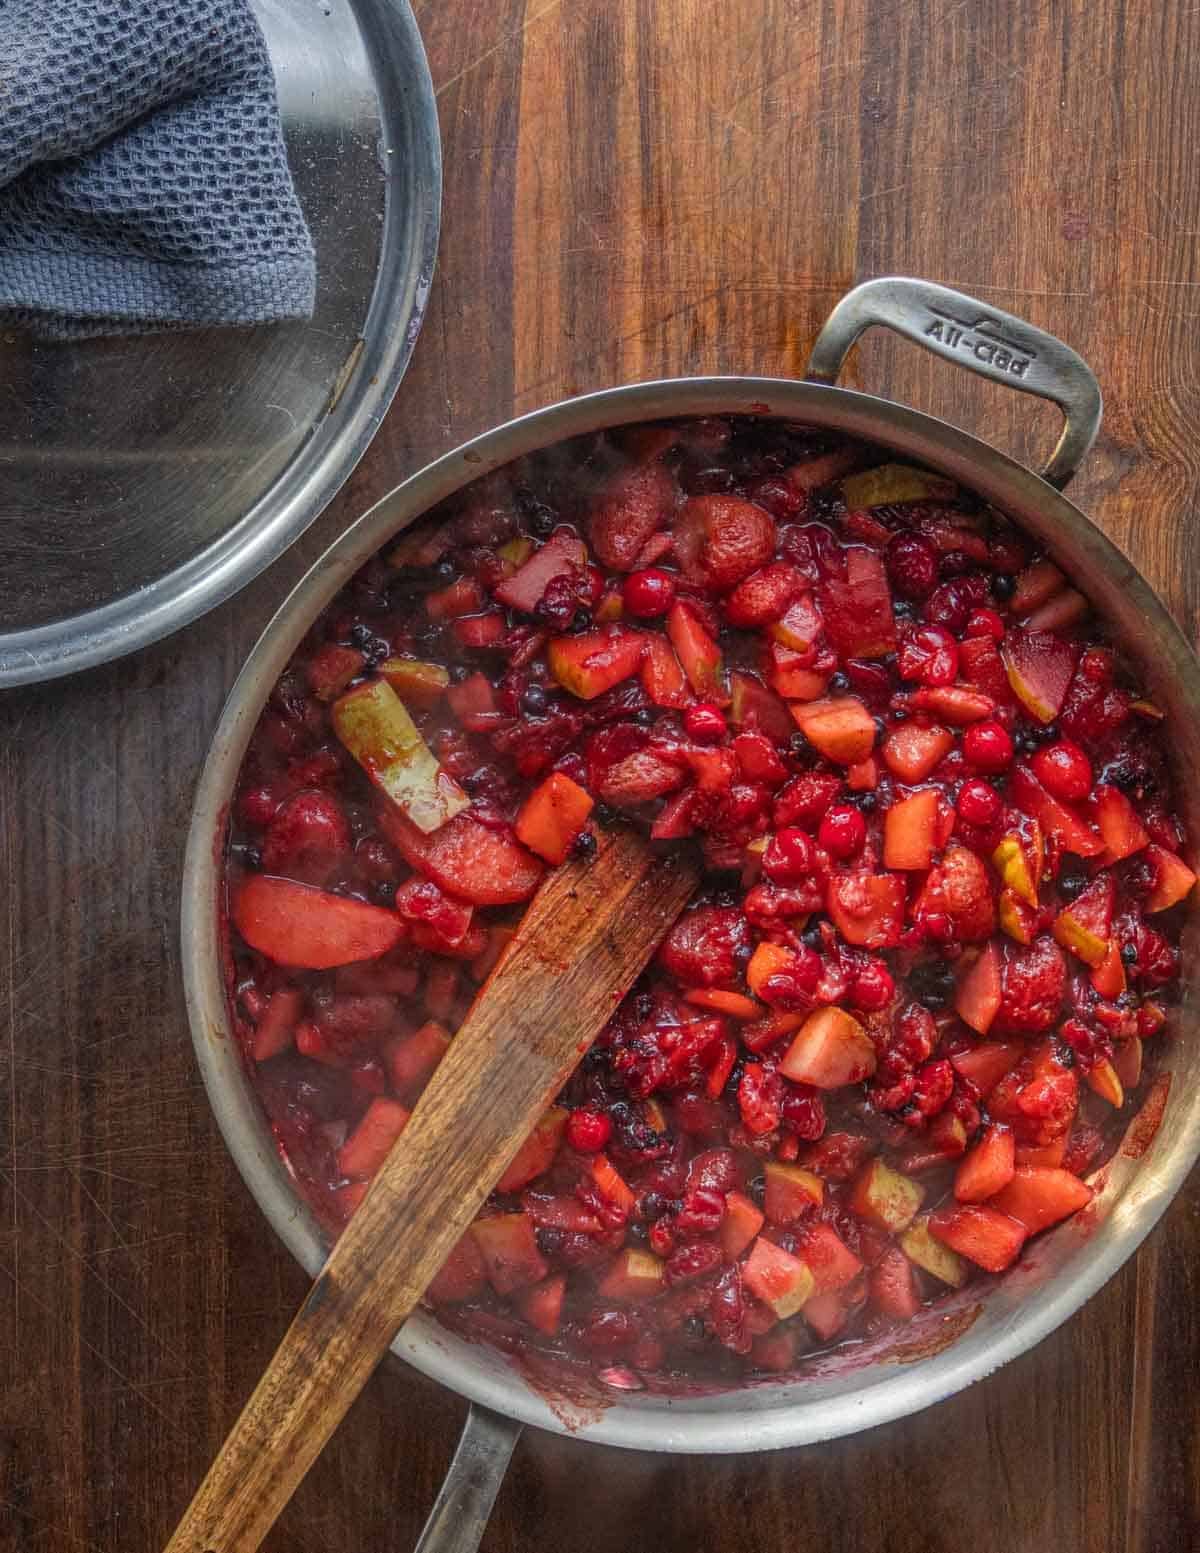
Baking the Fruit Puree
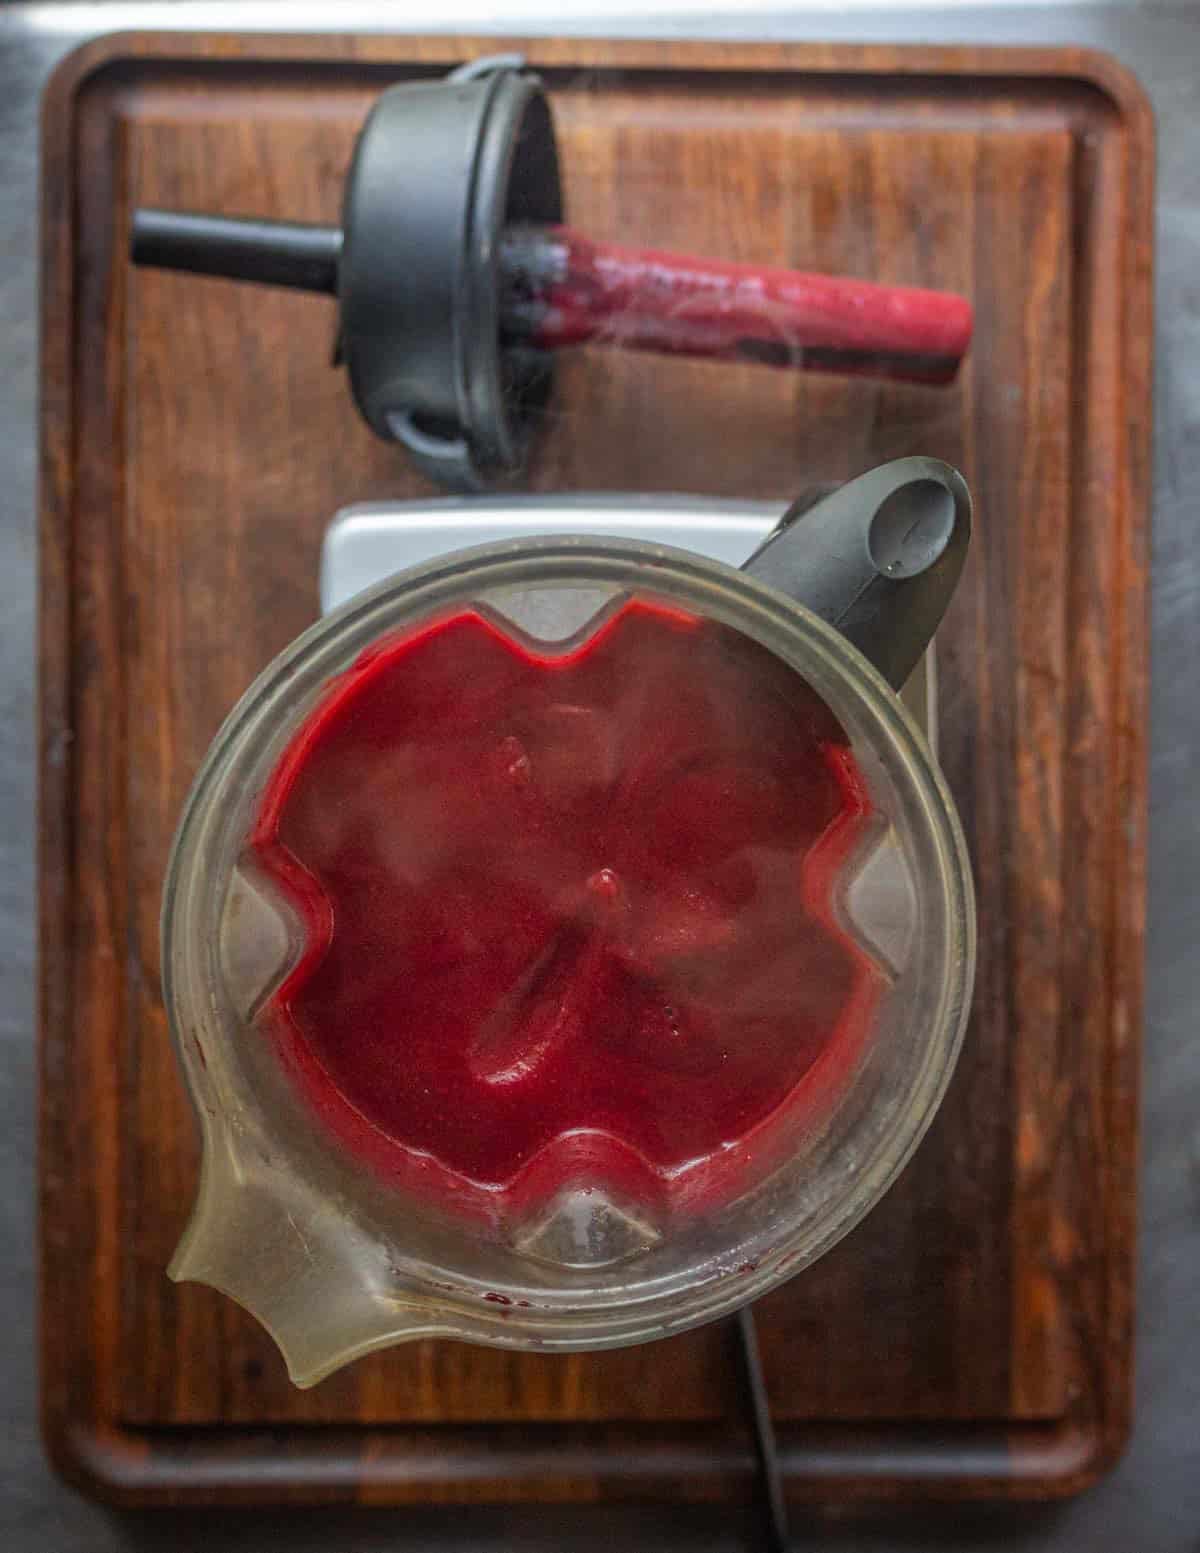
Whichever method you choose to cook the fruit, the next step is to puree the mixture until smooth while it's still very hot. This is optional but I like the smooth texture.
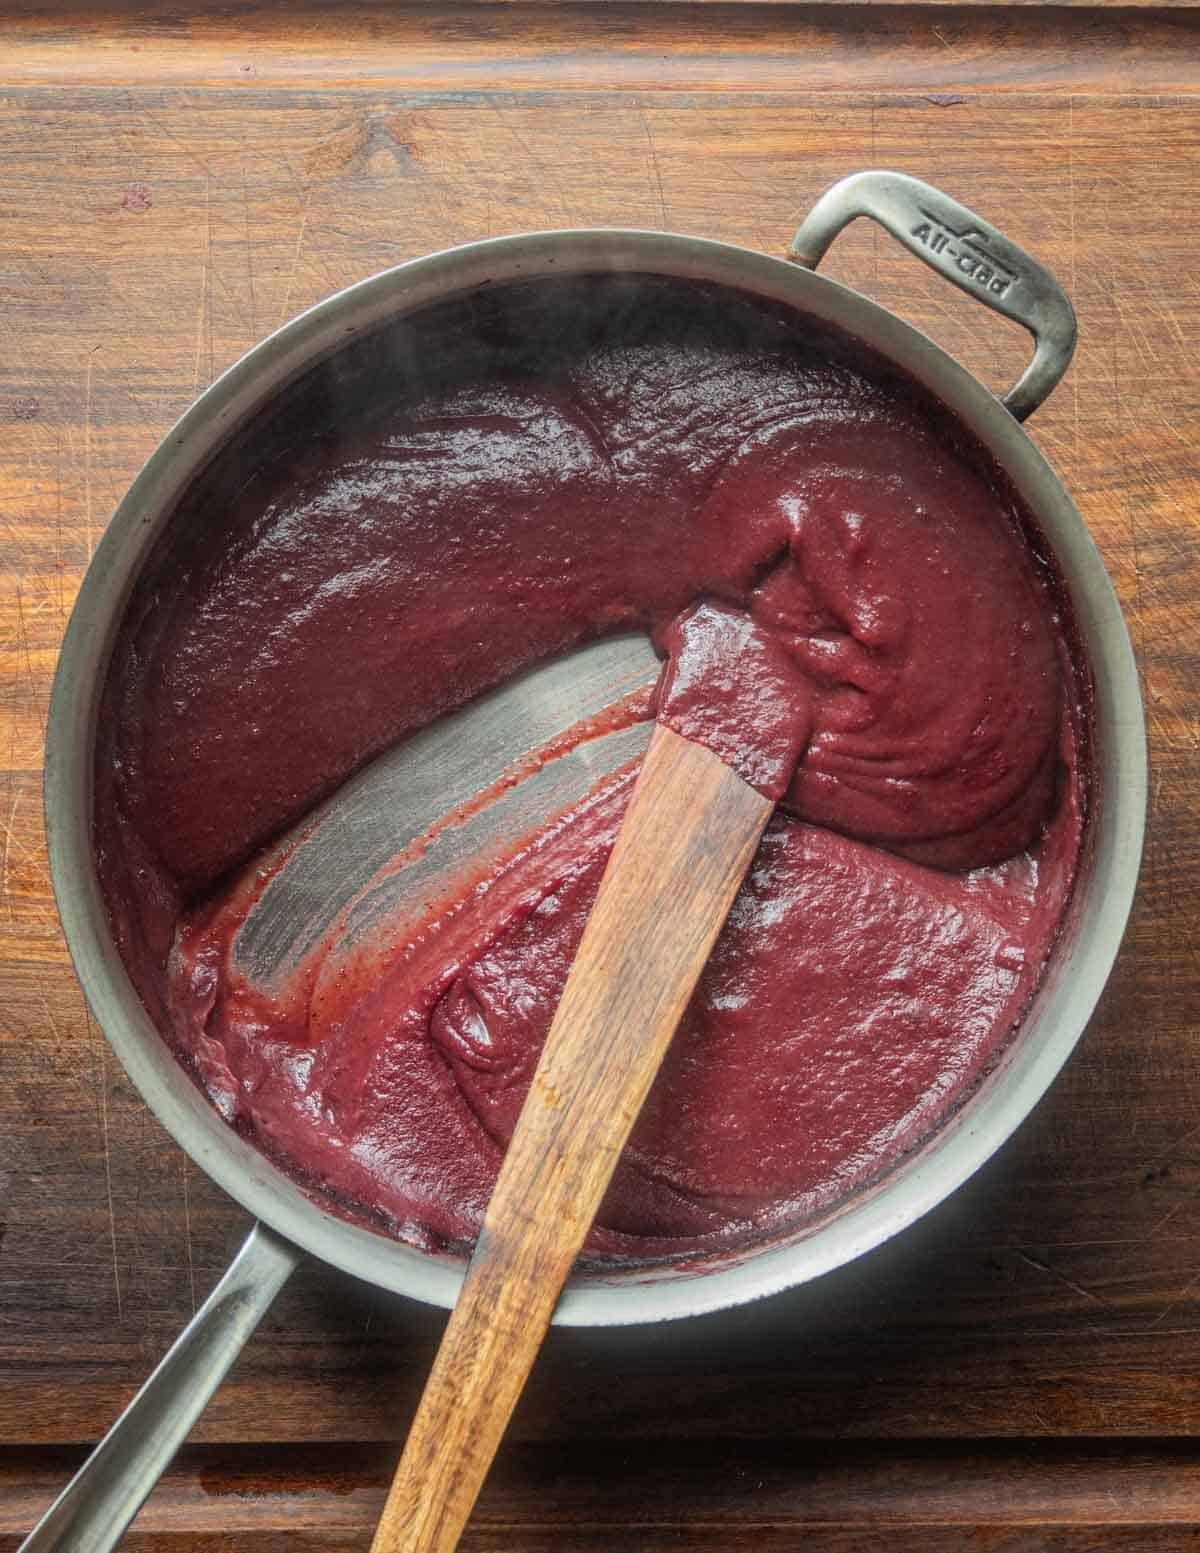
Next, pour the puree into a wide pan and bake at 325 F until you can see the bottom of the pan when a spatula's run through it, whisking occasionally to break up any clumps, about 1-2 hours.
Finally, spread the thick puree on a baking tray lined with parchment or a silicone mat and it's ready to dehydrate.
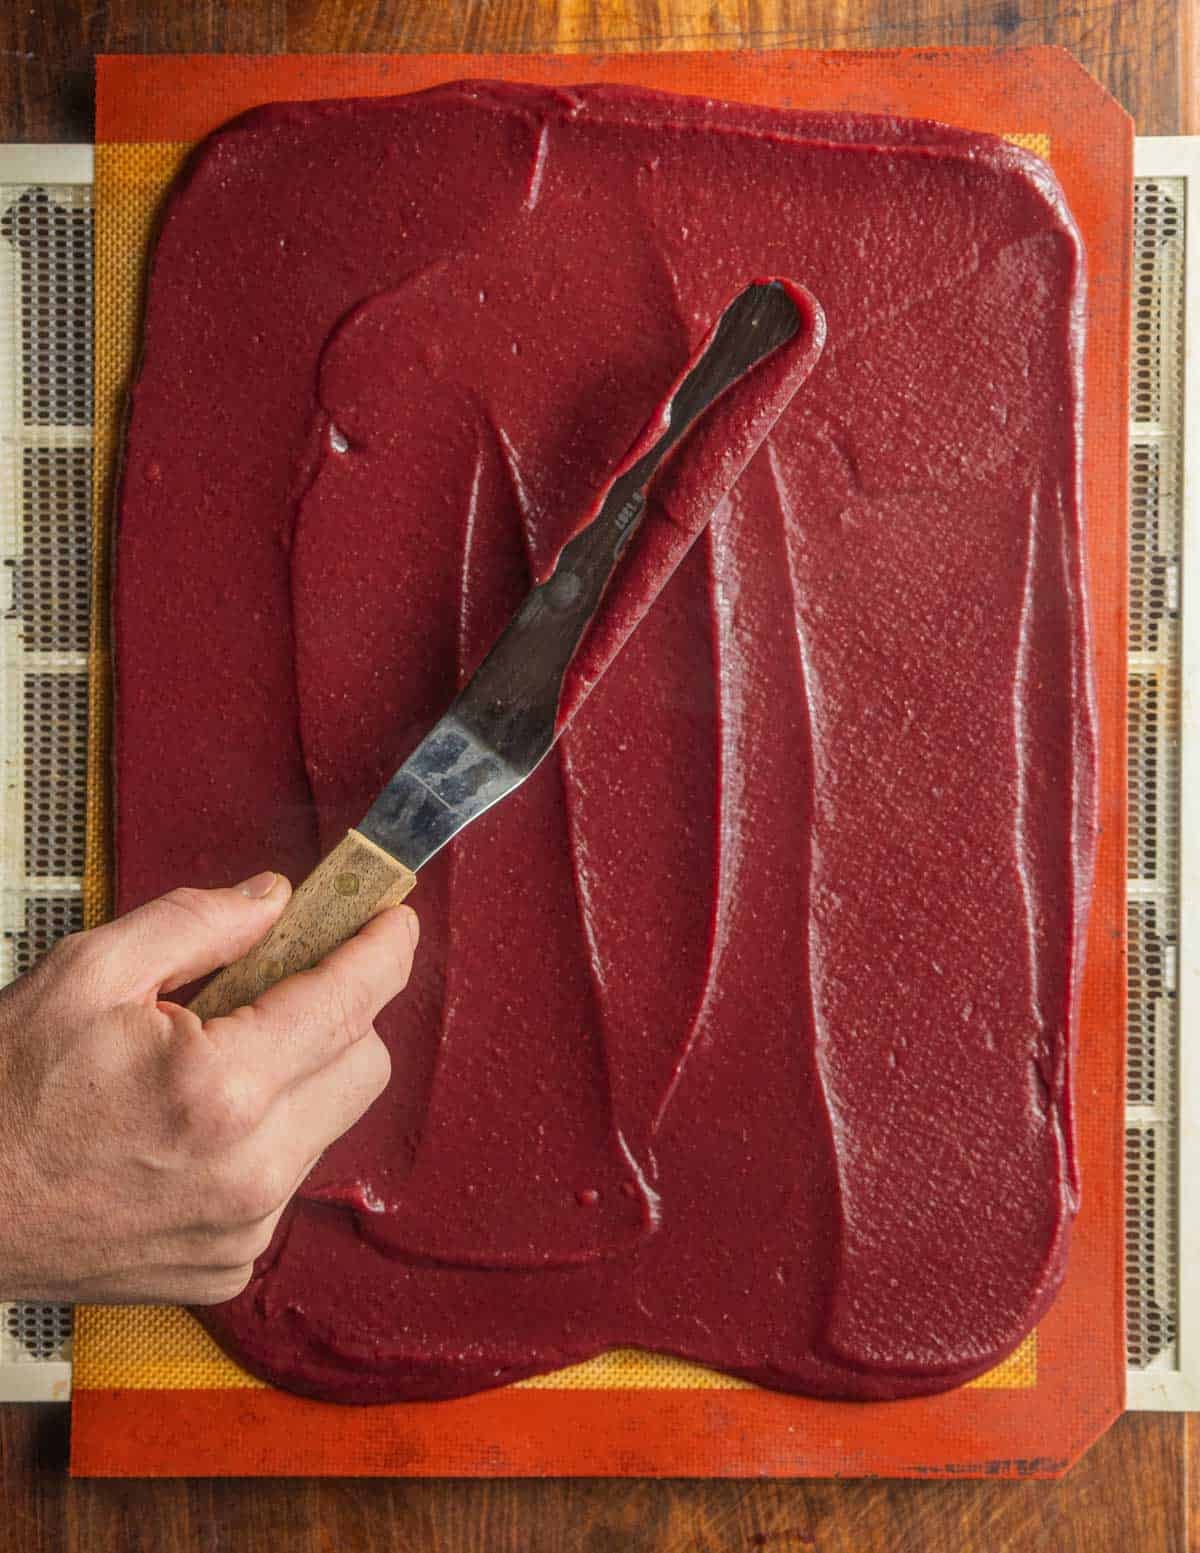
Depending on the drying method and tray size you use, the leather will be ready in 12-48 hours.
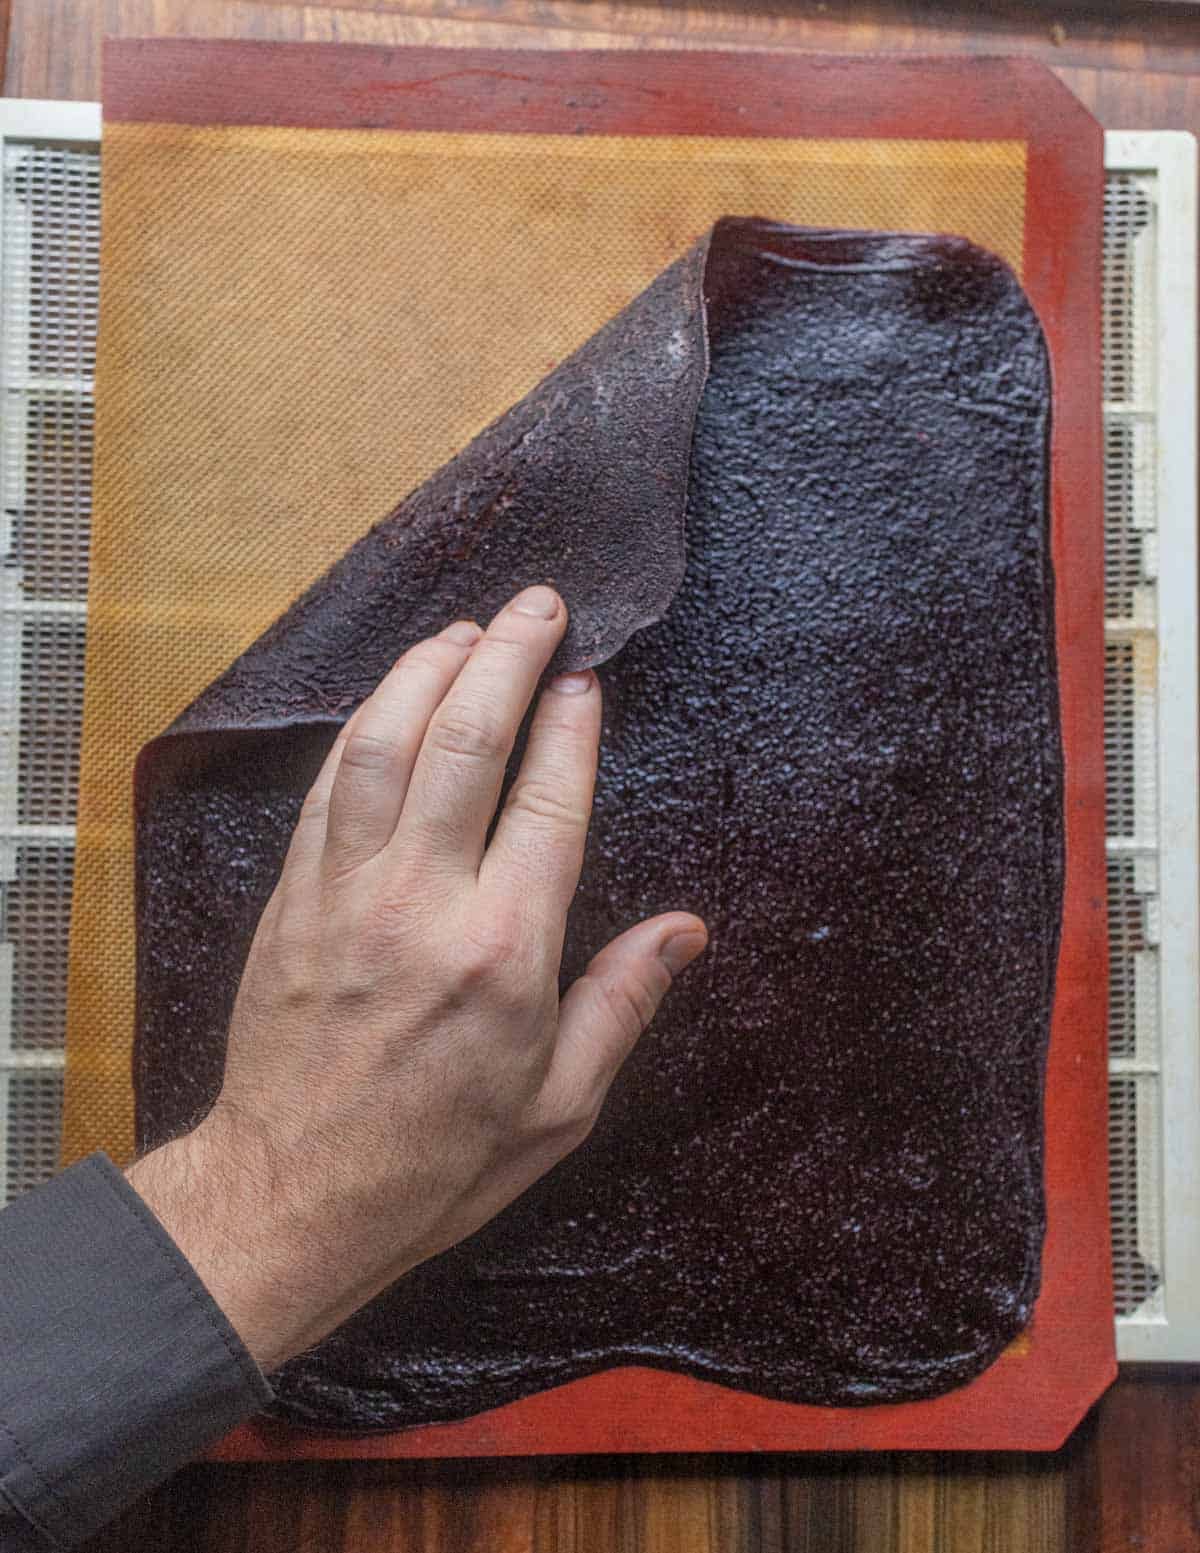
Dehydrating Fruit Leather
As with processing, there's different ways to dry the finished fruit puree. While you can use a dehydrator or an oven, people around the world have been making fruit leather with minimal equipment for a very long time.
When harvesting fruit with Sam Thayer for this post, he mentioned he had a method to secure 12 full-size sheet trays on his roof, meaning he can dry over 100 pounds of fruit at the same time.
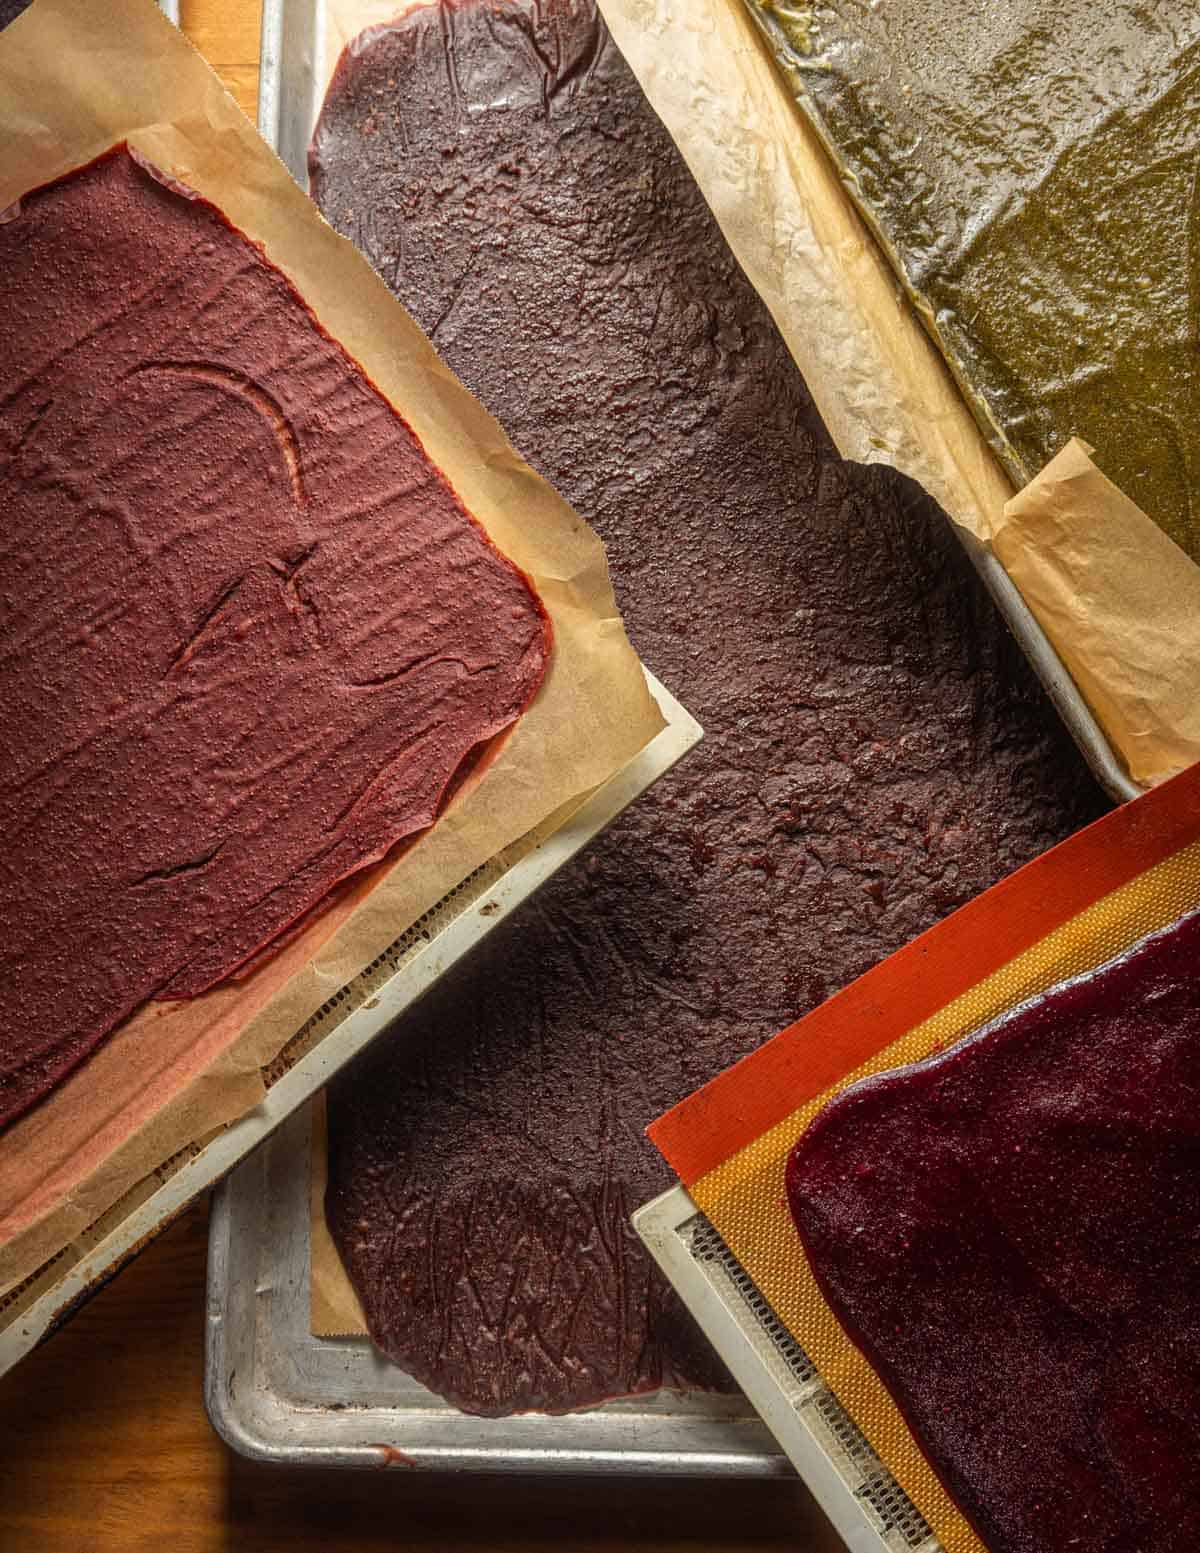
For all the methods, the technique is the same: dry the fruit puree until it holds its shape and releases from the parchment paper or silicone.
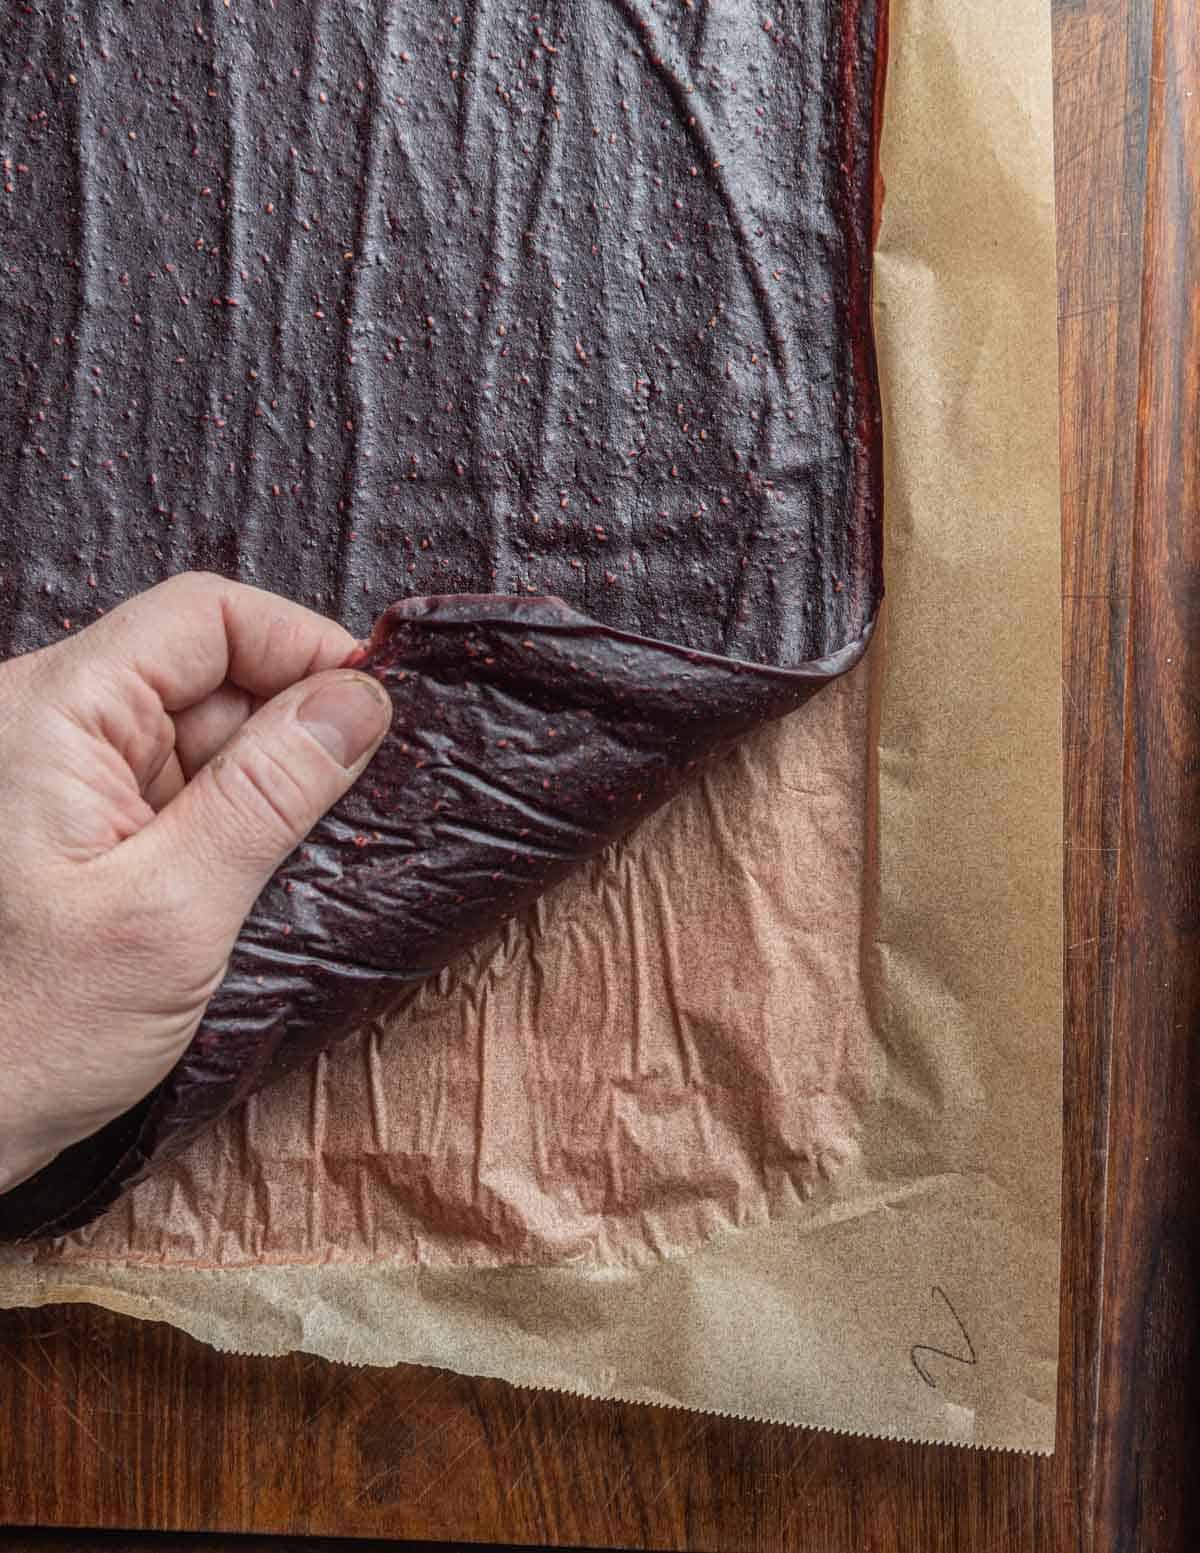
One important thing to mention is that how thick you spread the puree makes a difference here. When in doubt, aim for ¼ inch thick layer at the very least.
4-5 cups of fruit puree is good for half-size baking sheets, and 8-10 cups is good for full size sheet trays. The fruit makes a big difference too, but a mixture of two parts green apple to one part cranberry is a great place to start.
Here's the three basic ways I know of to dry it: the oven, dehydrator, and using fans.
Oven
Drying fruit leather in an oven works fine. If you have an oven with a fan, it can speed up the process.
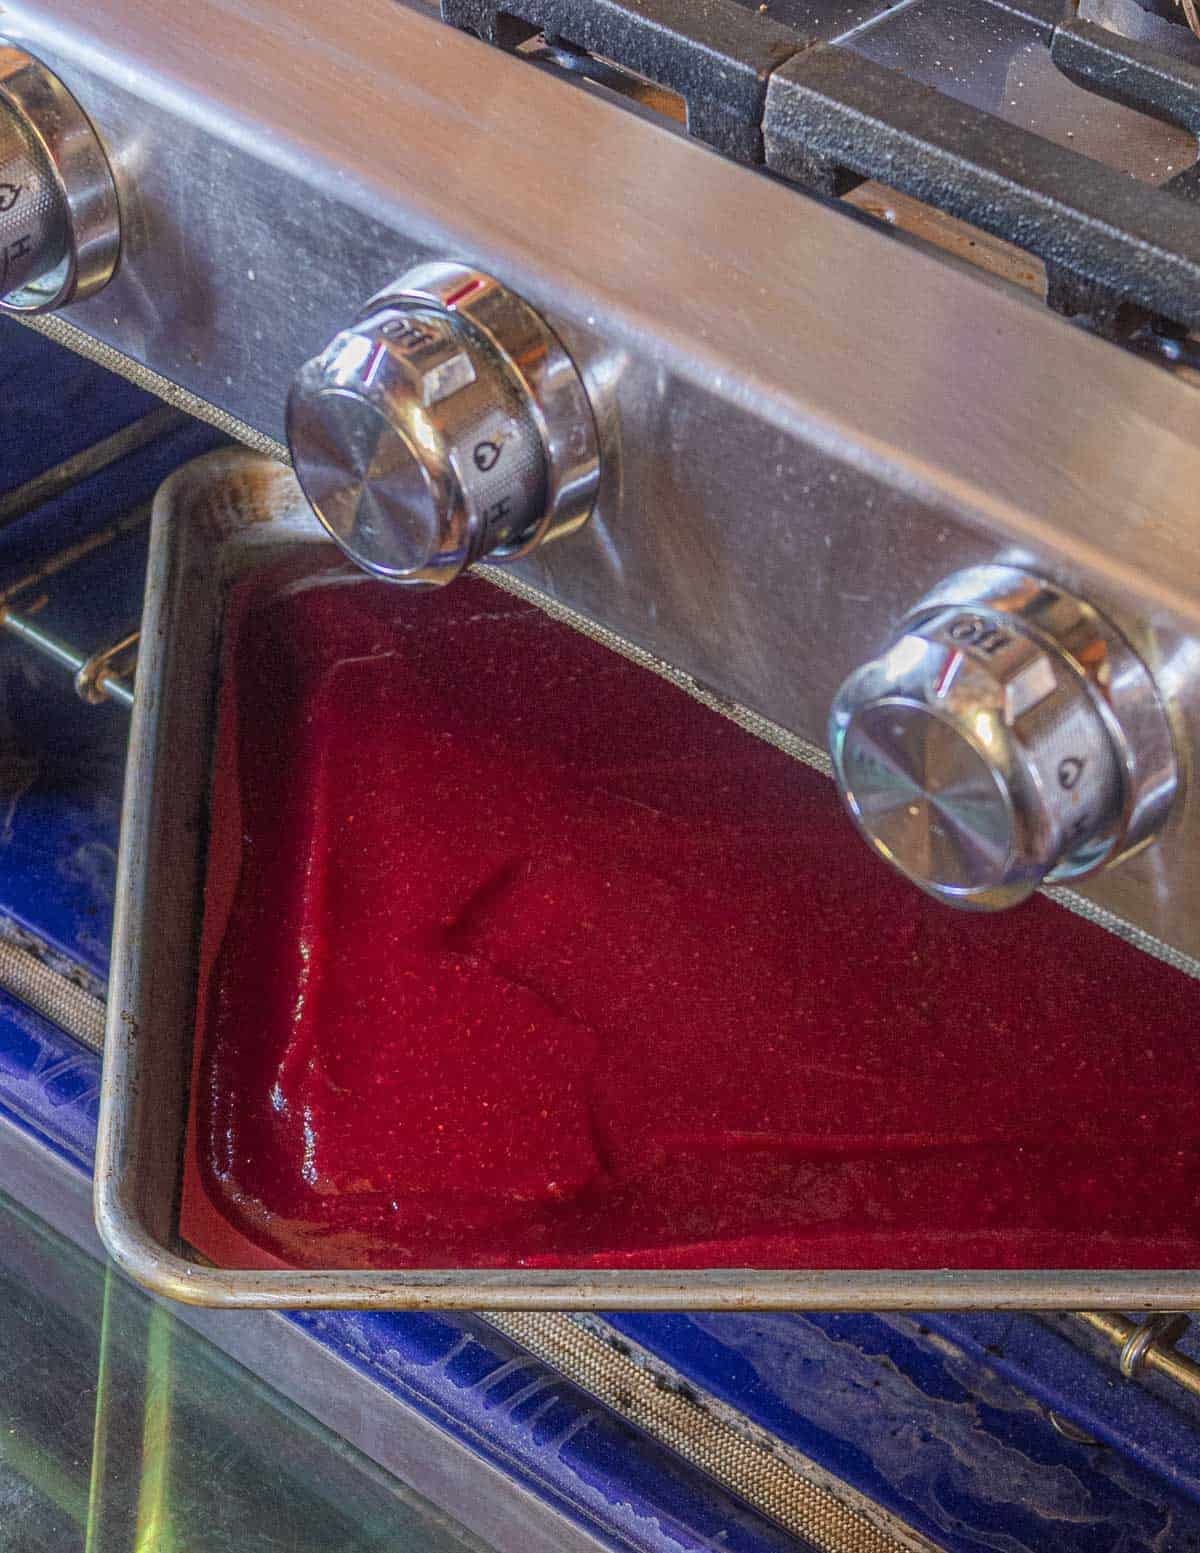
To do it, set the oven temperature as low as possible (145F-170F), rotating the tray(s) every few hours. I recommend non-stick silicone mats as if the mixture cooks too much it will stick to the parchment paper which can ruin it. Half baking sheets are usually done in 8-12 hours.
Dehydrator
A dehydrator works just like an oven, with the big limitation being the amount of fruit you can dry at once, depending on your model. Just like the oven, 145-150 F is a good temperature here and I use silicone mats as high heat can cause the fruit leather to fuse to parchment.
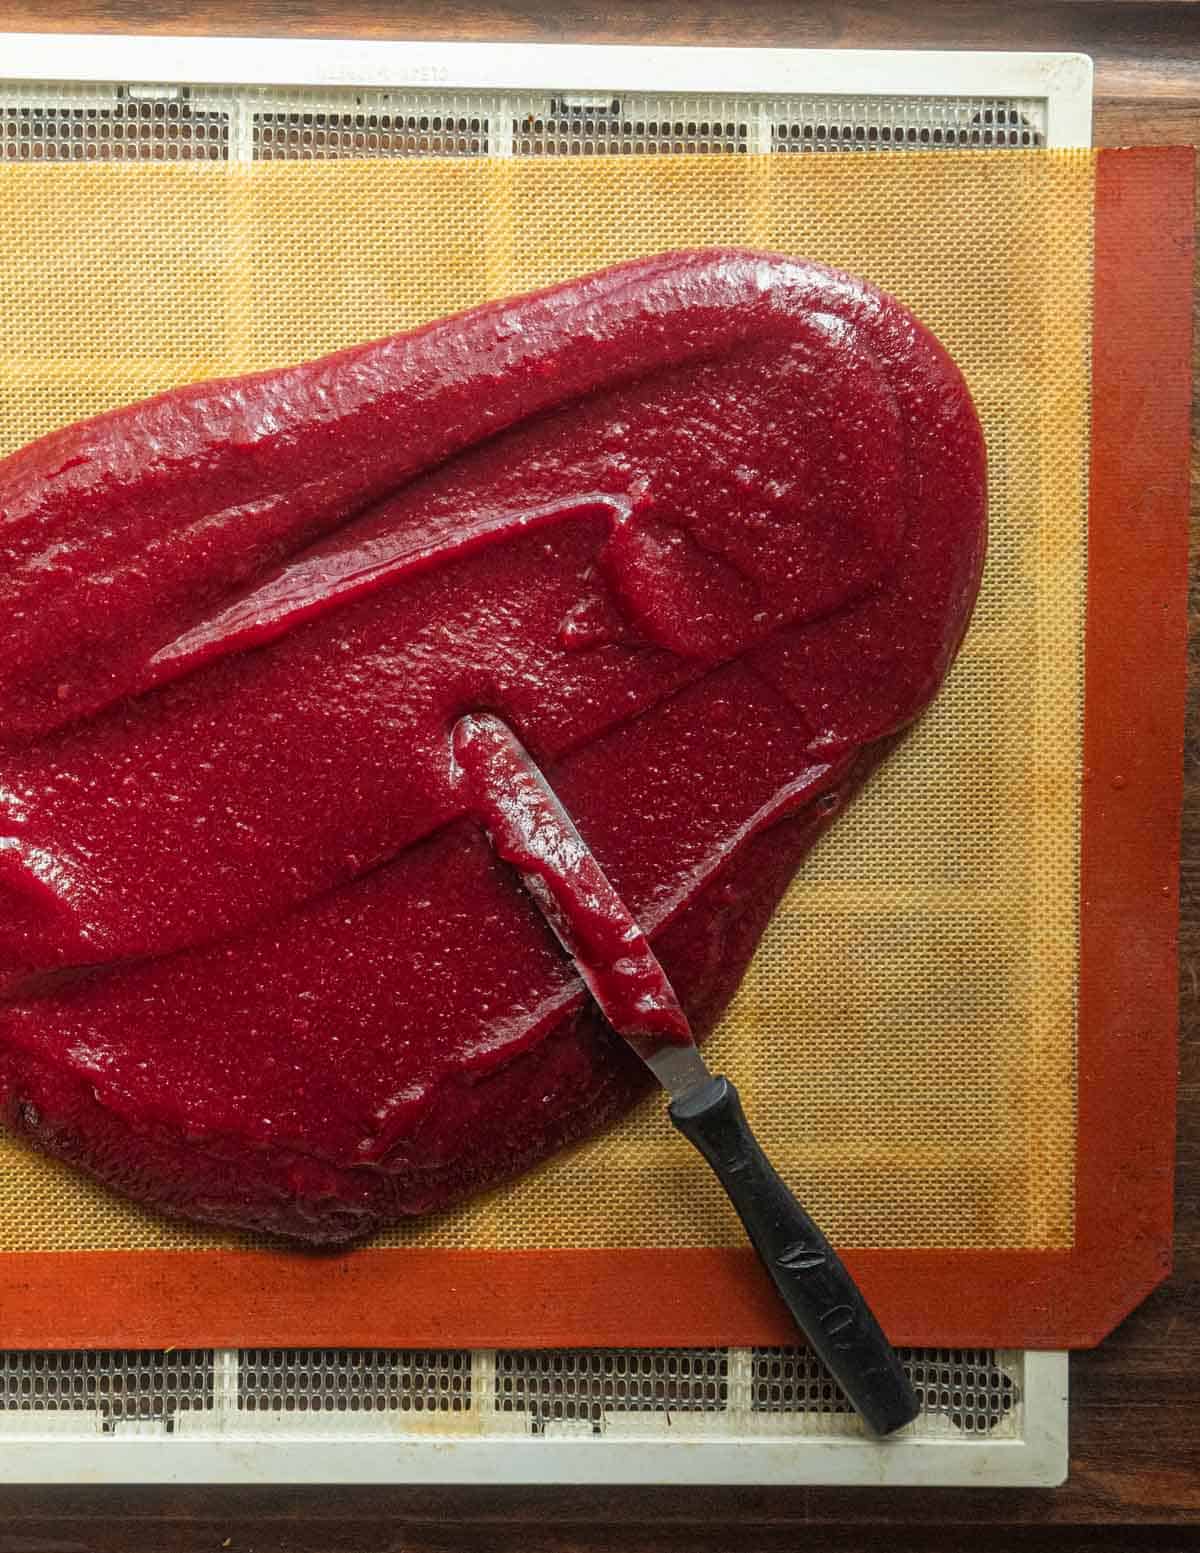
One benefit of the dehydrator is that the drying is fast and even, and I rarely have undried fruit puree in the middle of the leather.
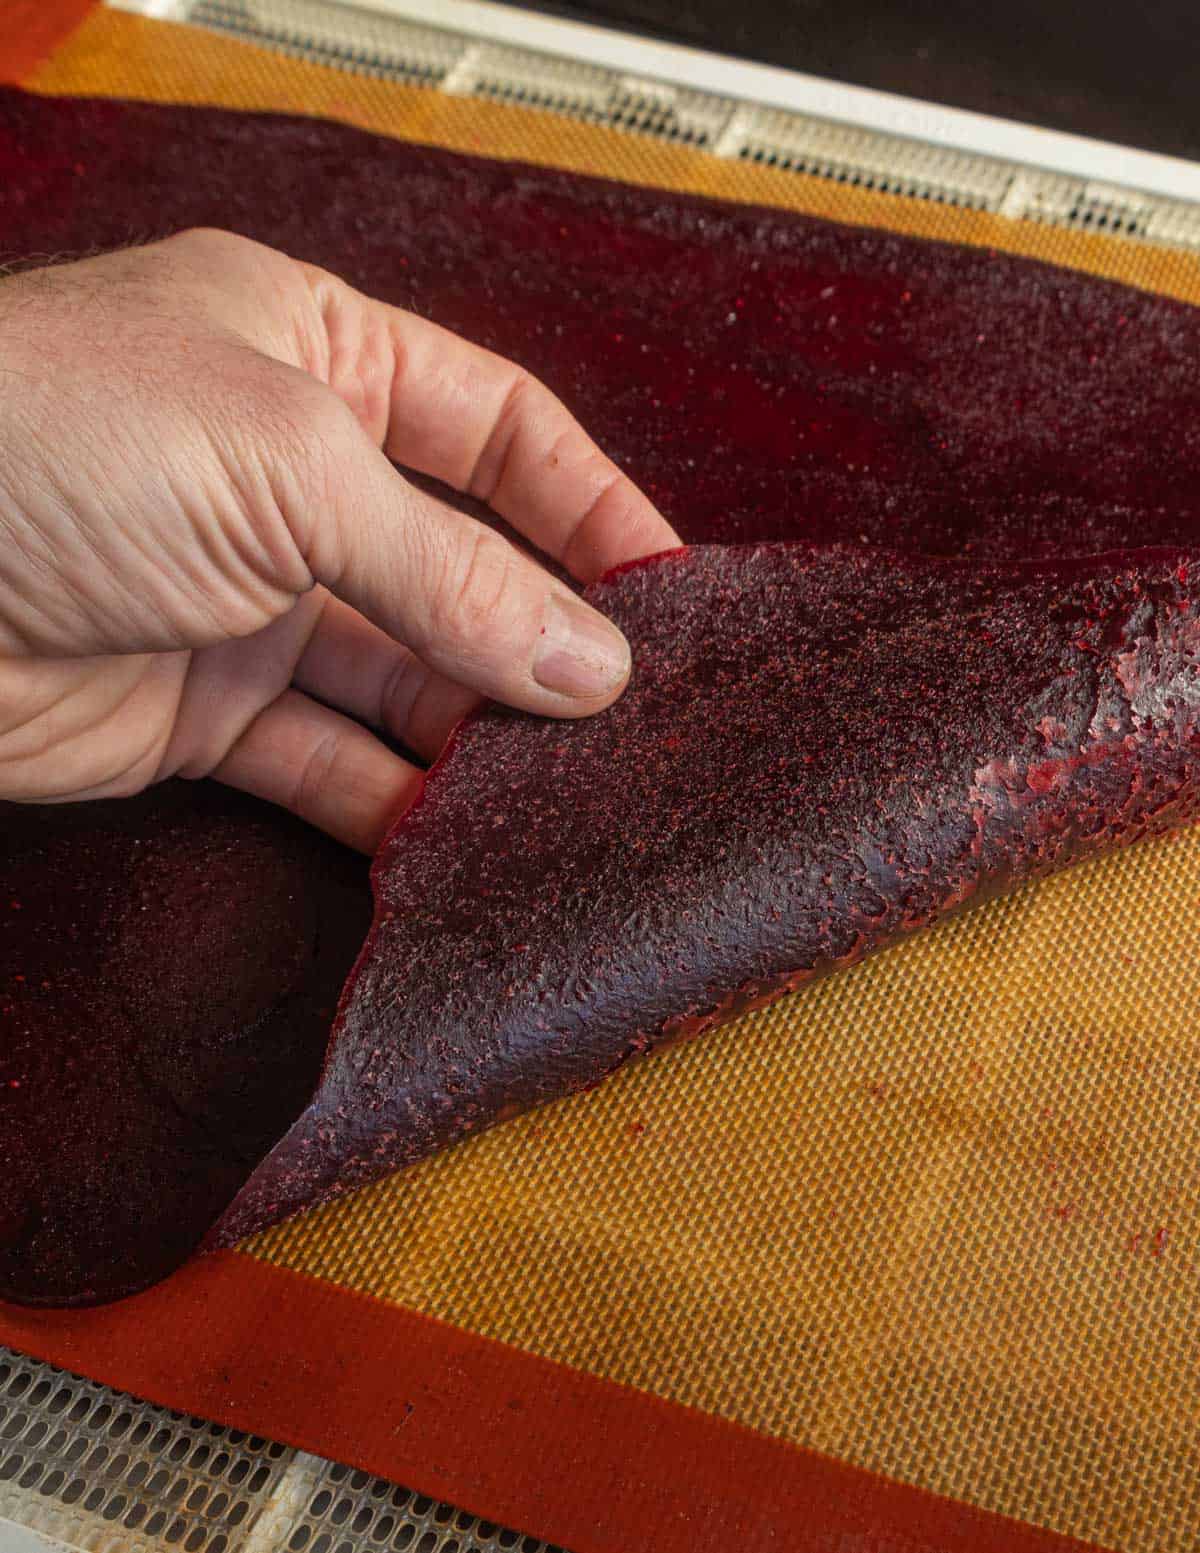
By the same token, both the oven and dehydrator have the potential to overcook the leather and make it tough or brittle, which has never happened to me with what I call the fan method.
Using Fans
Using a box fan and a speed rack changed the game here for me, turning a novelty into a technique I could easily use to preserve 10 to 20 pounds of fruit or more, at once.
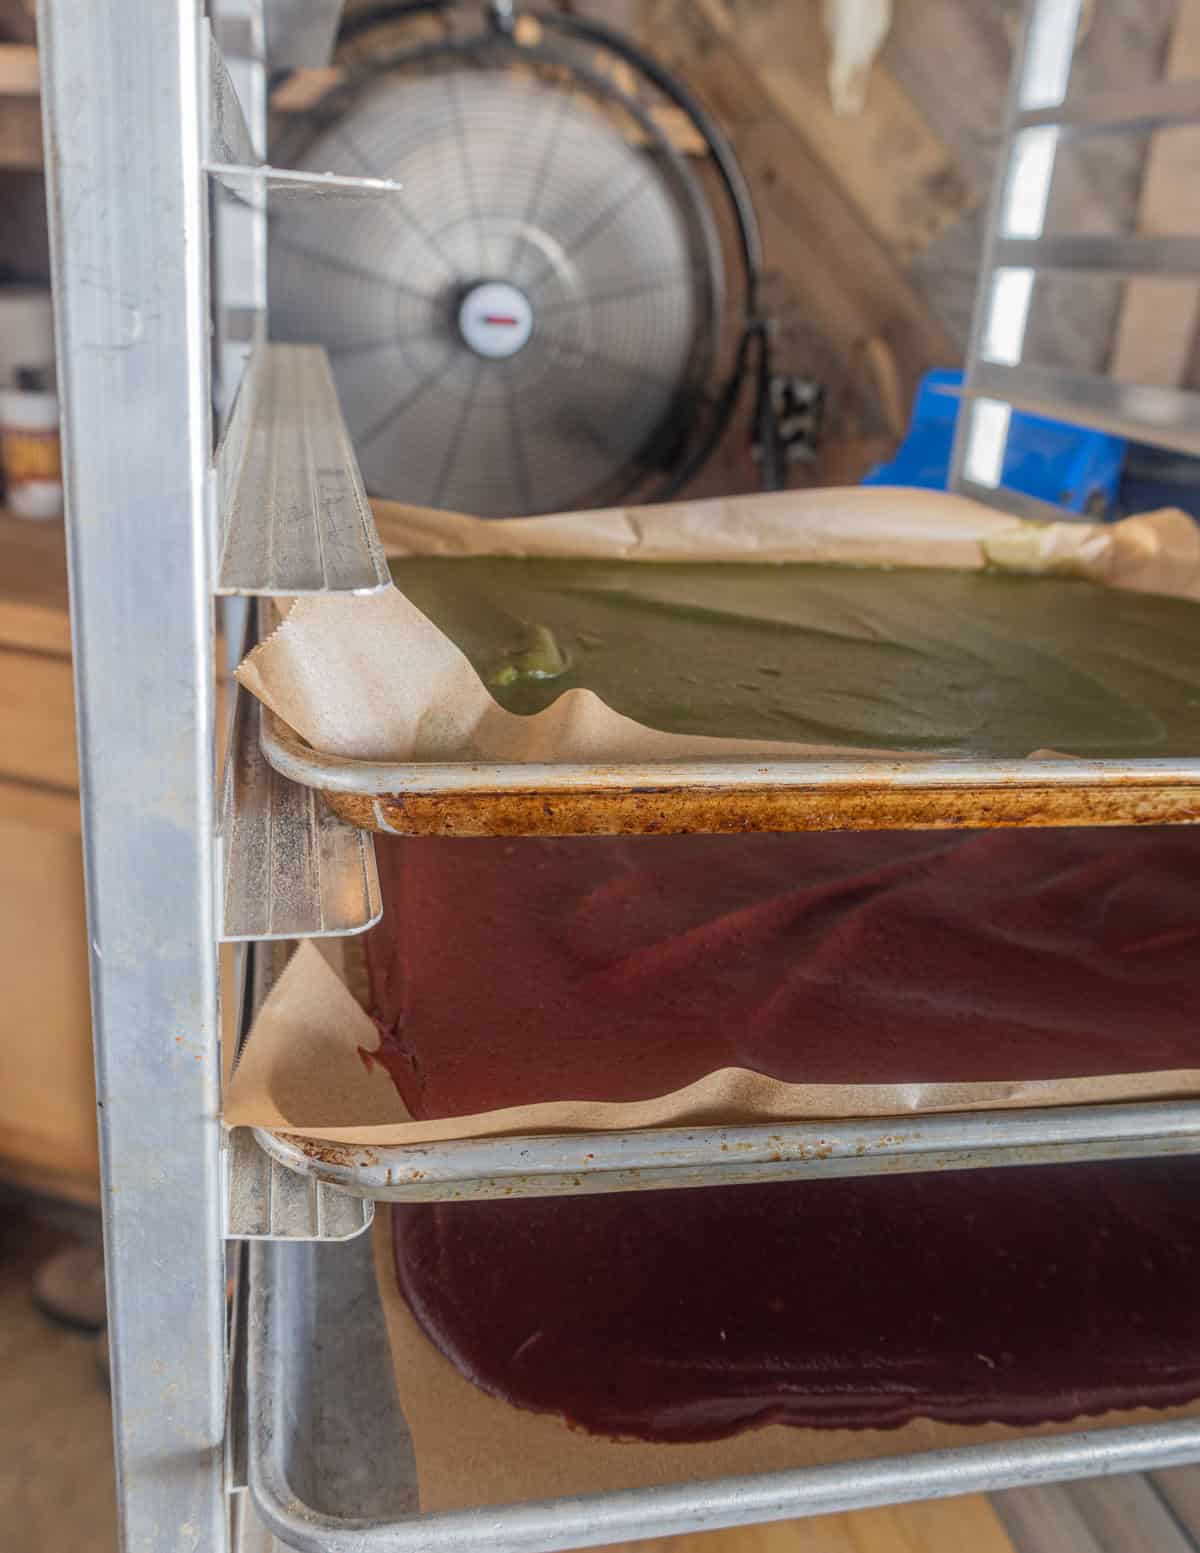
To use a fan, spread the fruit puree onto a large baking sheet (ideally full-size), then aim a box fan at the tray of fruit puree. After 24 hours you should be able to peel the fruit from the parchment, flipping it to speed up the drying time. Most of mine are done within 48 hours.
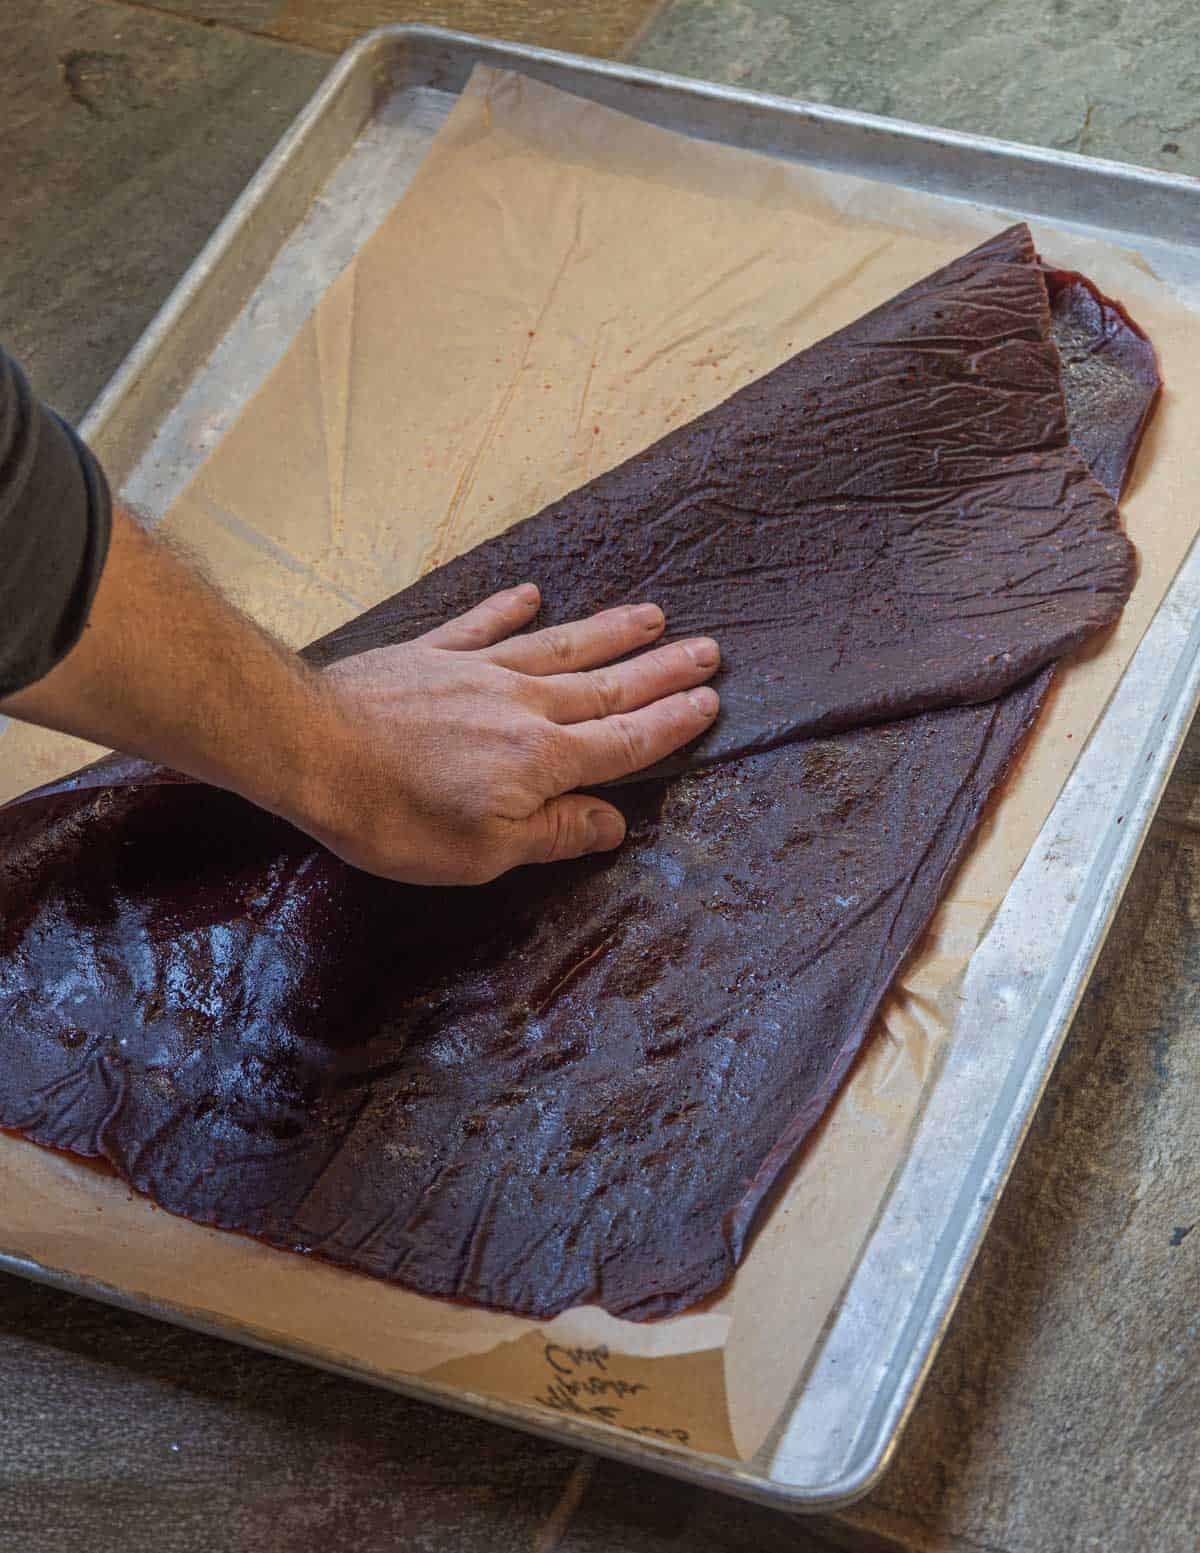
The benefits here are that the leather is slowly dried, ensuring a perfect texture, and can be done is very large amounts. The caveat is that it takes about twice as long.
Chef's Tips
Here's a few things I've learned, and ideas for playing with flavors.
- Fresh herbs can be added at the end. The apple, nettle and mint version shown in the video is one of my favorites. Think granny smith apple on steroids.
- A sour-spicy leather with crabapples, cranberries and lime zest grated in before drying was excellent. I used 1 teaspoon of zest per 4 cups of fruit puree.
- While many fruits don't need any sugar, a small amount of maple syrup is great for tweaking the sweetness, added to the fruit while cooking or while pureeing, before baking.
- I usually use at least half apple for pectin, but as long as the puree is cooked well to evaporate water you can use just about any fruit you like. Autumn olives make a fantastic leather.
- Aim for a ¼ inch thick layer of fruit puree before drying. If you can see the parchment through the puree before drying, it may become brittle or overly chewy like fruit jerky.
- High-pectin fruit like apples and cranberries hold together and stay tender. Lower pectin fruit like bananas, nannyberries and strawberries can end up brittle and crumbly.
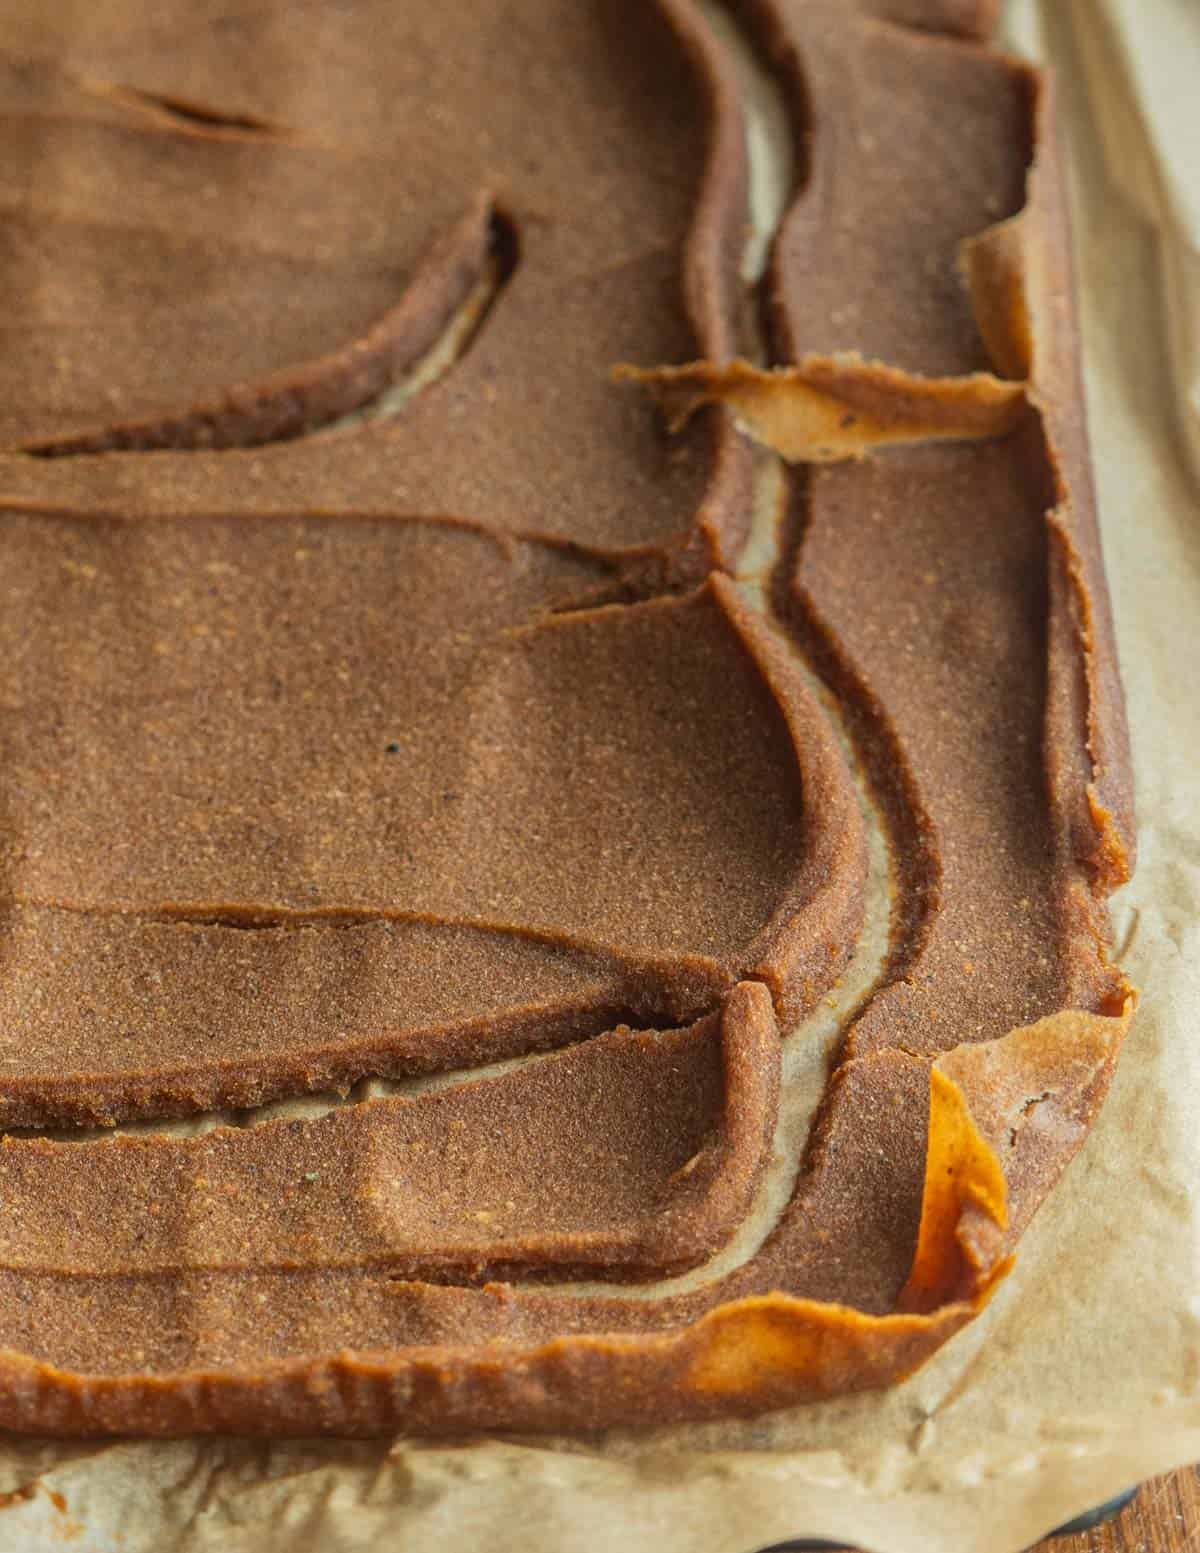
- The persimmon leather below tasted great, but next time I'd use 3 parts apple to one part persimmon puree-this is demonstrated in the video using a cold method I also use for paw paws.
Serving and Storing
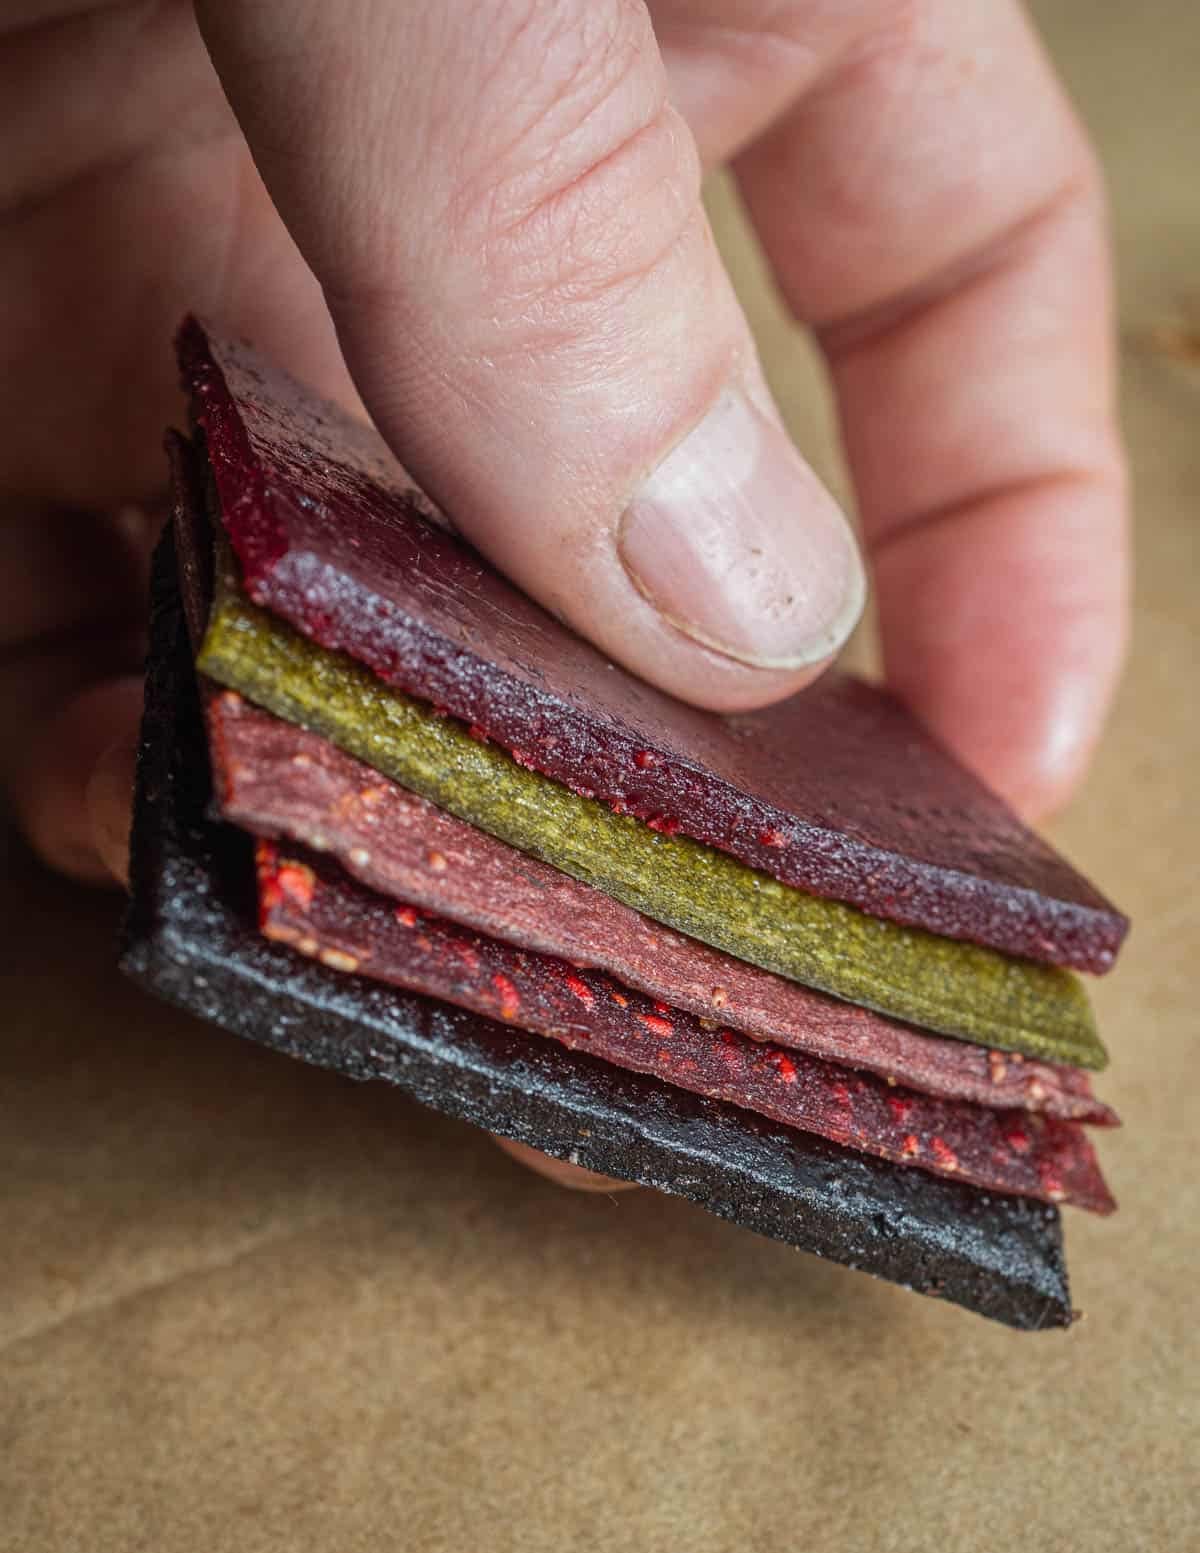
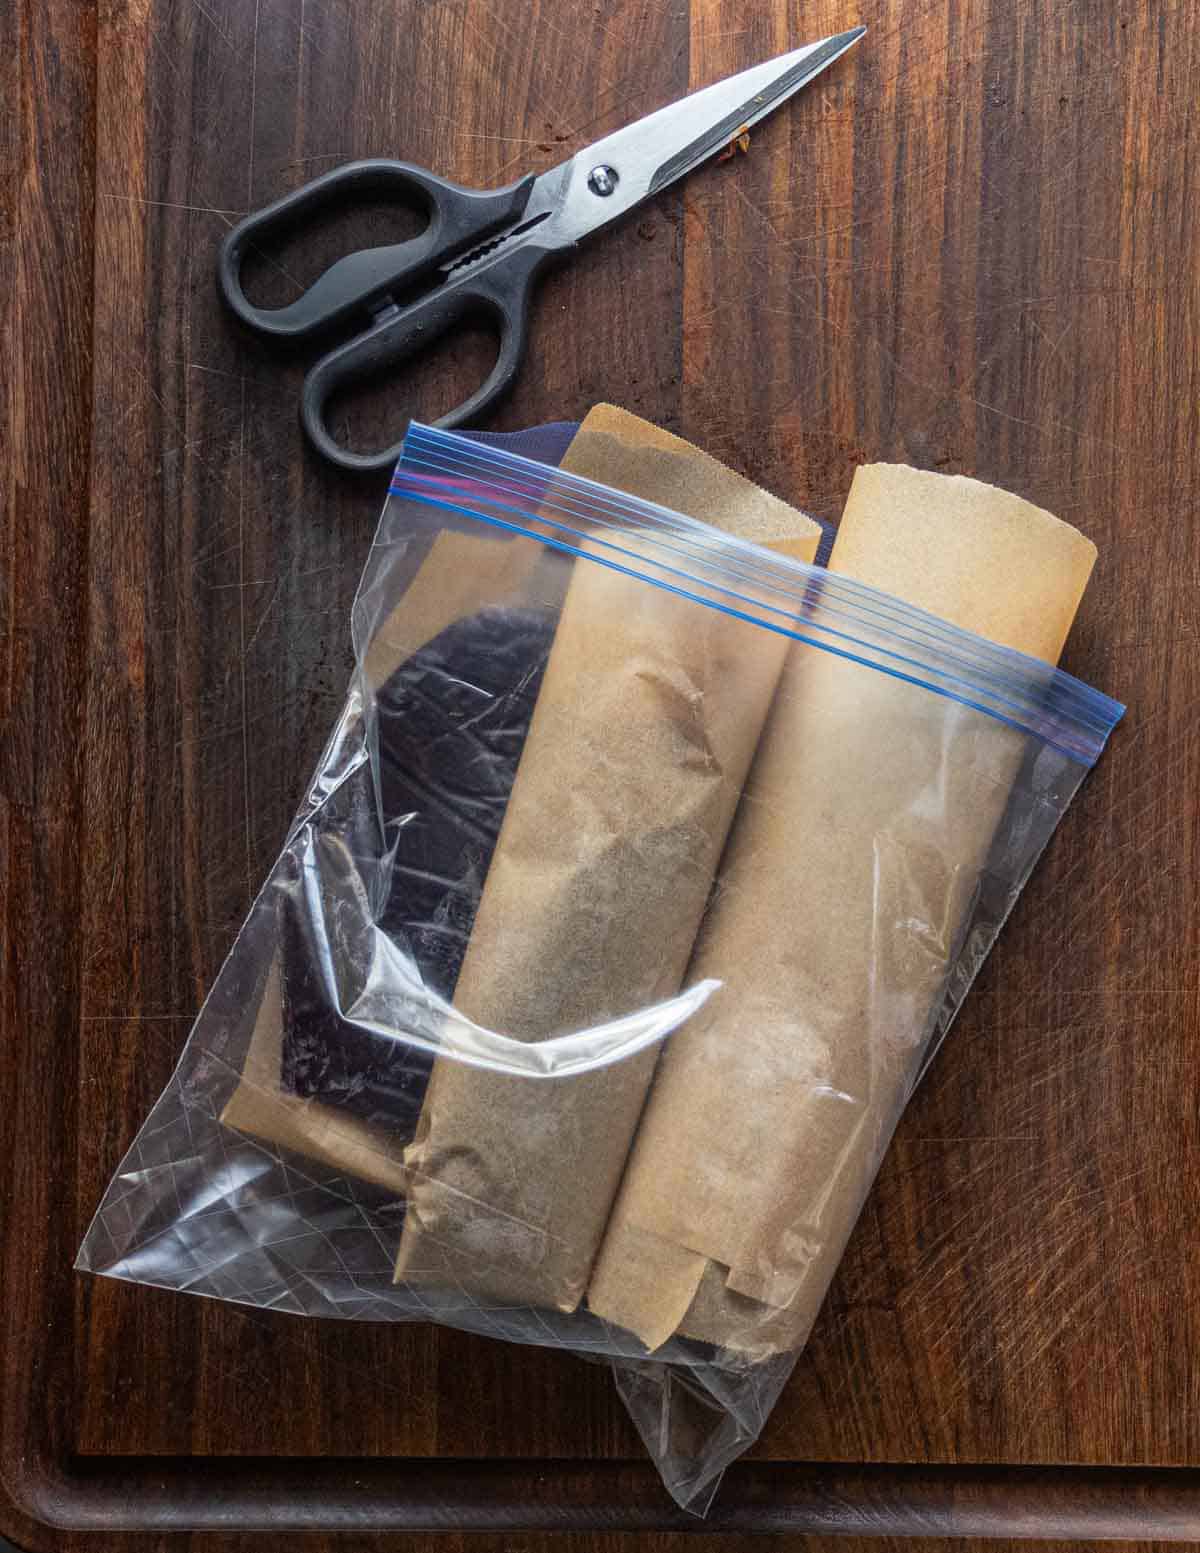
Fruit leather is very durable and will keep in a pantry for months in a tightly sealed container. Zip Loc bags work great. It's a delicious, naturally sweet snack for kids and adults perfect for traveling, camping, or enjoying at home.
Depending on the fruit it can be slightly sticky, so I cut the sheets into pieces with a scissors, storing them between layers of parchment.
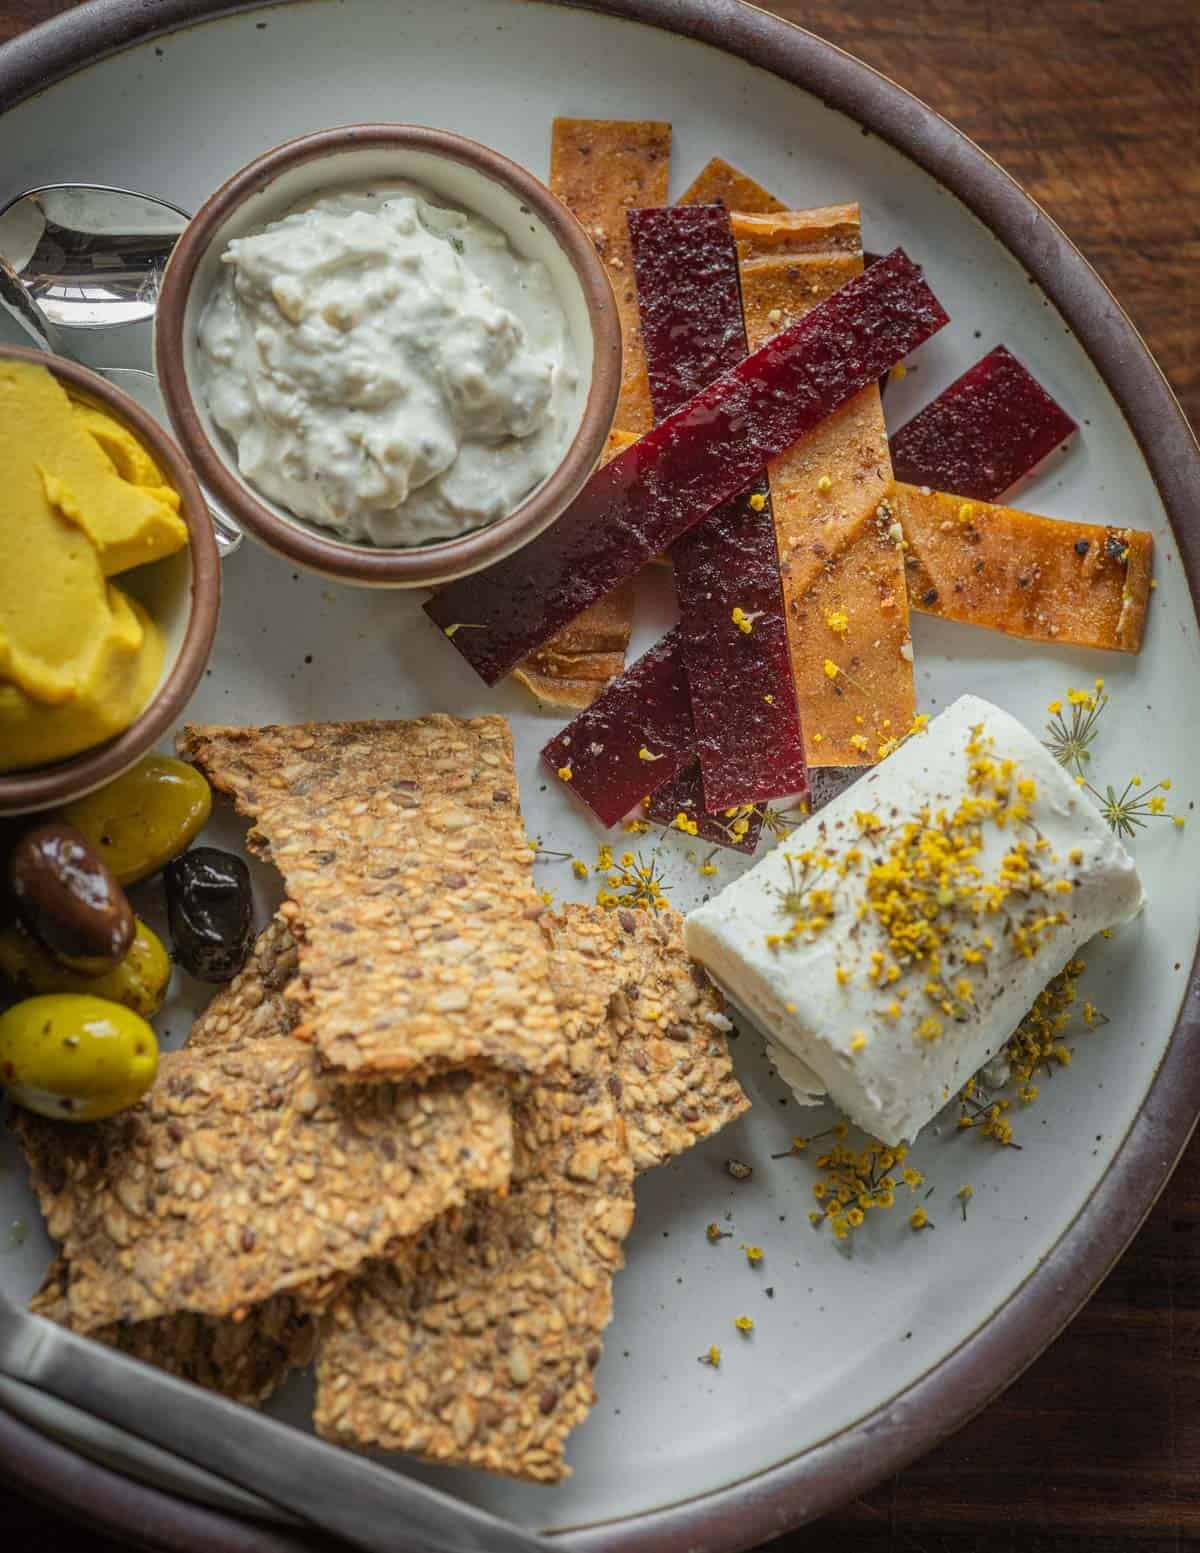
I often serve it at dinners and events as it travels well. It's great on a breakfast or lunch platter with fruit and soft, mild cheese, a winter cheese plate, or a selection of after dinner sweets (mignardises).
Do you make fruit leather at home? If you do, drop your favorite type in the comments and anything else that would be helpful for others. If you want more details on any of the flavor combinations mentioned at the top of this post let me know and I'll describe them in the comments.
Related Posts
Homemade Fruit Leather
Equipment
- 1 Box fan dehydrator or oven
- Sheets of parchment paper as needed
- 1 large off-set spatula
- 1 Blender
- 1 large 2 gallon pot or slow cooker
- 1 Food mill or apple sauce maker
- baking trays ideally full-size, or two half-size trays
Ingredients
Whole Fruit
- 5 lbs apples washed, unpeeled and whole
- 2 lb cranberries fresh or frozen
- 1 lb berries such as blueberries, fresh or frozen
- ½ teaspoon kosher salt as a preservative
- ¼ cup maple syrup or more to taste (optional)
Peeled, Skinless, Seedless Fruit
- 4 lbs diced apples starting with ~ 5 lbs raw, unpeeled apples
- 2 lb cranberries fresh or frozen
- 1 lb berries such as blueberries, fresh or frozen
- ¼ cup maple syrup or more, to taste (optional)
- ¼ teaspoon kosher salt as a preservative
Instructions
Using whole fruit
- Cut the apples into pieces, leaving the skins and seeds attached.
- Add the apples and remaining ingredients to a slow cooker and cook on low heat until the fruit begins to break down, about 4-5 hours.
- Pass the fruit through a food mill or an apple sauce maker.
- For the best texture, puree the warm fruit in a blender until smooth.
Using peeled, seedless, skinless fruit
- Combine all ingredients, cover, and cook until the fruit is soft and breaking apart, about 30 minutes, stirring occasionally and scraping the bottom of the pan.
Pureeing and dehydrating
- Puree the cooked fruit.
- Pour the puree into a wide pan at least 10 inches wide and bake at 325 F for 1-2 hours, until the mixture is thick like loose mashed potatoes or fruit butter, and you can see the bottom of the pan when stirring with a spatula, whisking occasionally to break up any clumps of pectin.
- Spread the fruit puree in a layer at least ¼ inch thick on a sheet of parchment on a full-size baking sheet, or two half-size baking sheets using an off-set spatula.
- 4-5 cups of fruit puree is good for a typical baking sheet (half size). 8-10 cups of fruit puree is good for a full-size sheet tray.
- Put the sheet trays in front of a box fan and leave to dry for 24-28 hours, or until they remove cleanly from the parchment or silicone.
- Alternately, put half-sized baking sheets in an oven at 150-170 F, or a dehydrator. Both ovens and dehydrator fruit leather is ready in about 12 hours.
Serving and storing
- Cut the fruit leather into manageable pieces using a kitchen shears, lay between sheets of parchment and store in a pantry or the fridge for long term storage.
Leave a Reply