
The best Canadian goose recipe I know that can make hunters think twice about leaving their birds for the cayotes. Smoky, slightly spicy, and aromatic from a crunchy crust of pepper and coriander, goose pastrami is one of the best examples of how brining and smoking can tame meat that can otherwise be too gamey for most people. Today I'll show you two ways I make it.
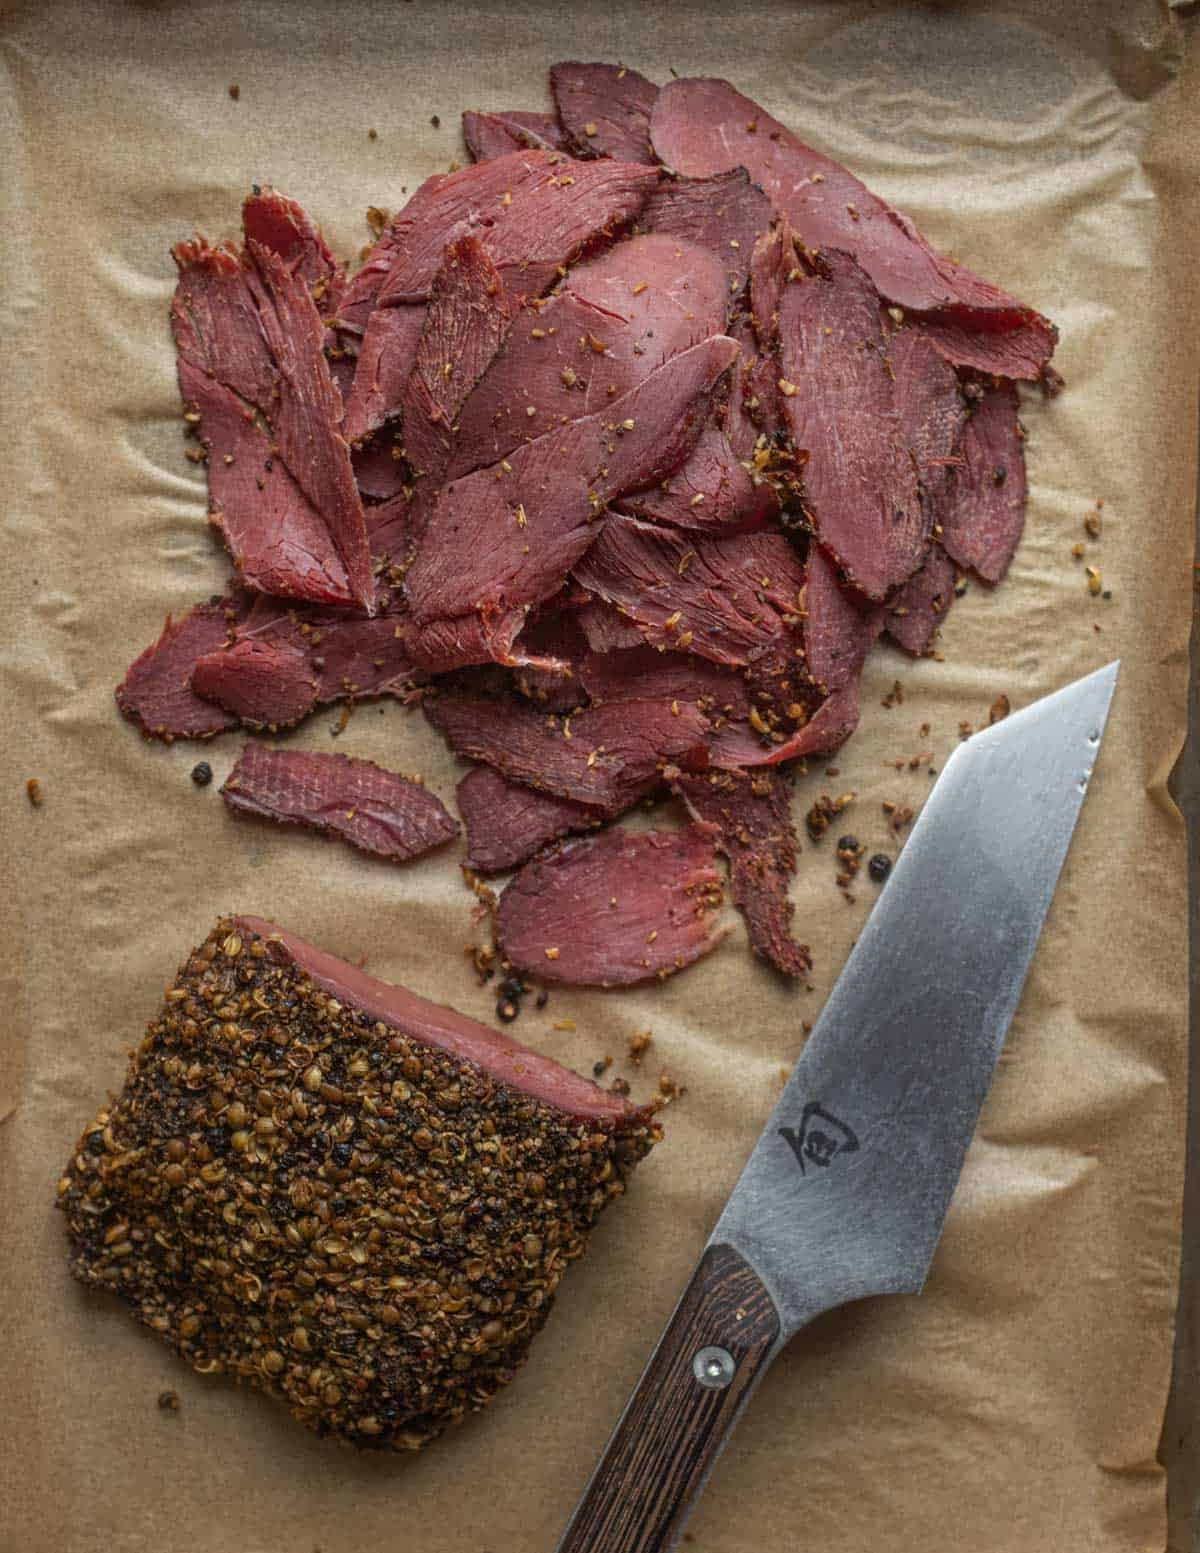
Seriously, if you've eaten Canadian geese and found it fishy or otherwise offensive, the trash to treasure transformation brining and smoking provides is alchemical here. If you don't tell people, most will assume it's beef. This week I processed nine geese, all cured and smoked as you see here. It's that good.
This recipe is a sneak peak from my new book, the Forager Chef's Book of Fauna. If you haven't ordered a copy yet, here's the link.

How to Make Goose Pastrami
If you, a friend or spouse hunt Canadian geese you might receive the meat already removed from the carcass or breasted-out as it's called. If that's the case you can skip to the curing section.
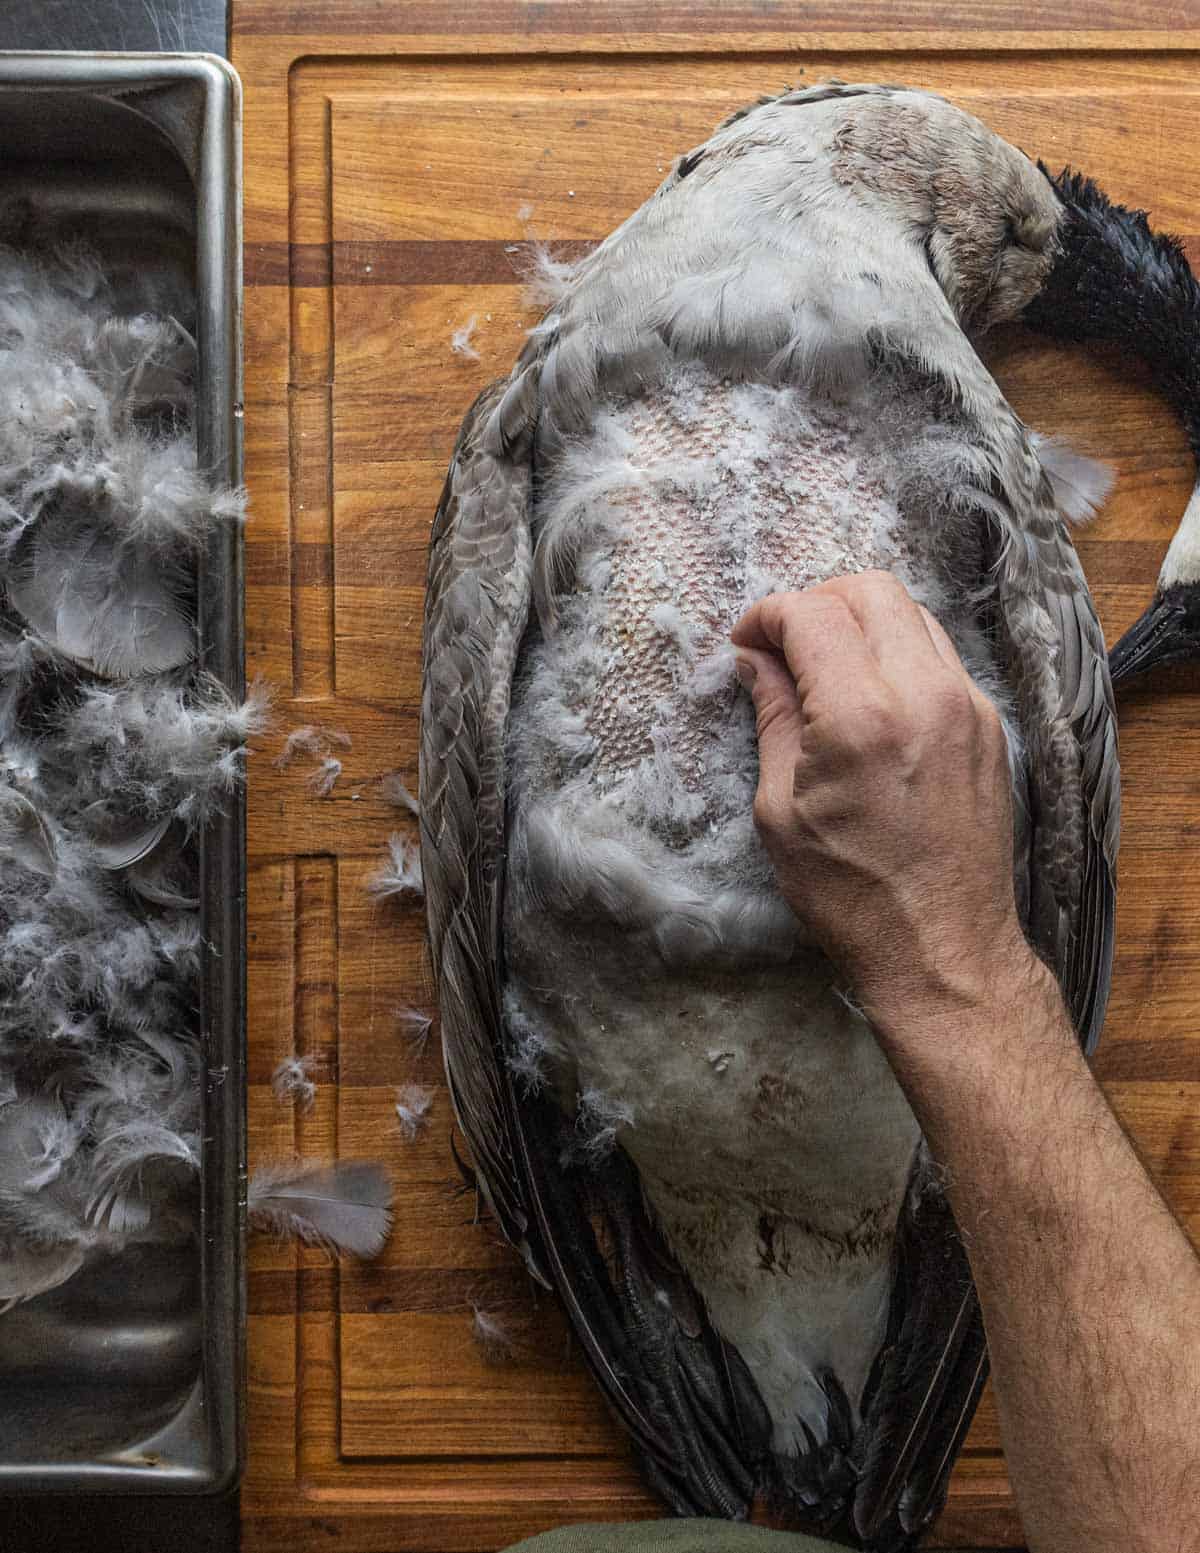
If you have a fresh goose, the first thing to do is remove the feathers from above the breast meat. Pluck the goose in the garage or outside as it's a bit messy. The feathers will release easier if the goose has rested in the fridge for a day, but I'll pluck them right away if I have to. Plucking only takes me about 10 minutes, but I do have a friend or two who prefer to rip them open like Cro-Magnon Man.
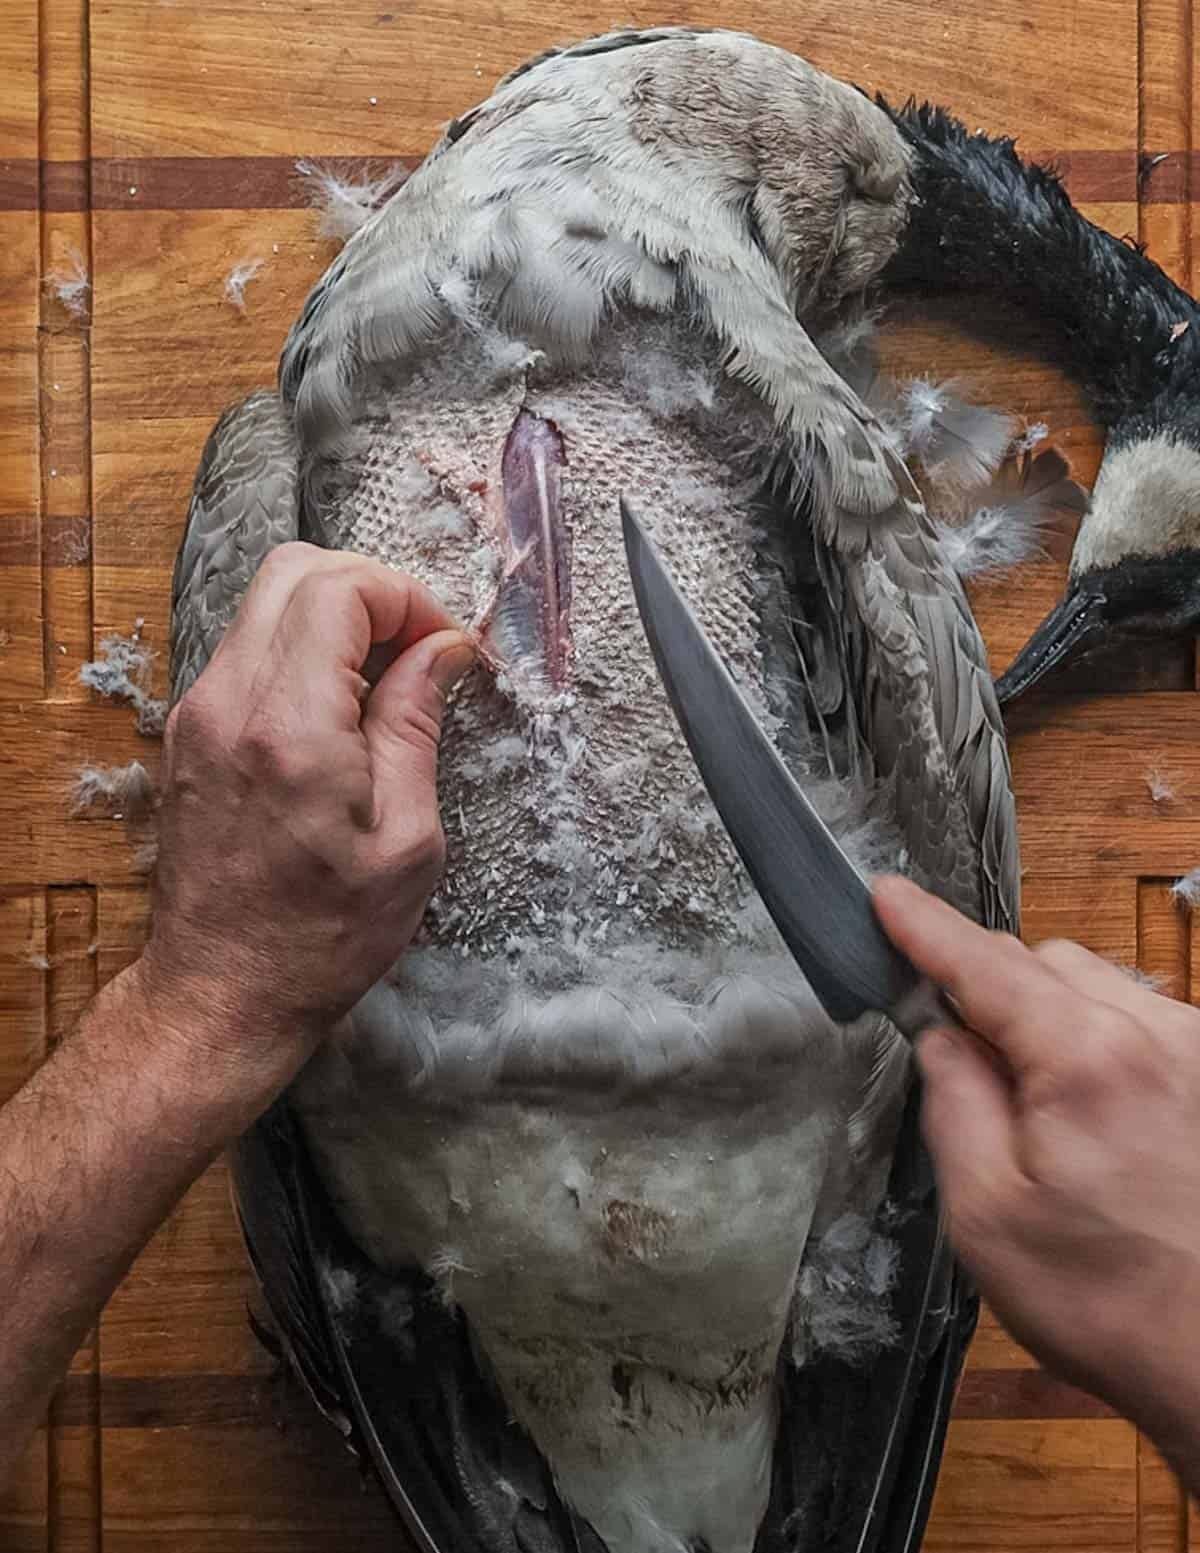
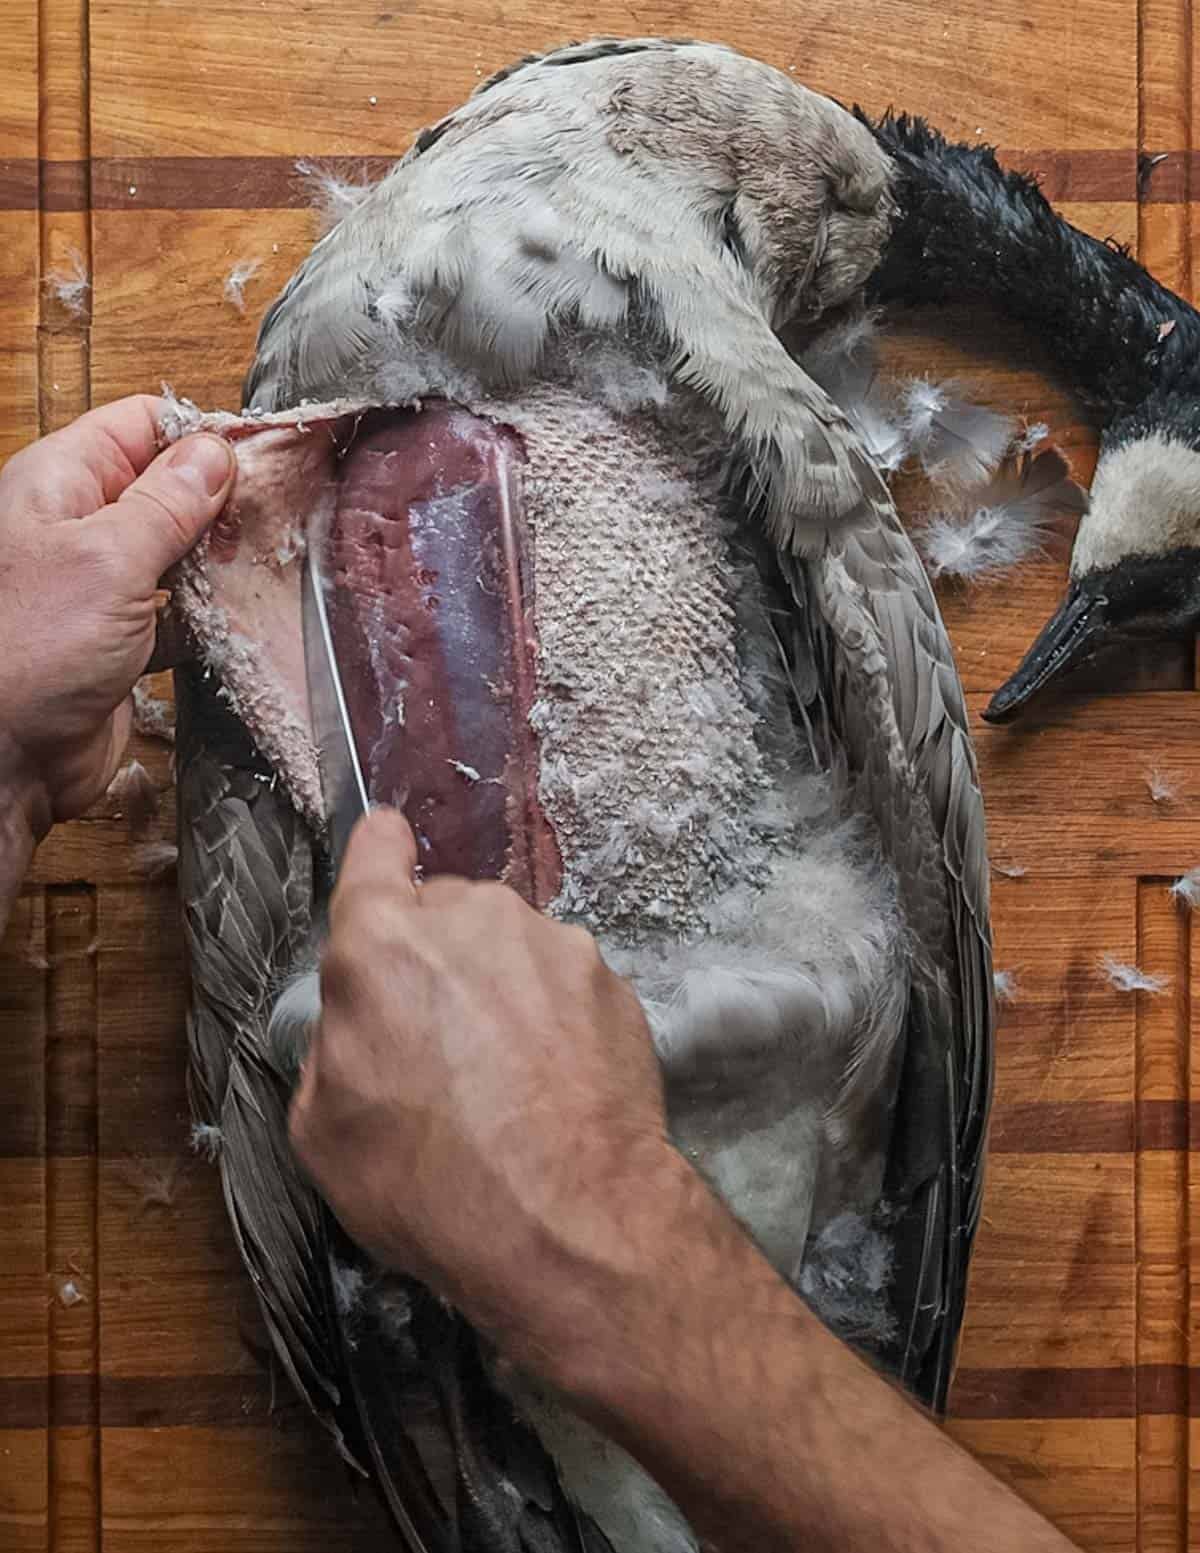
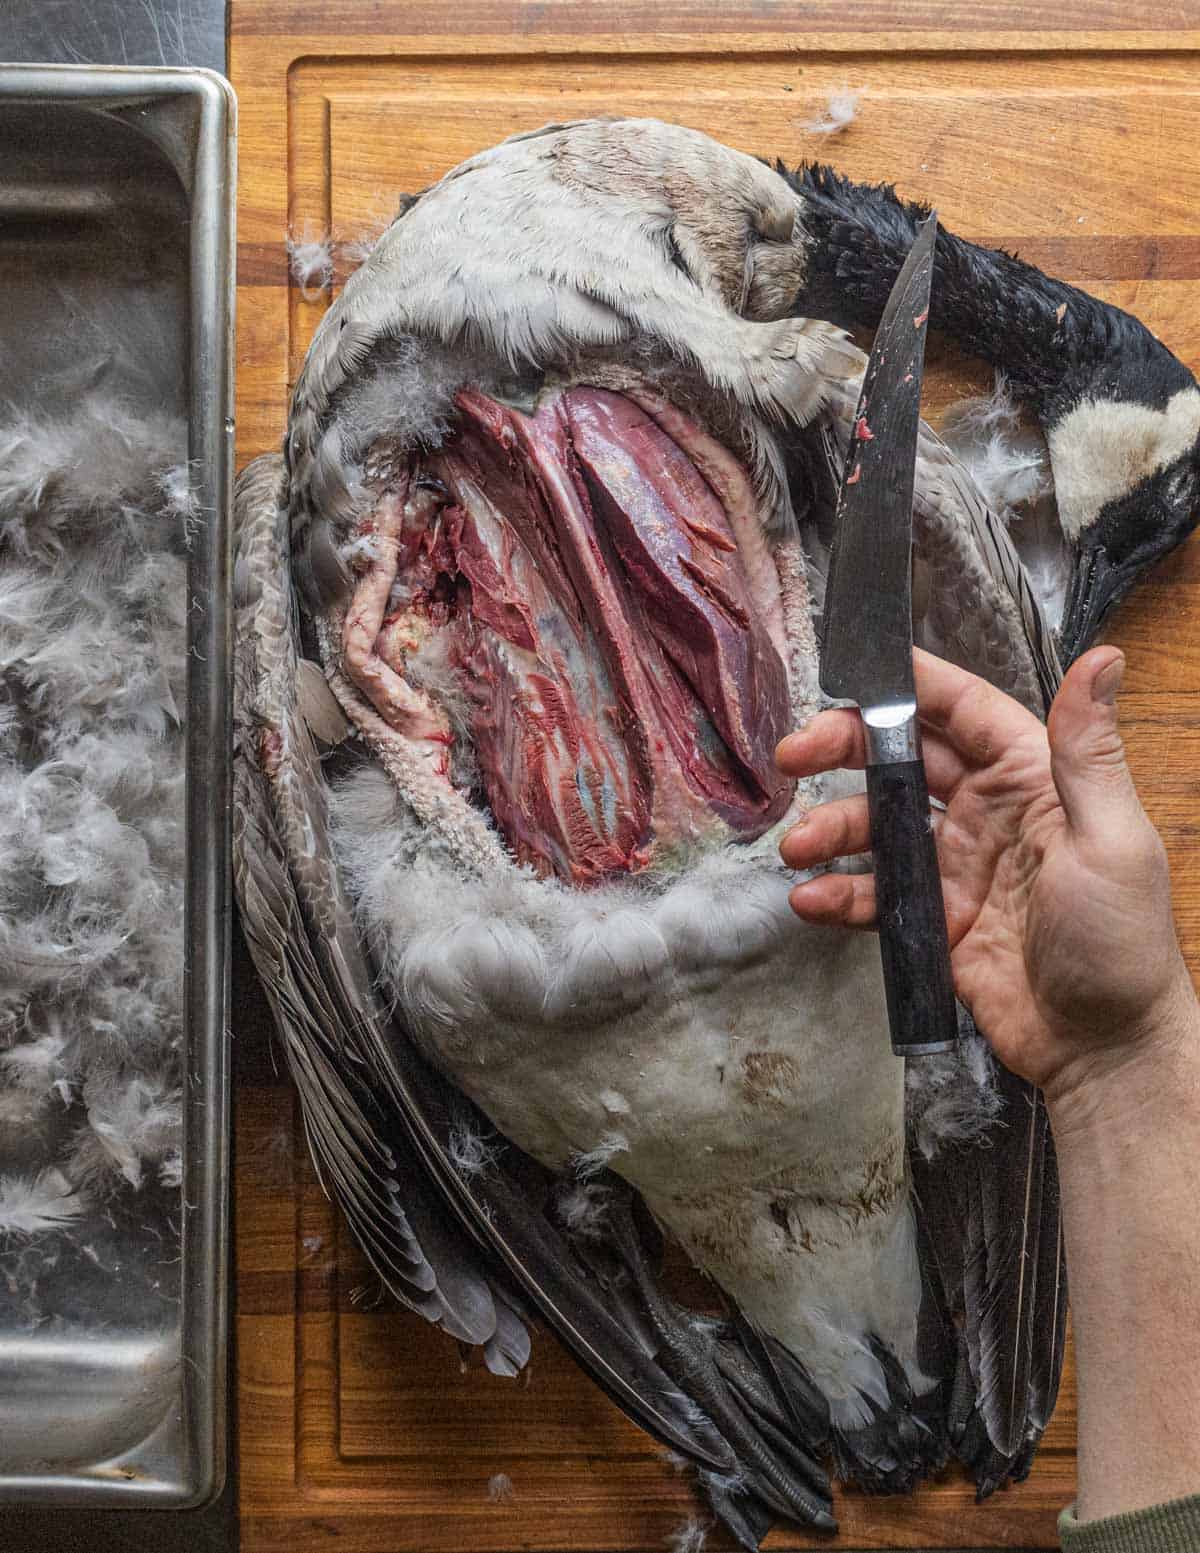
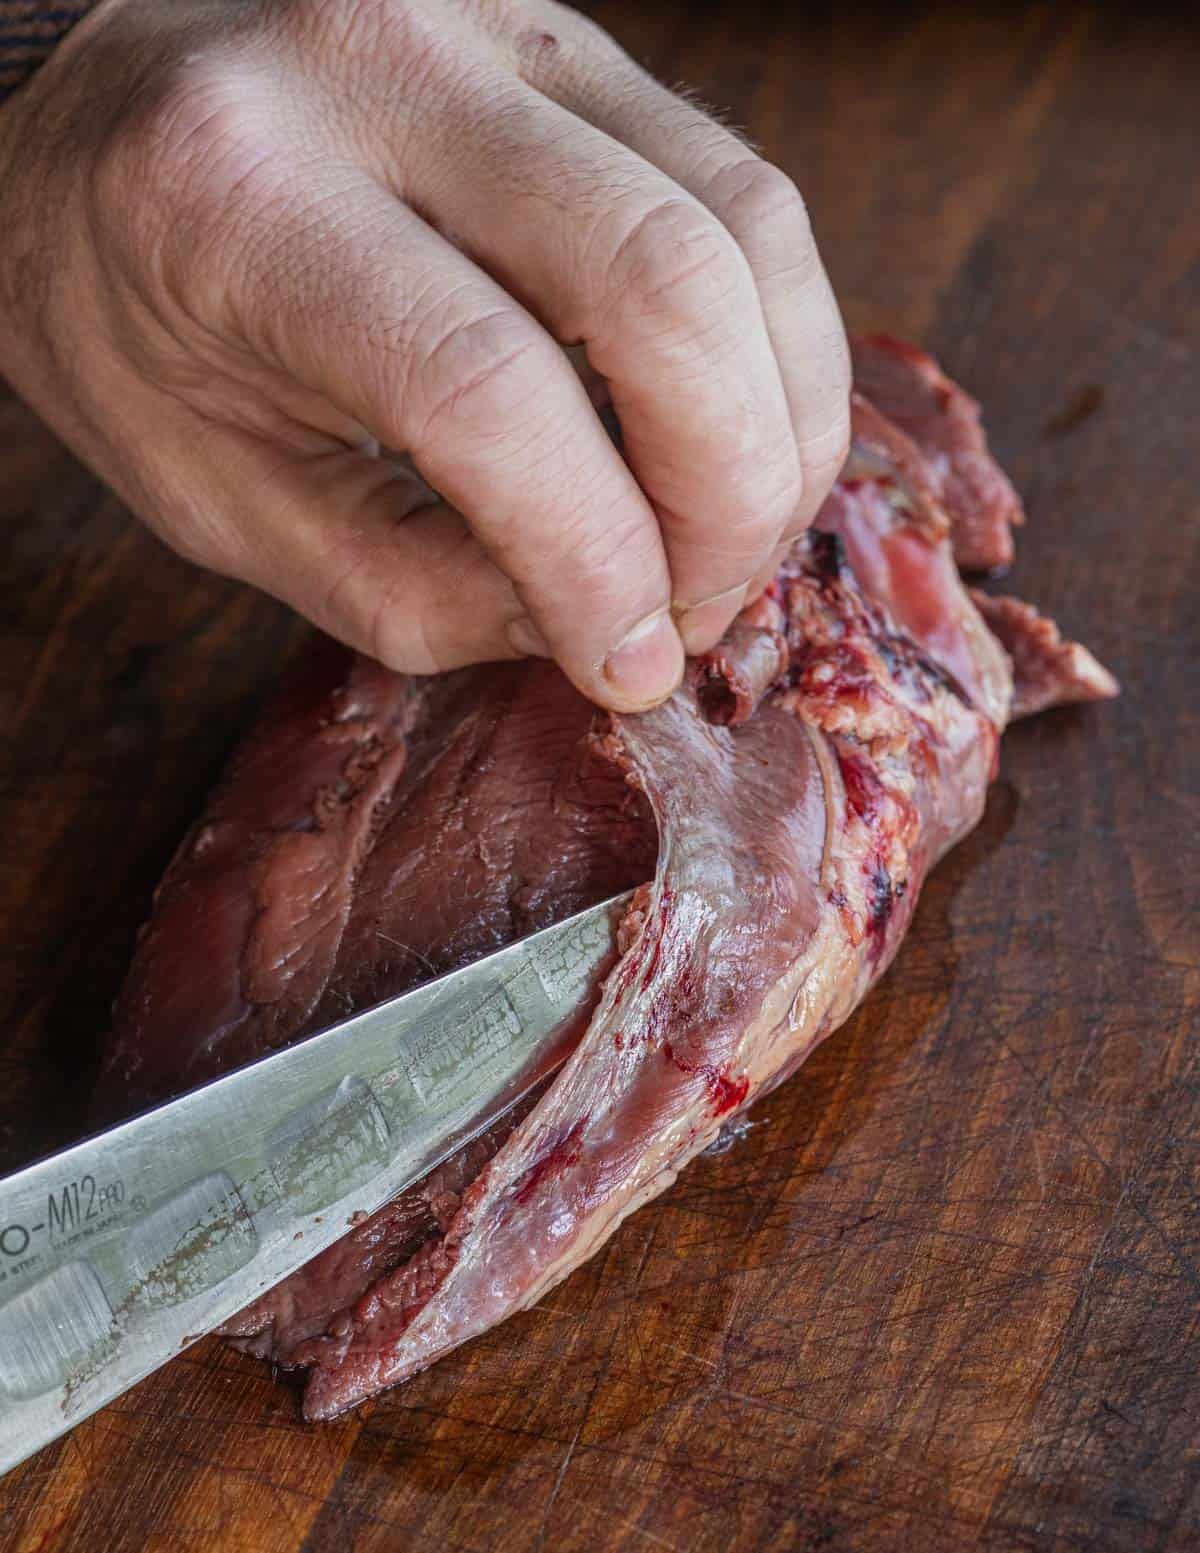
Once the feathers are removed from above the meat, find the breastbone and make an incision along it. Peel back the skin from each side of the bird to reveal the meat, then remove the breasts, keeping the knife close to the bone as you would a chicken.
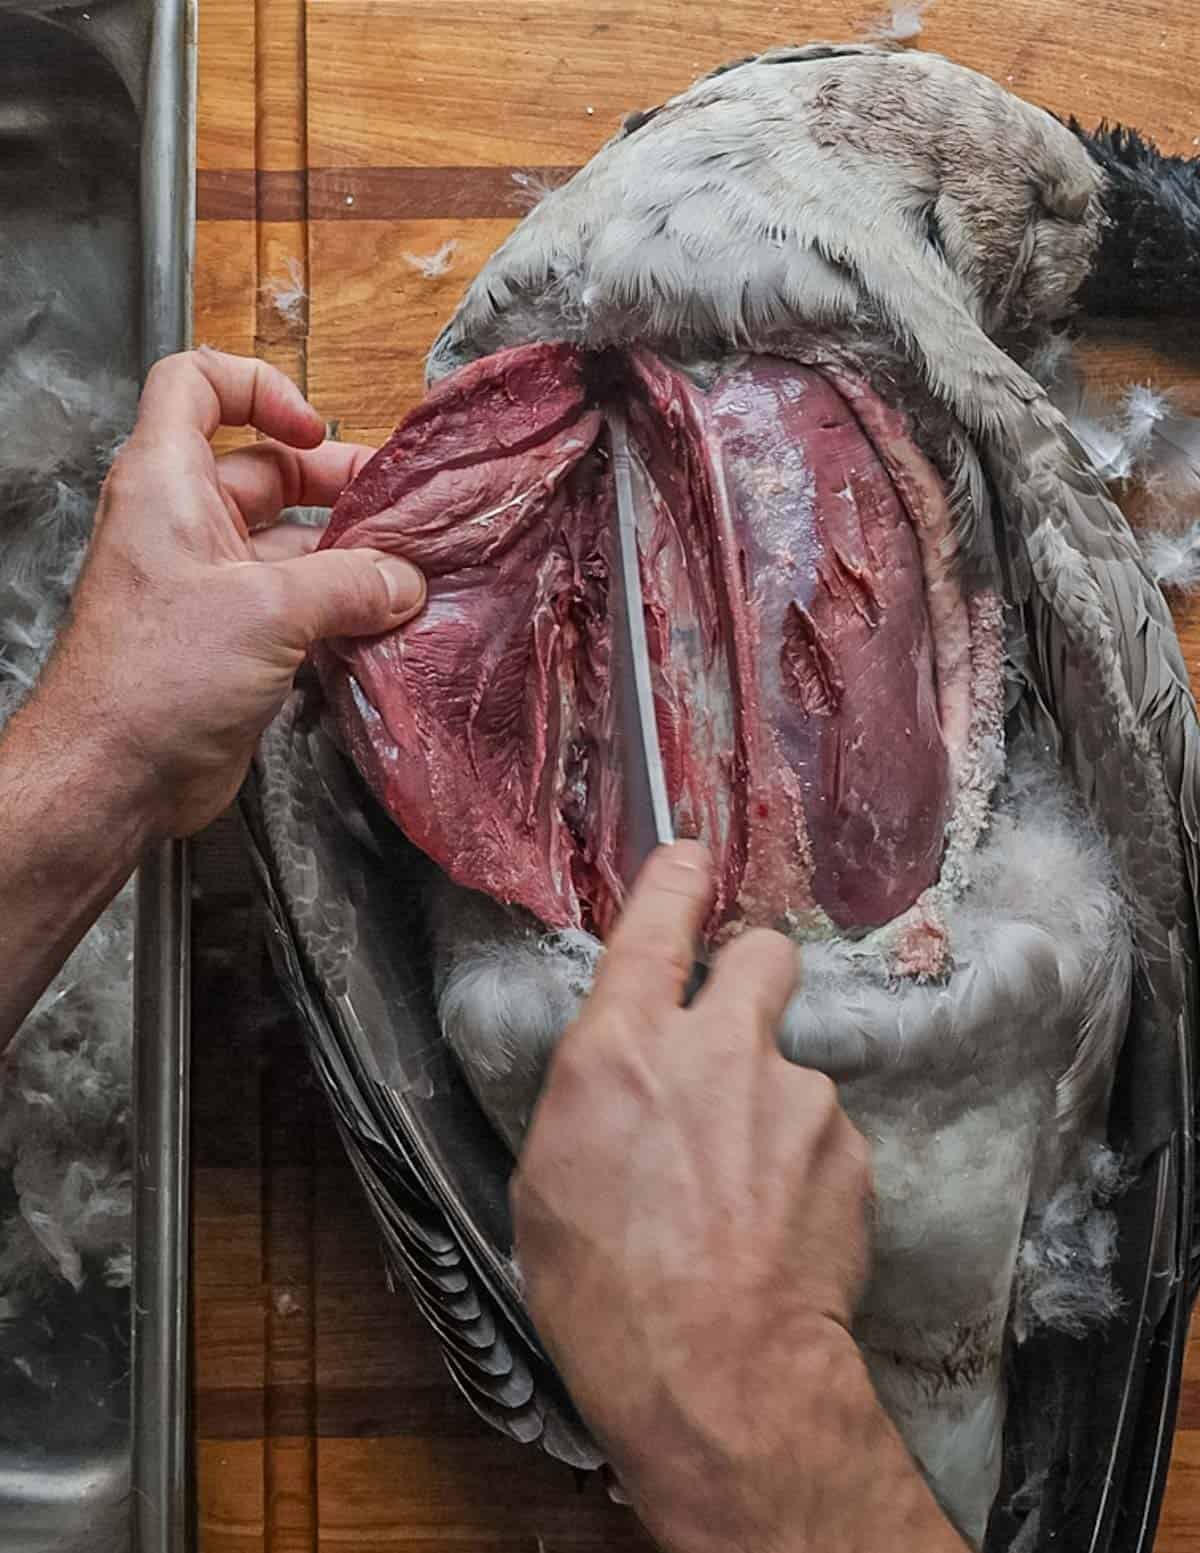
From here many people leave the carcass for the cayotes, but you can also keep the legs for braising and pulling. They can make decent tacos, as do wild turkey legs.
Leaving the Fat Attached
Another option here is to pluck the breasts clean and leave the skin attached.
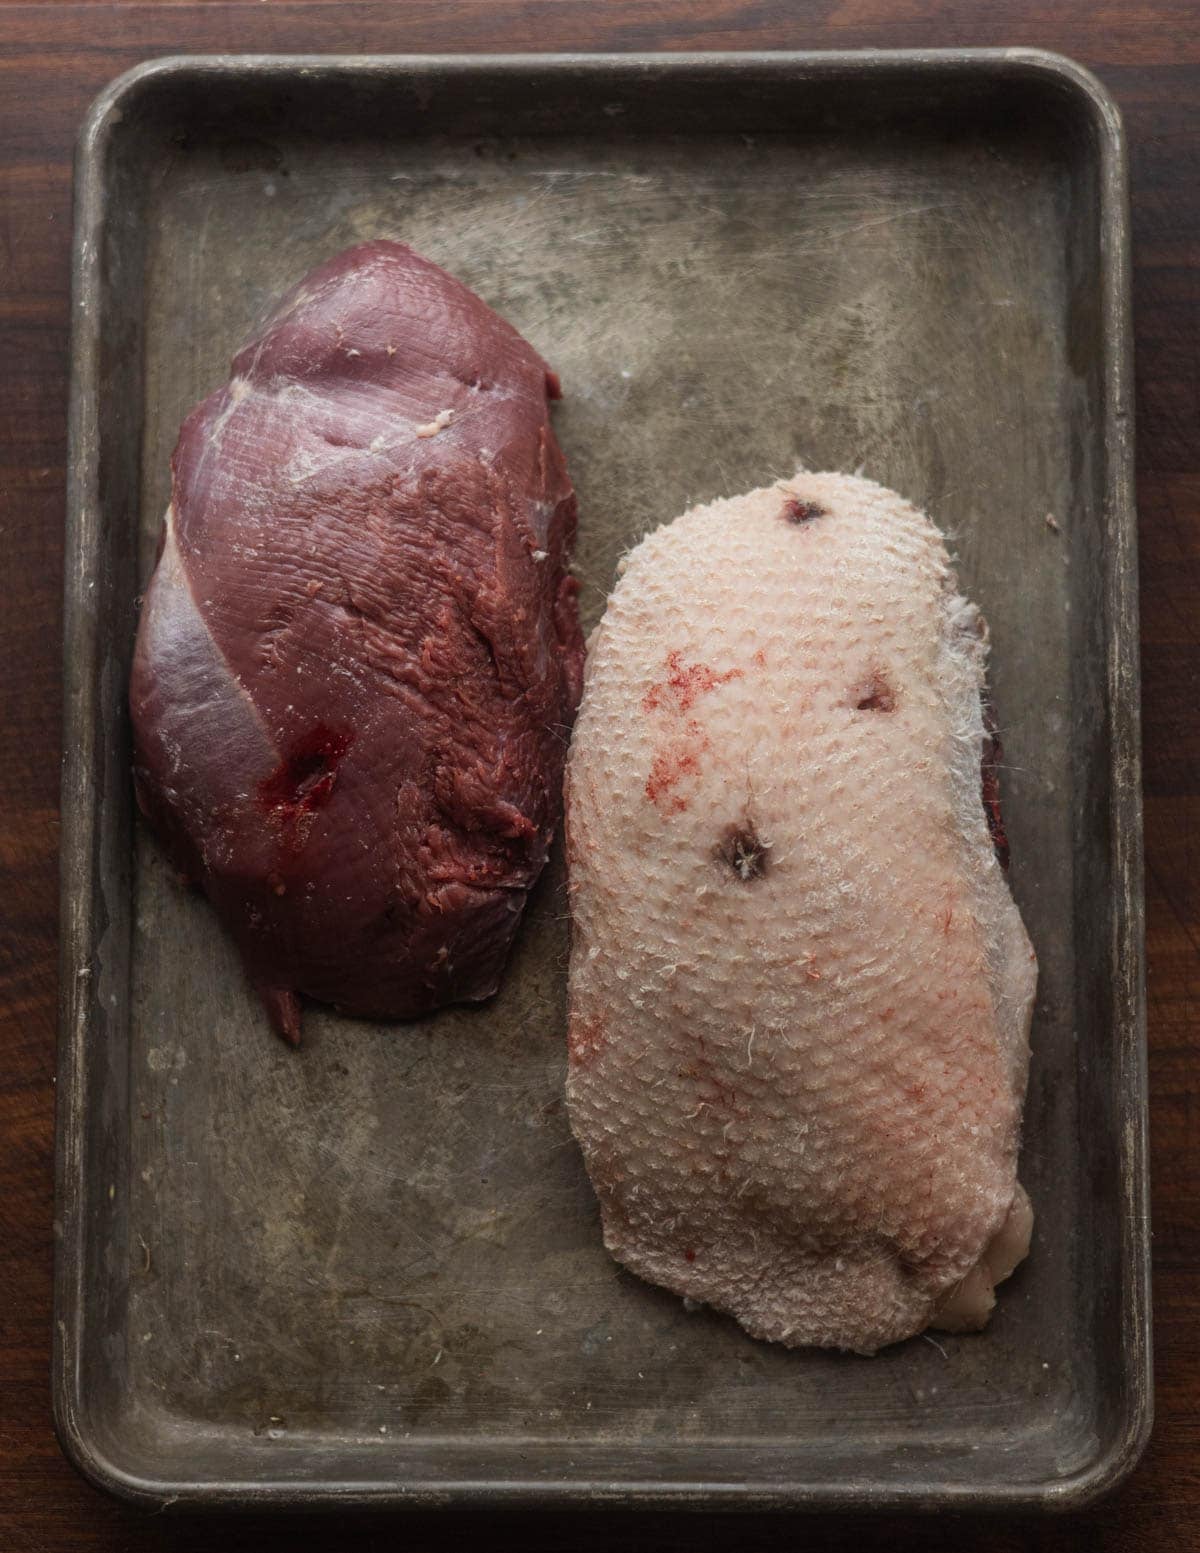
I find this method is better for duck breasts and I prefer the aromatic crust of pepper and coriander to wild goose fat, personally. If you leave the fat attached it'll have a stronger flavor, which can be slightly fishy.
Inspect and Trim the Breasts
Ideally your breasts won't be too damaged from shot. If your breasts are pristine, great. If you see any holes from shot or coagulated blood, which is likely, each one must be inspected.
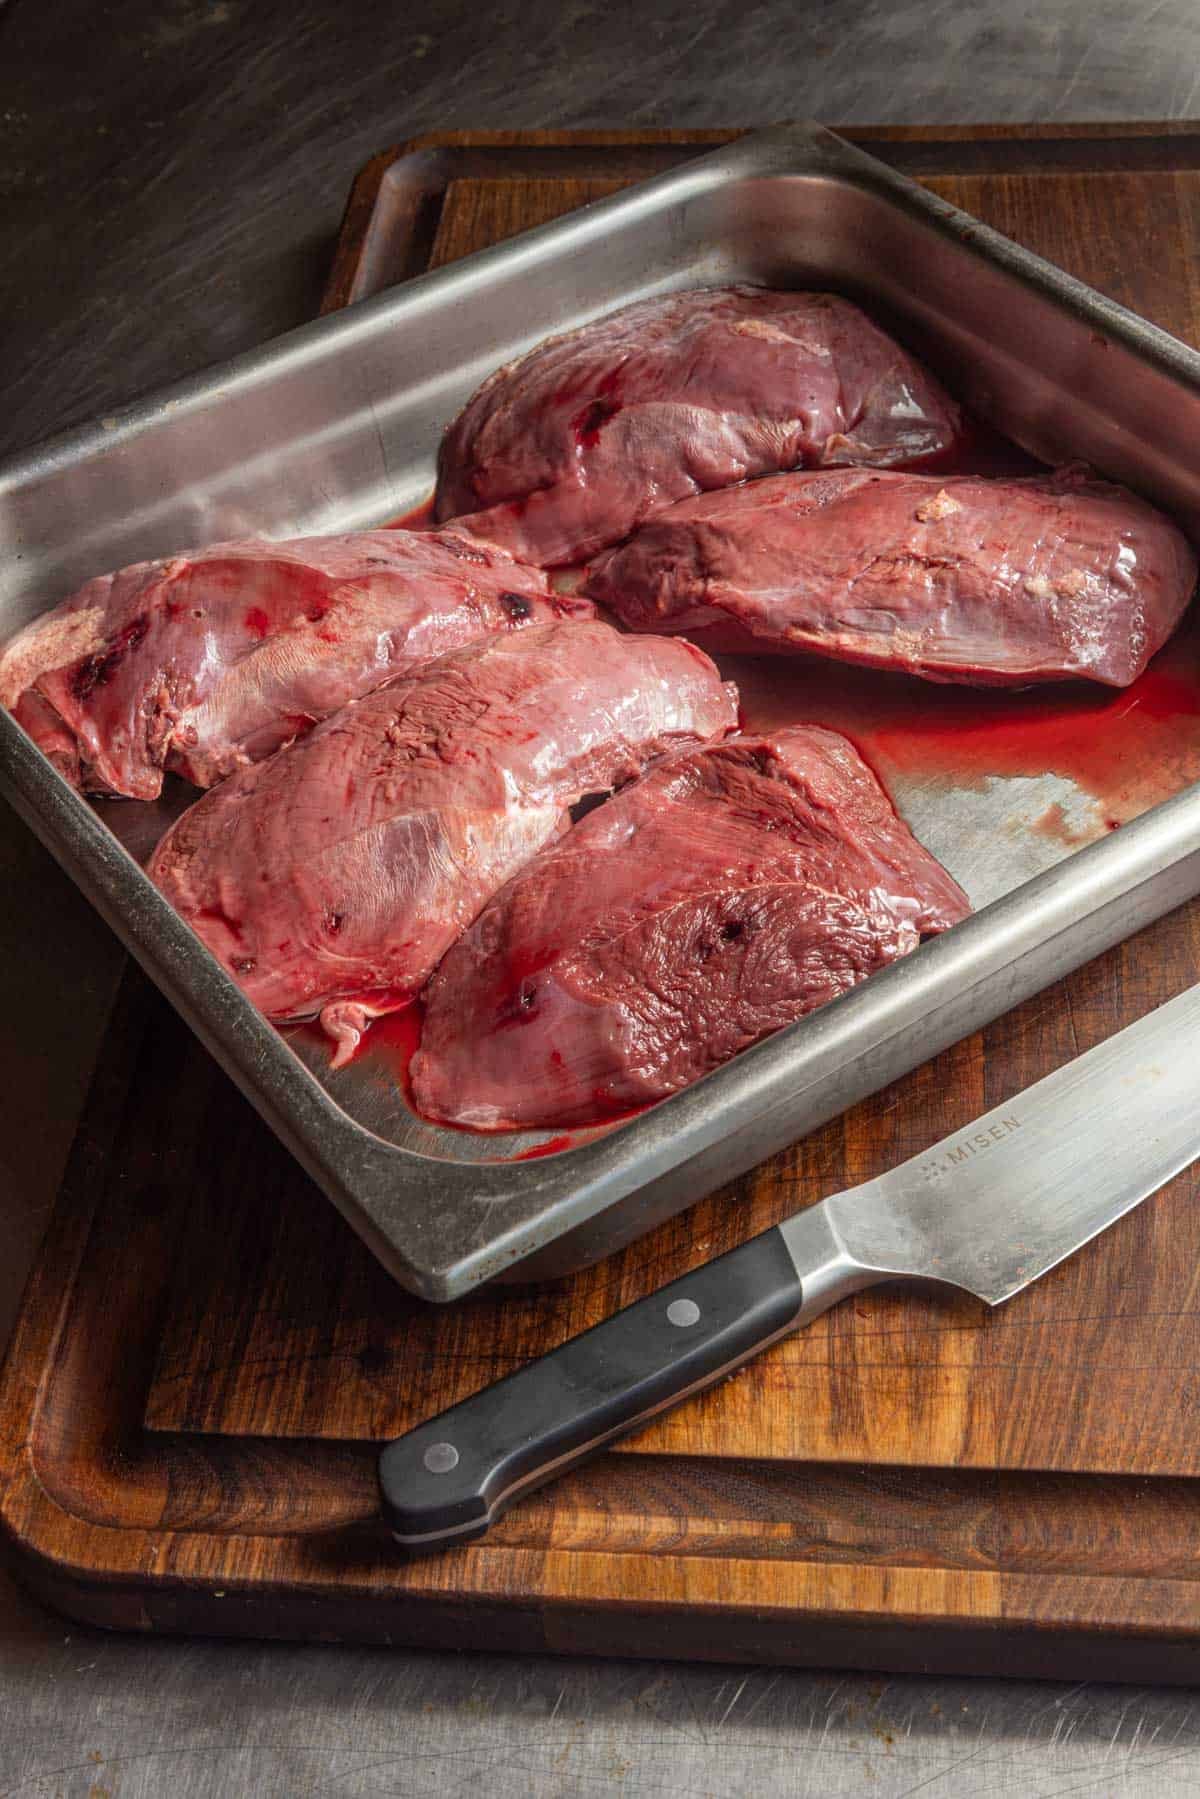
Inspect any holes in the breast and feel for shot, which should be removed before cooking. Thankfully slicing will reveal any shot you miss, but if the meat was harvested with lead shot I remove any and all I can find before cooking.
Any coagulated blood, or meat containing coagulated blood should be trimmed off and discarded.
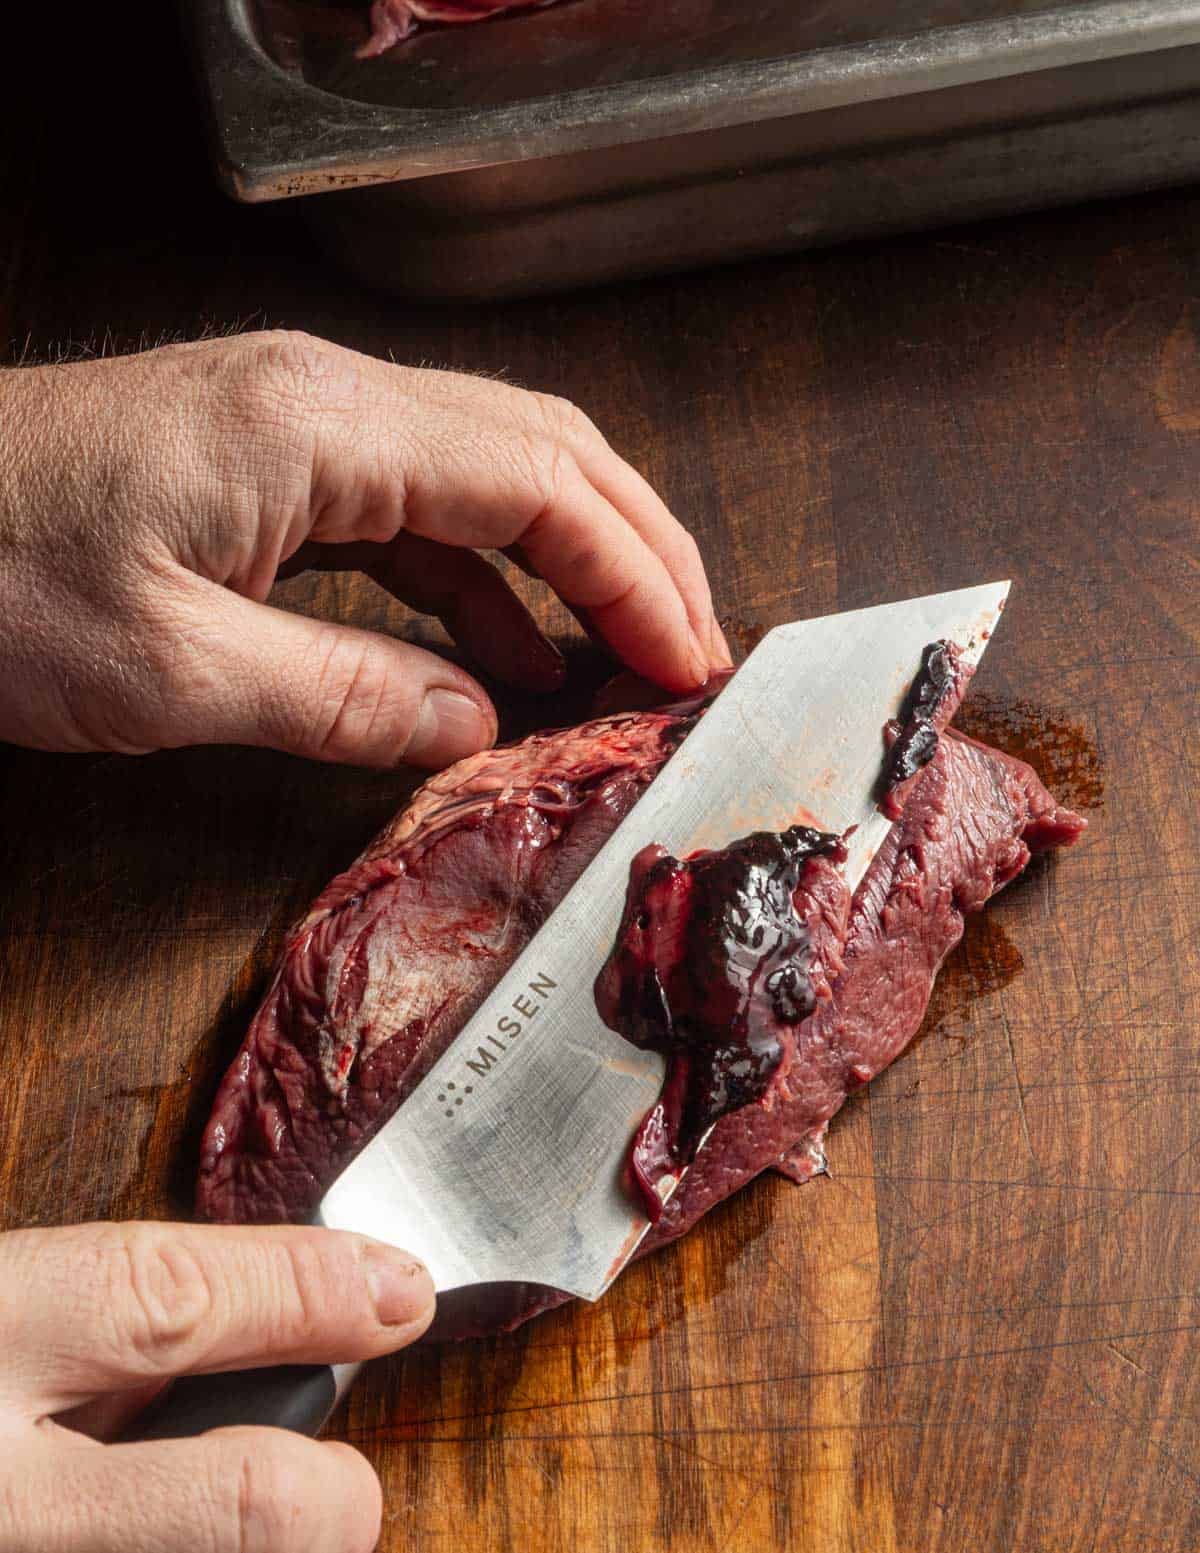
Holes from shot are trickier as the shot can push feathers and debris inside the meat, as you can see below. Any holes should be inspected with tweezers for inedible material, like feathers and shot below.
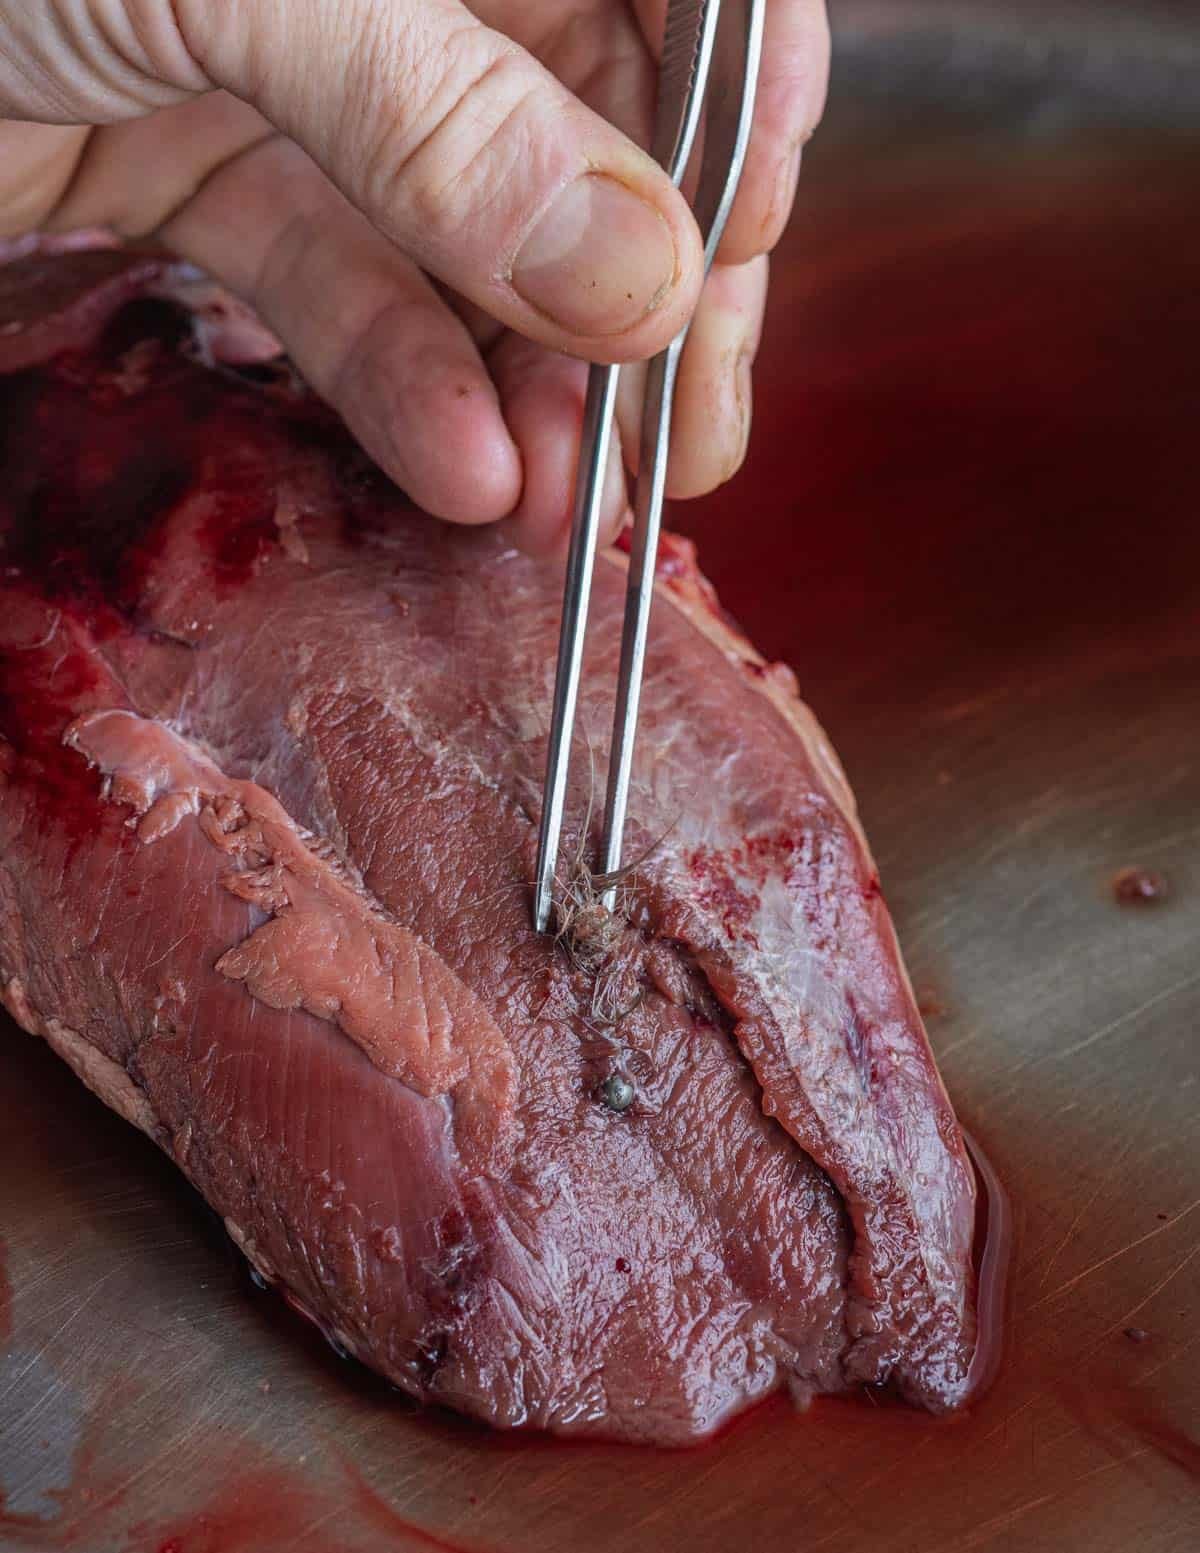
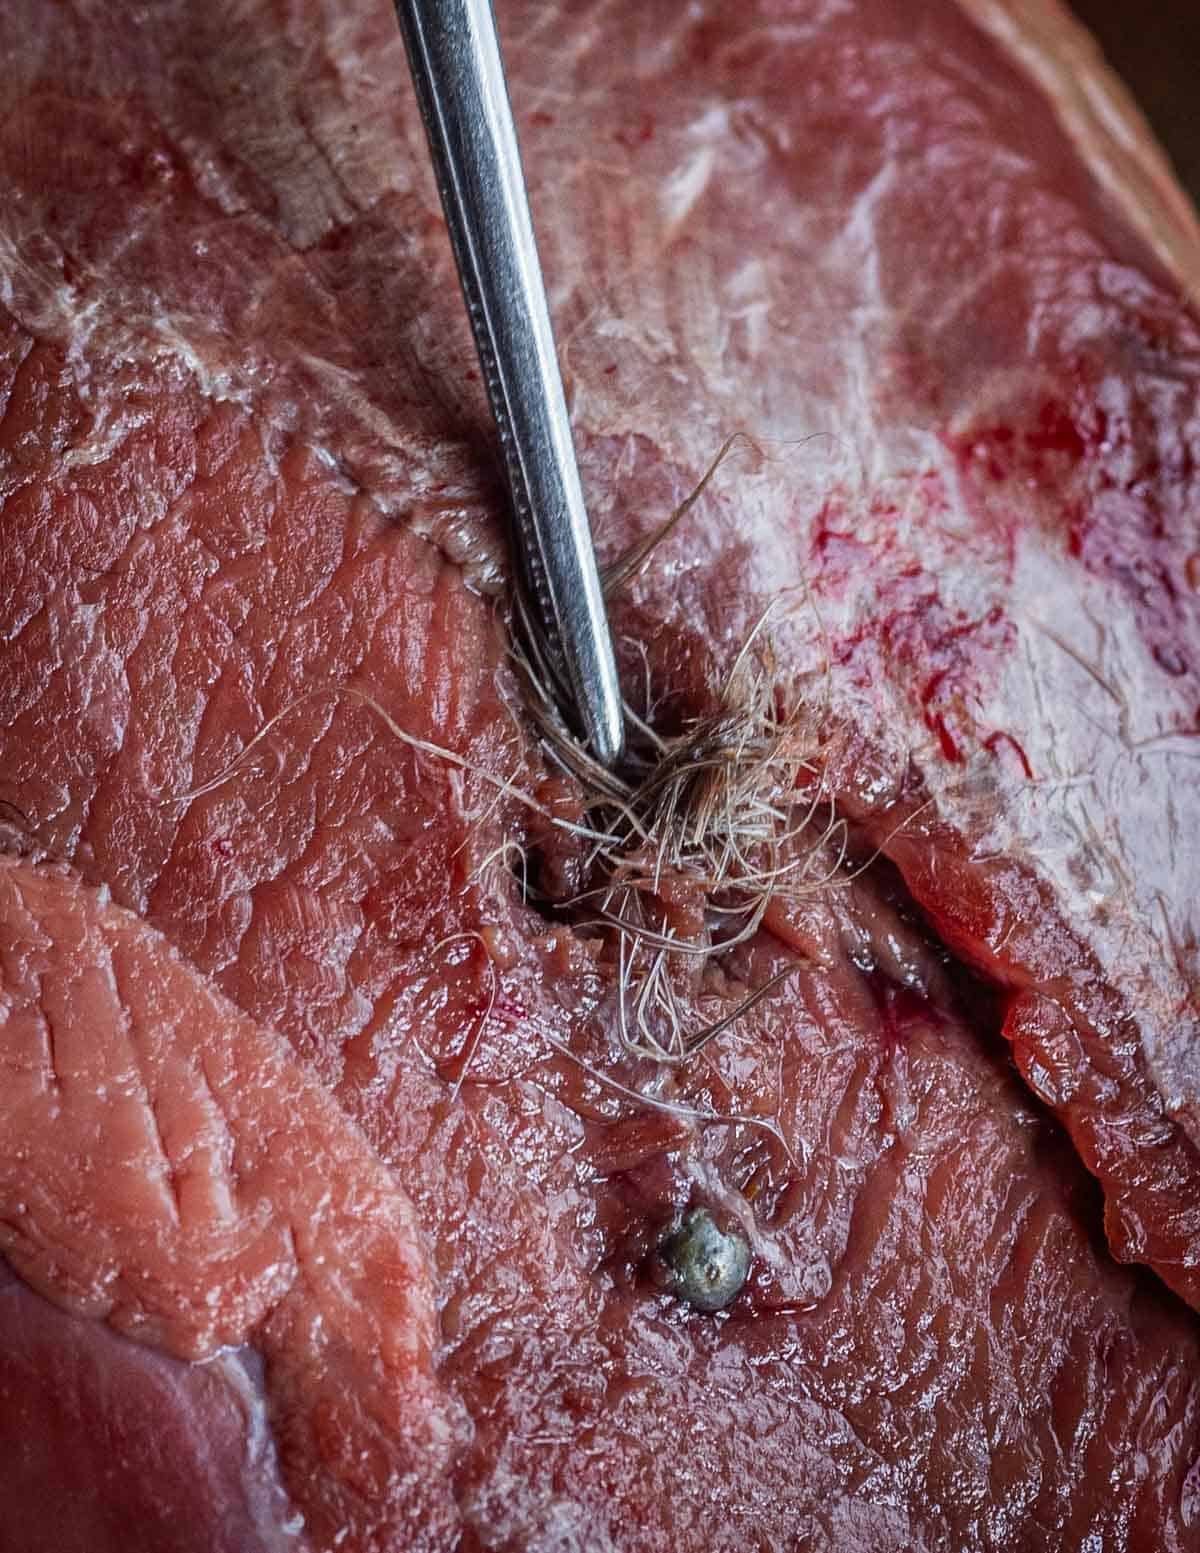
From here, depending on how ambitious I am, I may trim some silver skin from the underside of the breast. This is optional, and if you have a meat slicer no one will notice in the finished product.
Curing / Brining the Goose Breasts
Once the breasts are removed they can be cured right away or frozen until you have time to work with them. I will cure them one of two ways: vacuum sealed with cure or immersed in a brine. I recommend vacuum sealing as it's more forgiving and takes up less space in the fridge.
Dry Curing
Weigh the breasts. For each pound of meat, add one ounce of cure. This method is one I've personally developed over the years and I can't recommend it enough. Put the breasts in a vacuum bag and add the cure.
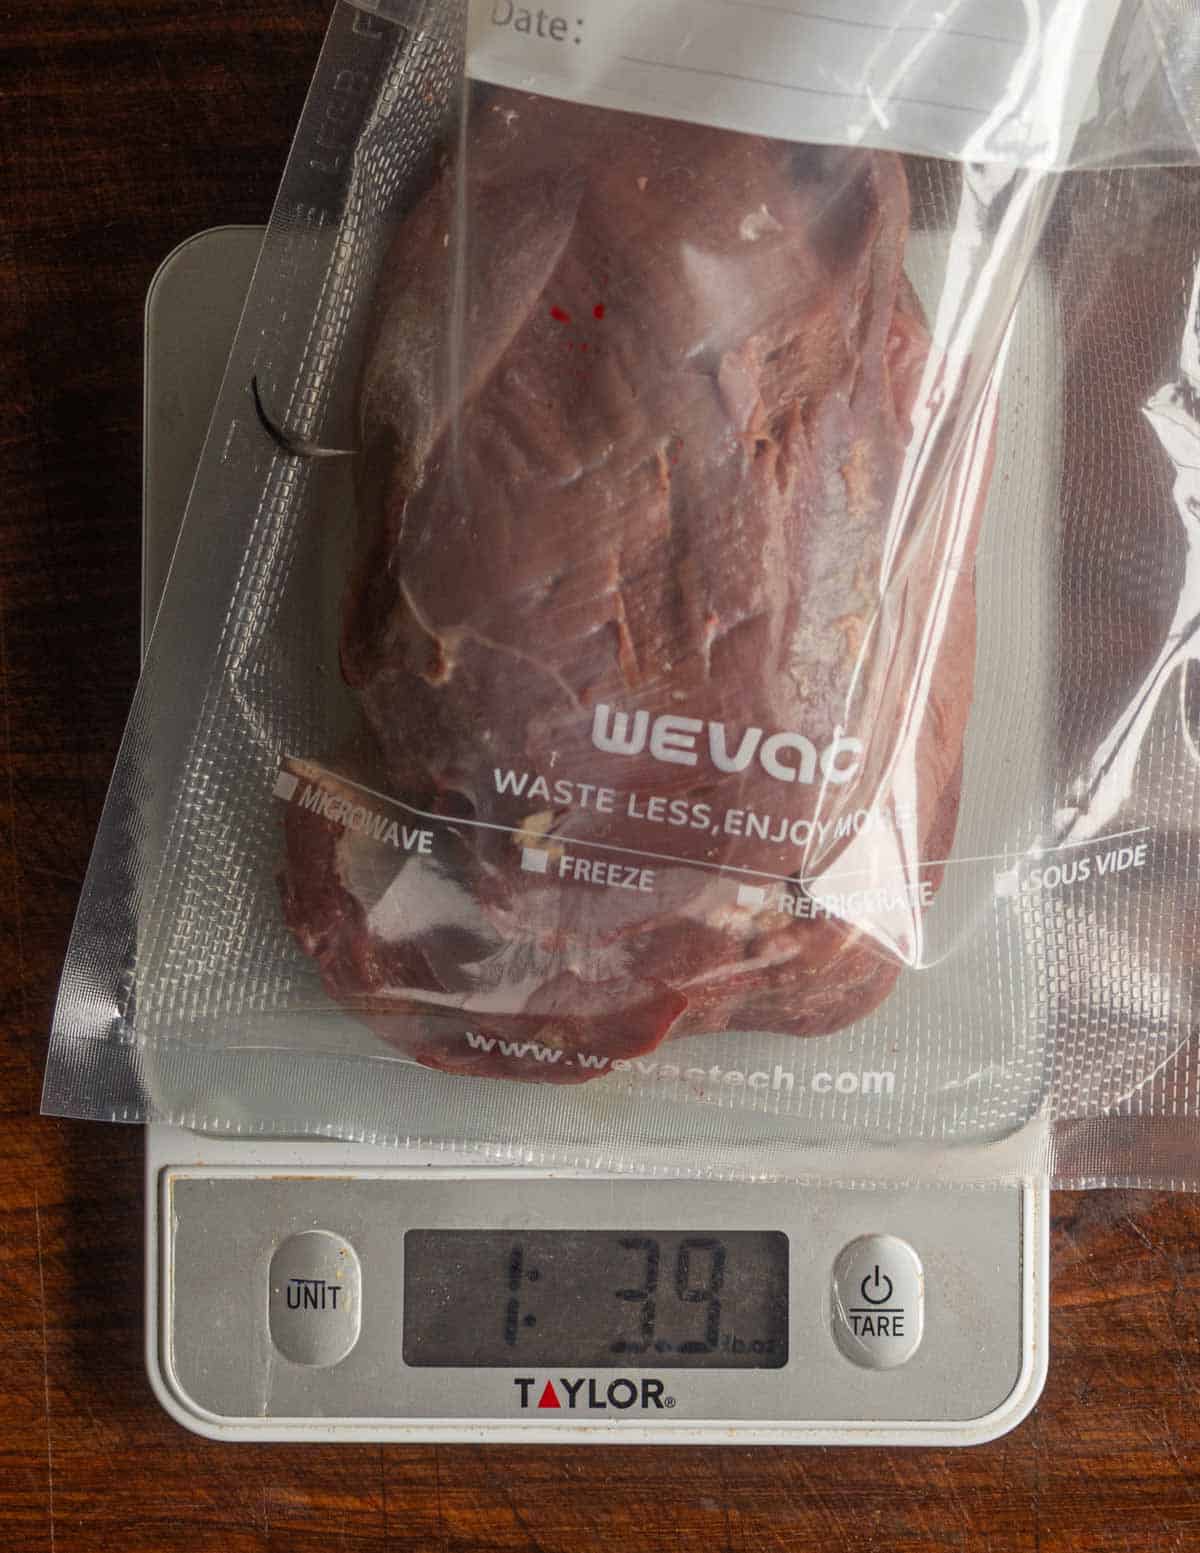
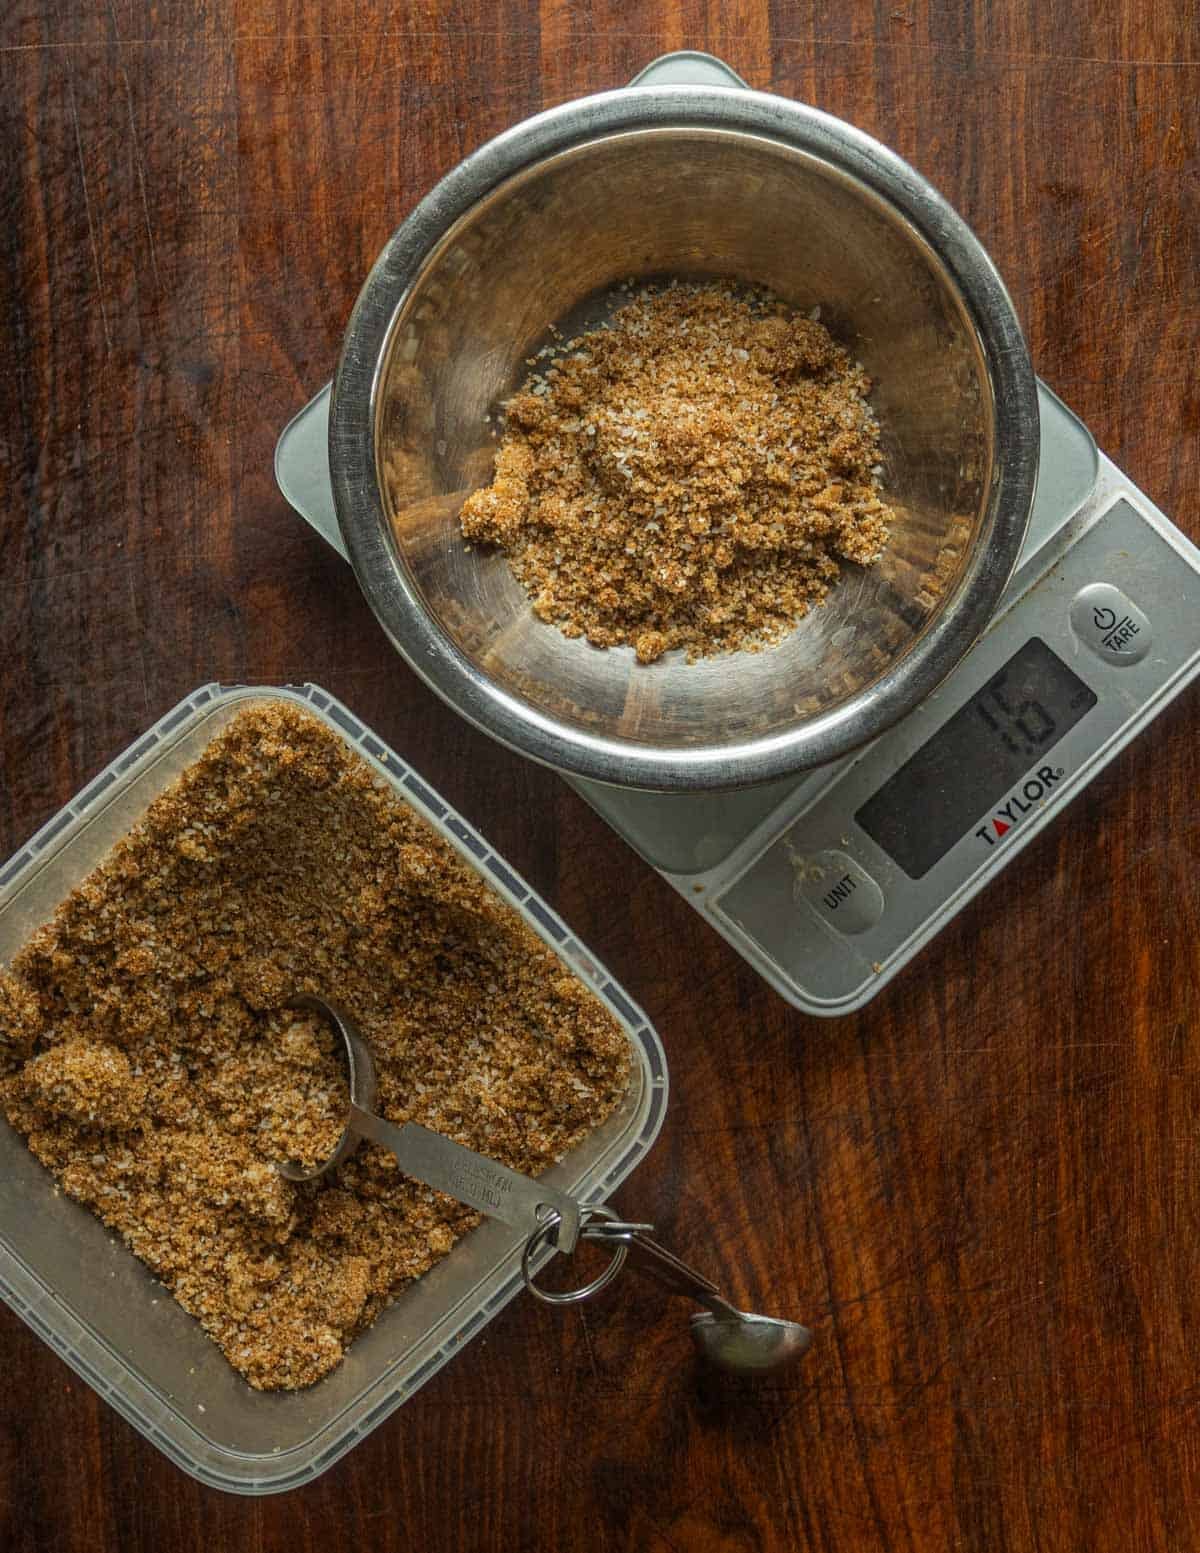
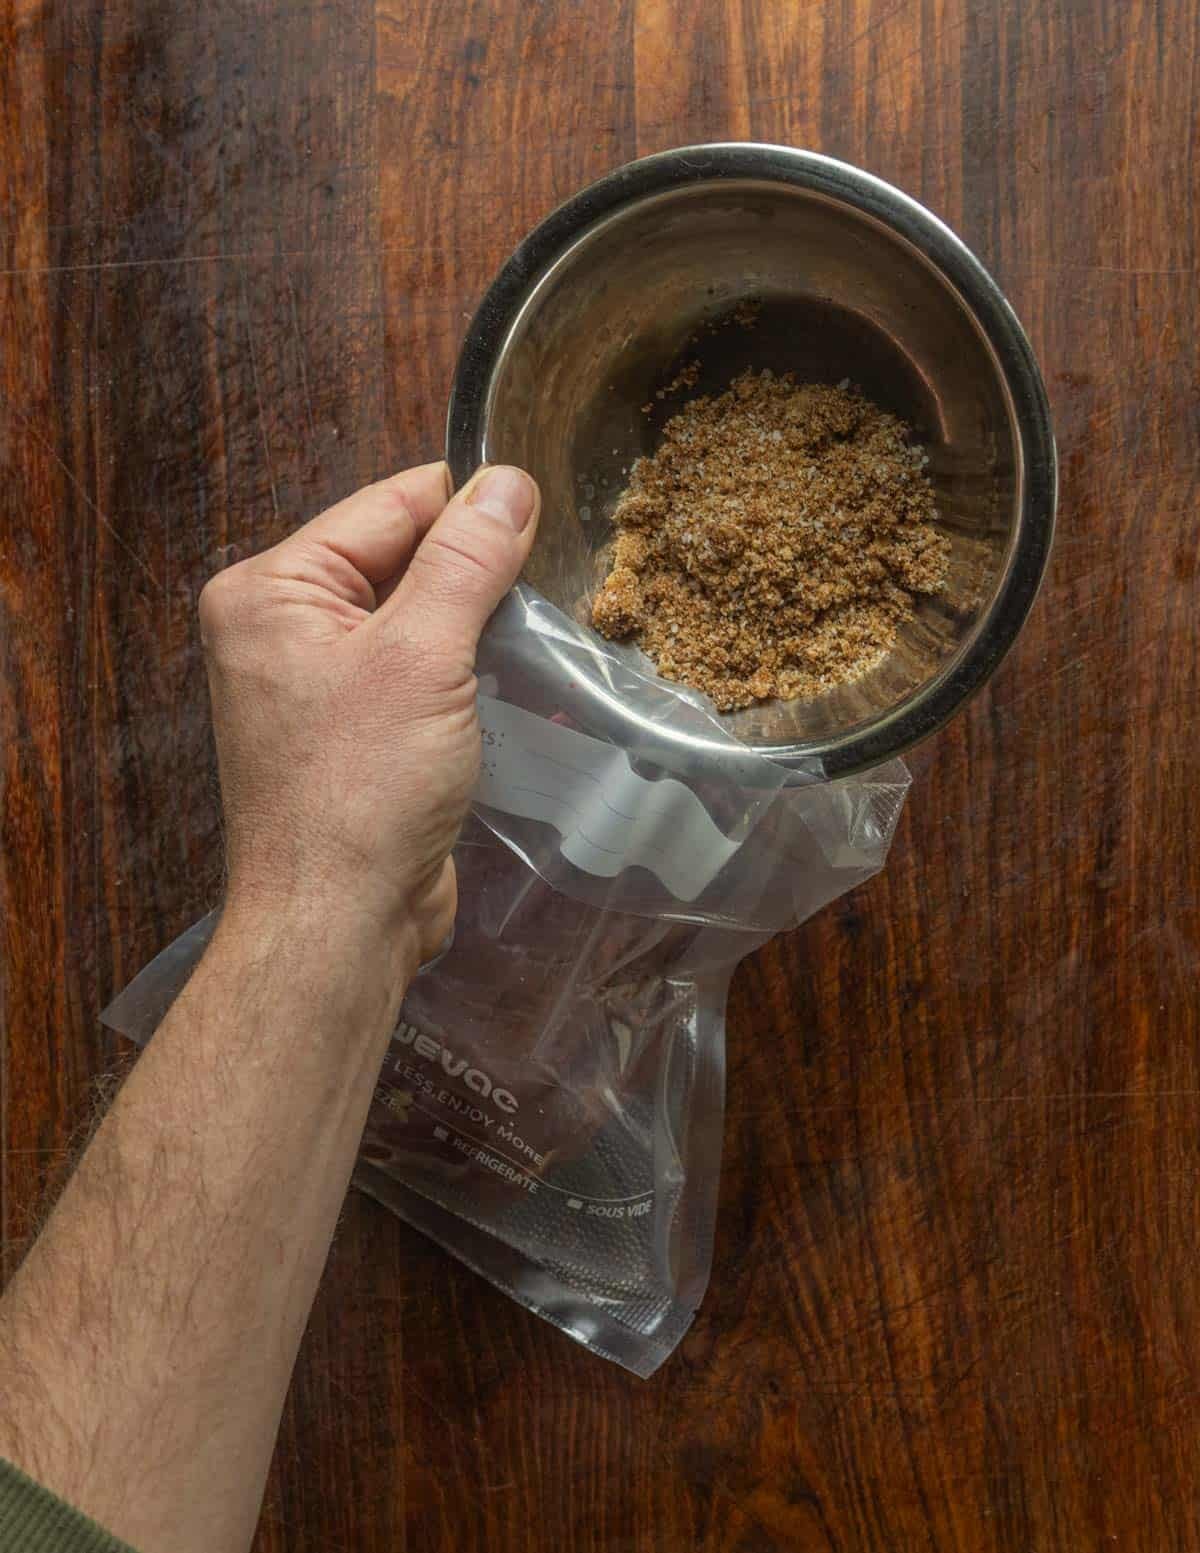
Leave it on the counter for an hour, gently massaging the bag occasionally to form a natural brine, then put the breasts in the fridge for 5-7 days.
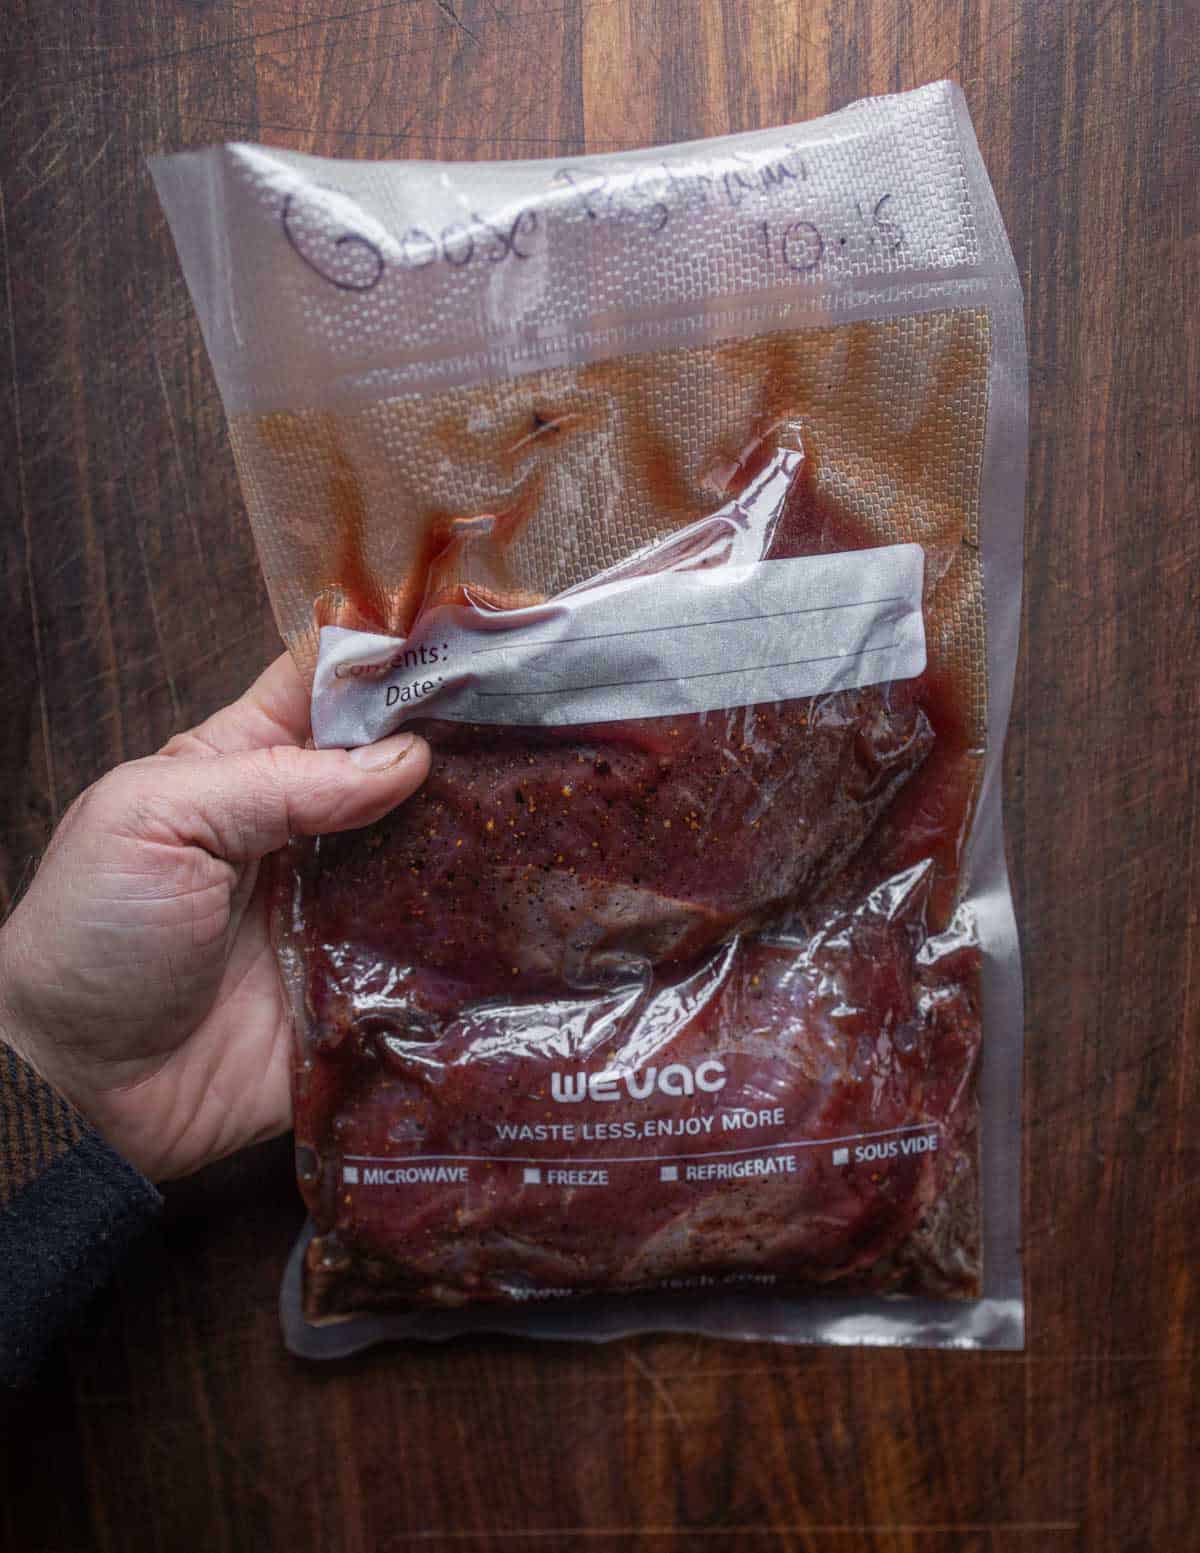
On a related note, a benefit of vacuum sealing the meat to cure is that it requires less salt. That means if you forget about the breasts for a few days they won't be too salty. This is not true with brining, where a few extra days can ruin the meat.
Brining
Brining goose breasts is the more well-known method. While the brine includes pickling spices, most people will have a hard time telling it apart from the vacuum-sealed version, even though it only includes a pinch of allspice and nutmeg.
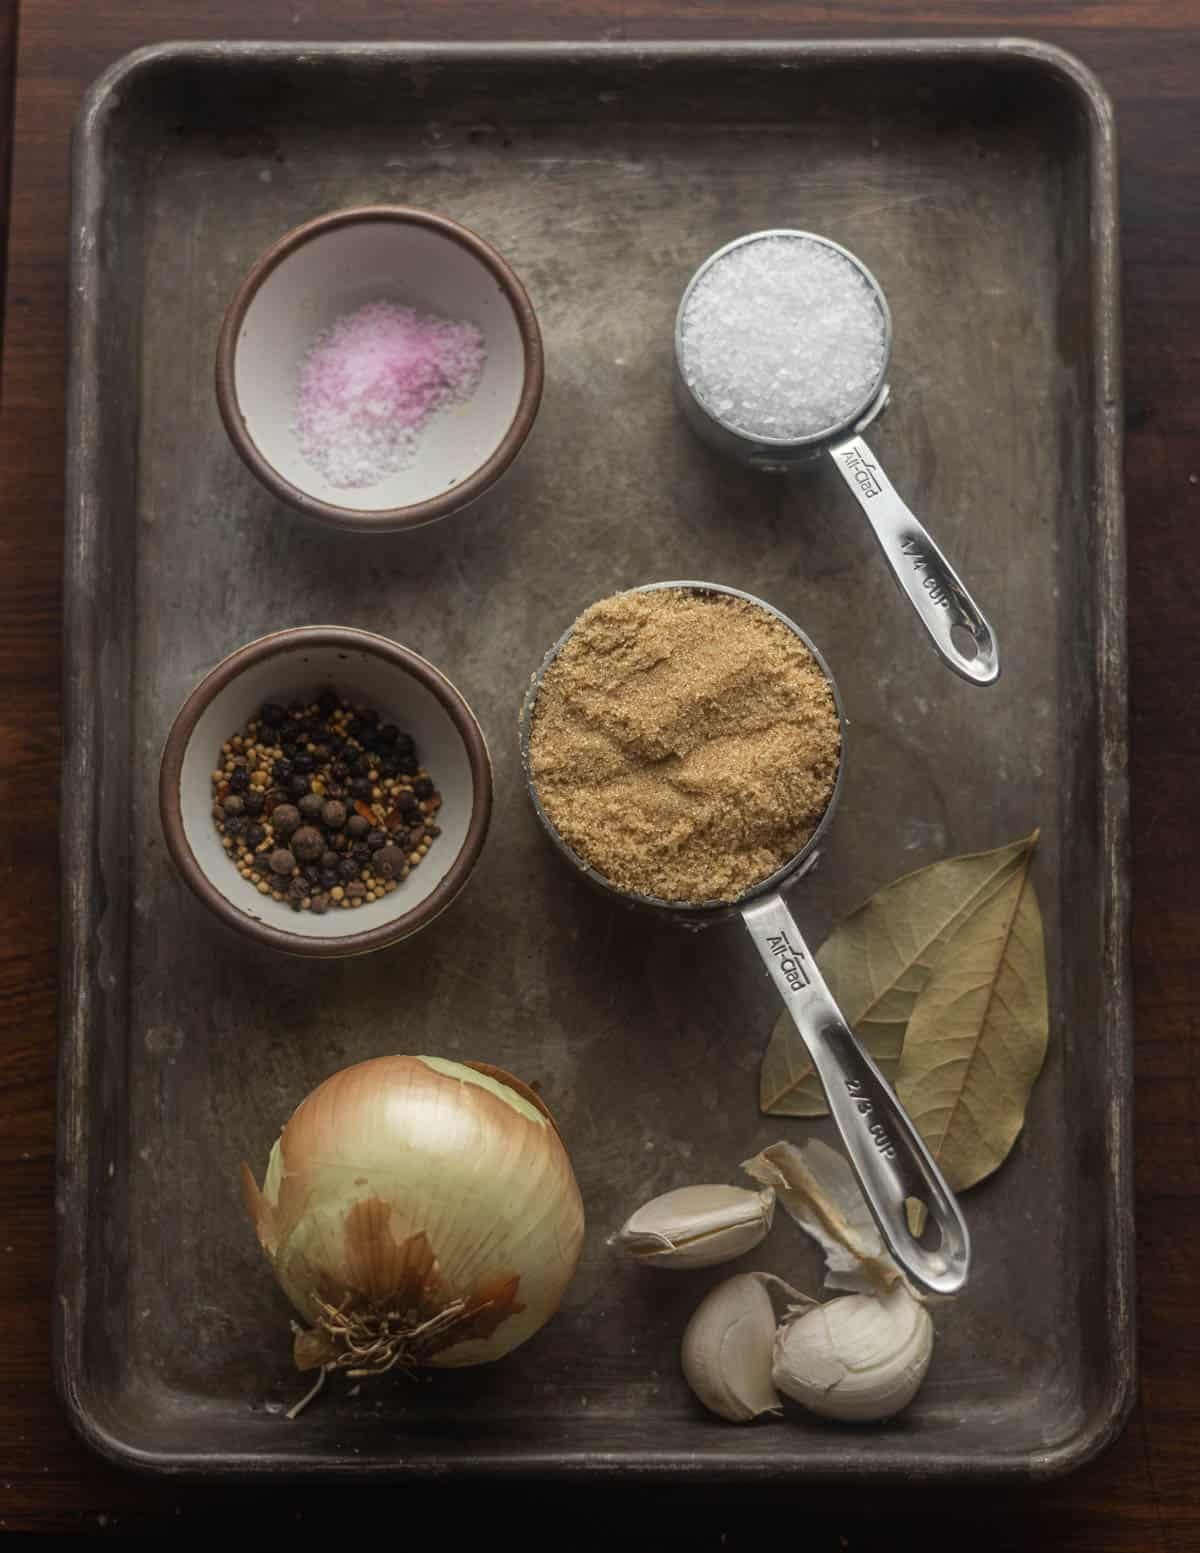
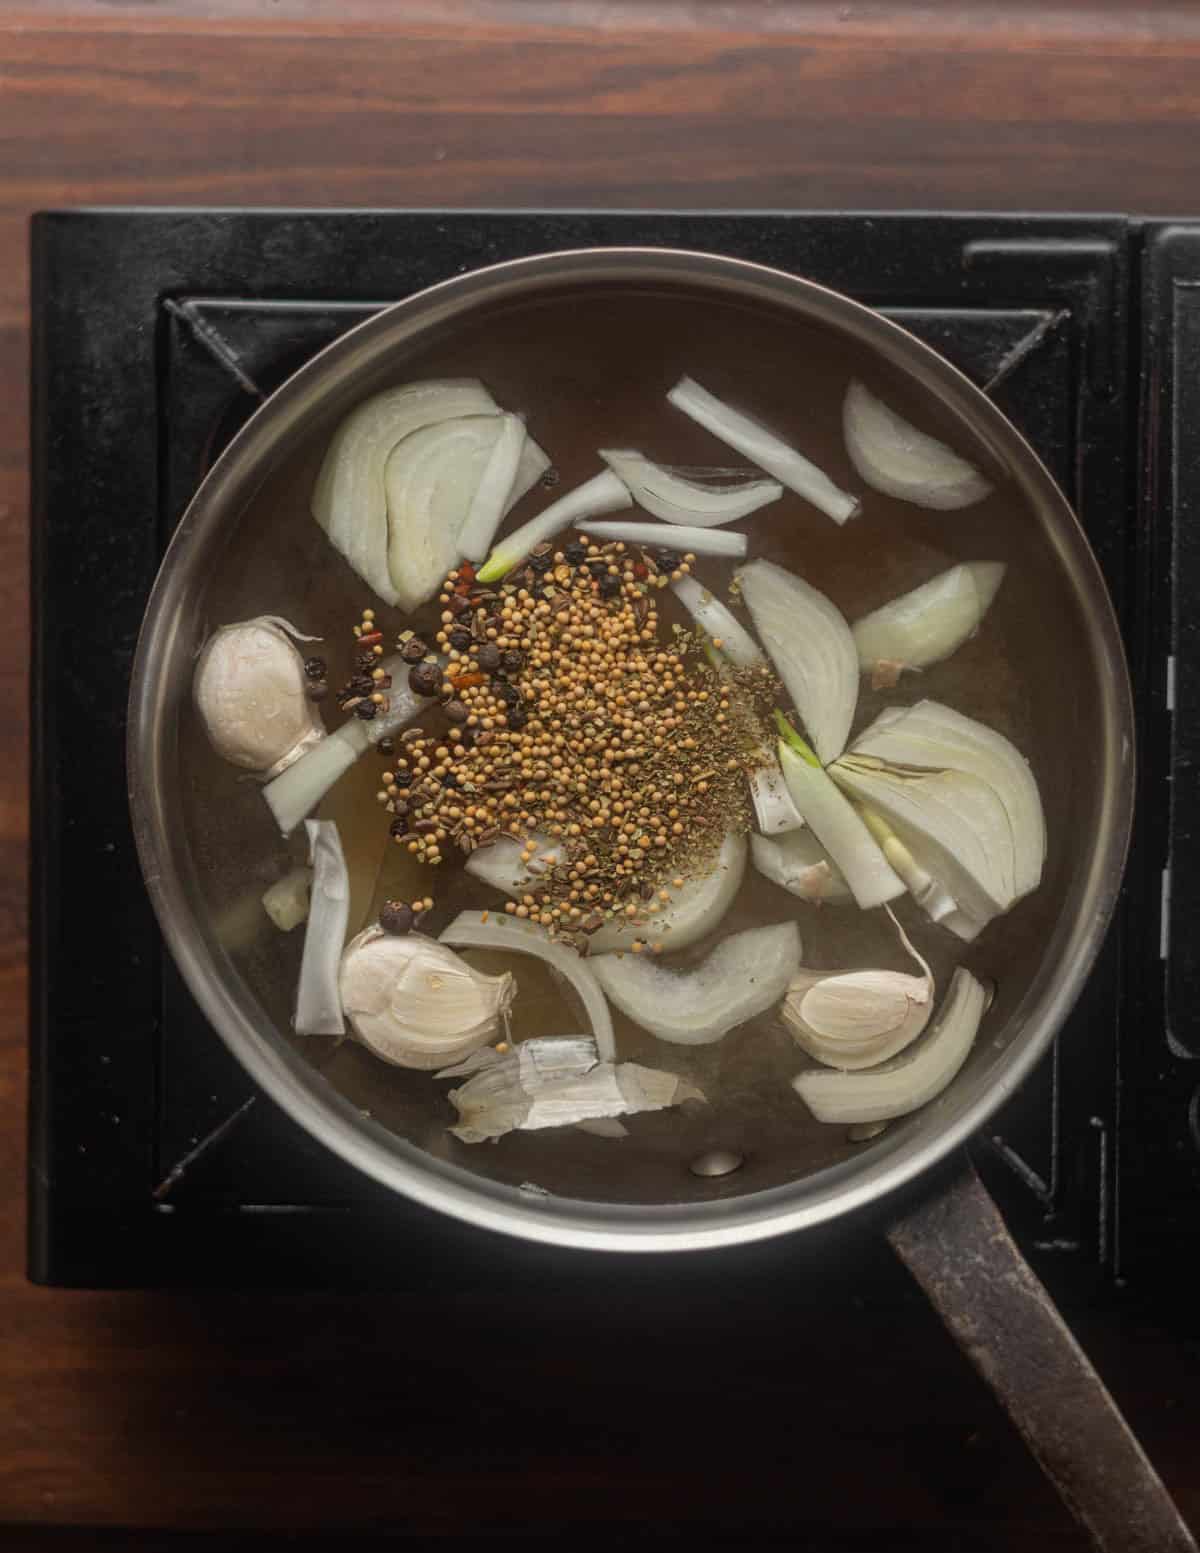
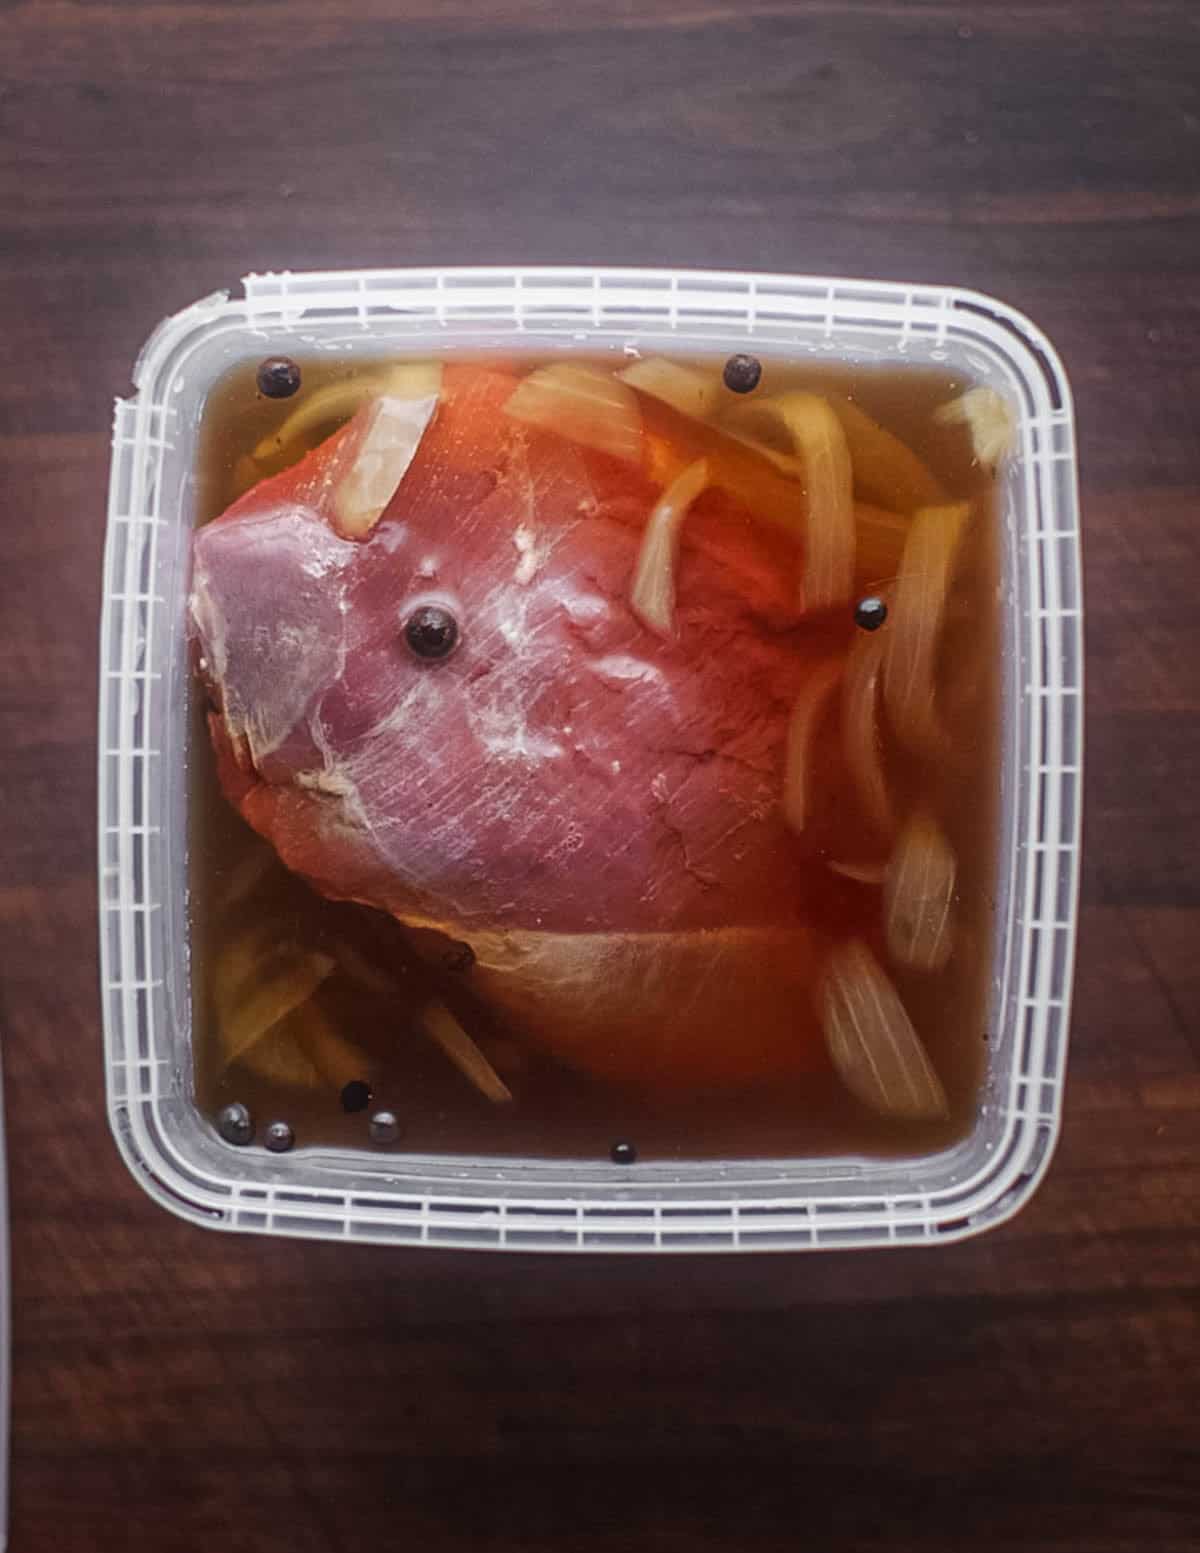
Bring the brine ingredients to a rolling boil, then cool and put into a container. Add the goose breasts, weighing them down with a plate so they cure evenly, or rotating them every other day. Keep them in the brine for 5-7 days.
Pepper and Coriander Crust
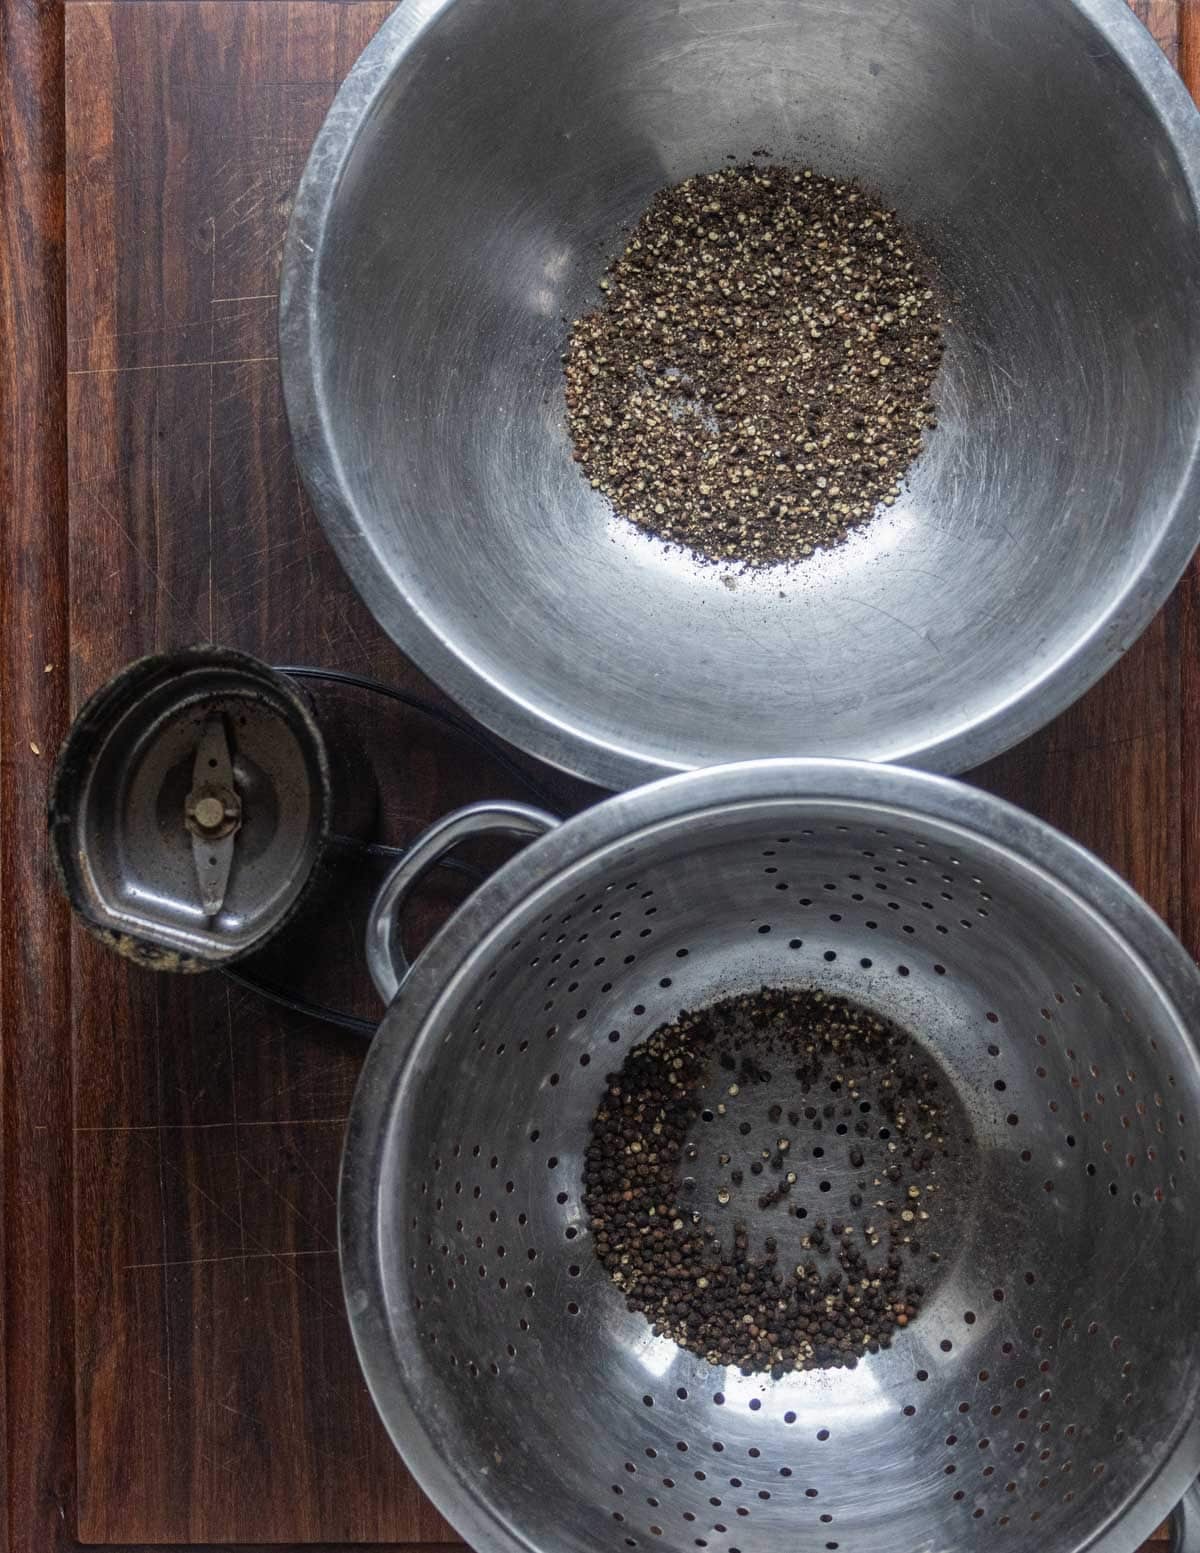
Once the goose meat's cured it's time to crust and smoke them. Just like beef pastrami, I use equal parts coriander seed and black peppercorns for the crust. The coarseness is important: too fine and it will be uninteresting, too coarse and it won't adhere to the meat.
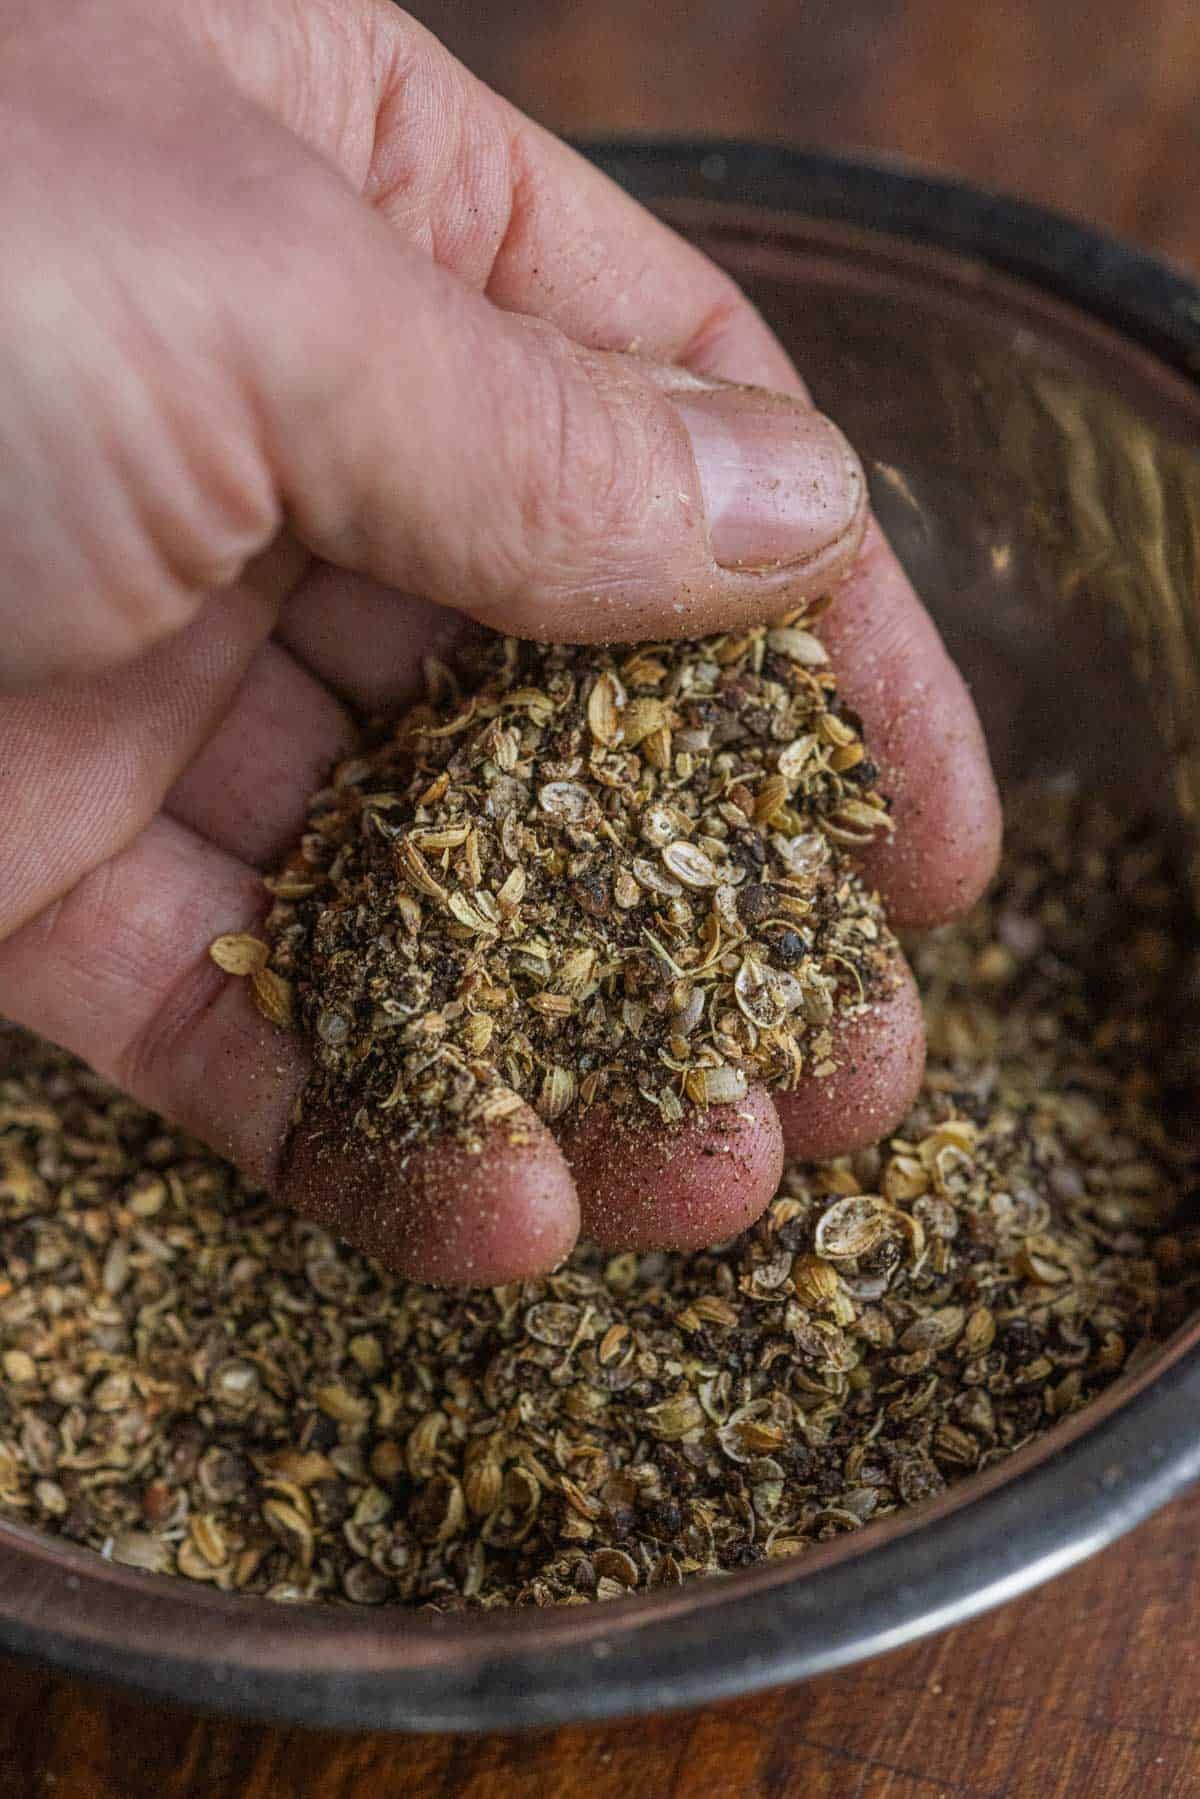
The most exact way is to crush the coriander and peppercorns by hand with a mortar and pestle but it's impractical for large batches. For large batches, I grind peppercorns in a spice grinder, sifting through the holes of a colander. Coriander is fine simply pulsed 4-5 times in a spice grinder.
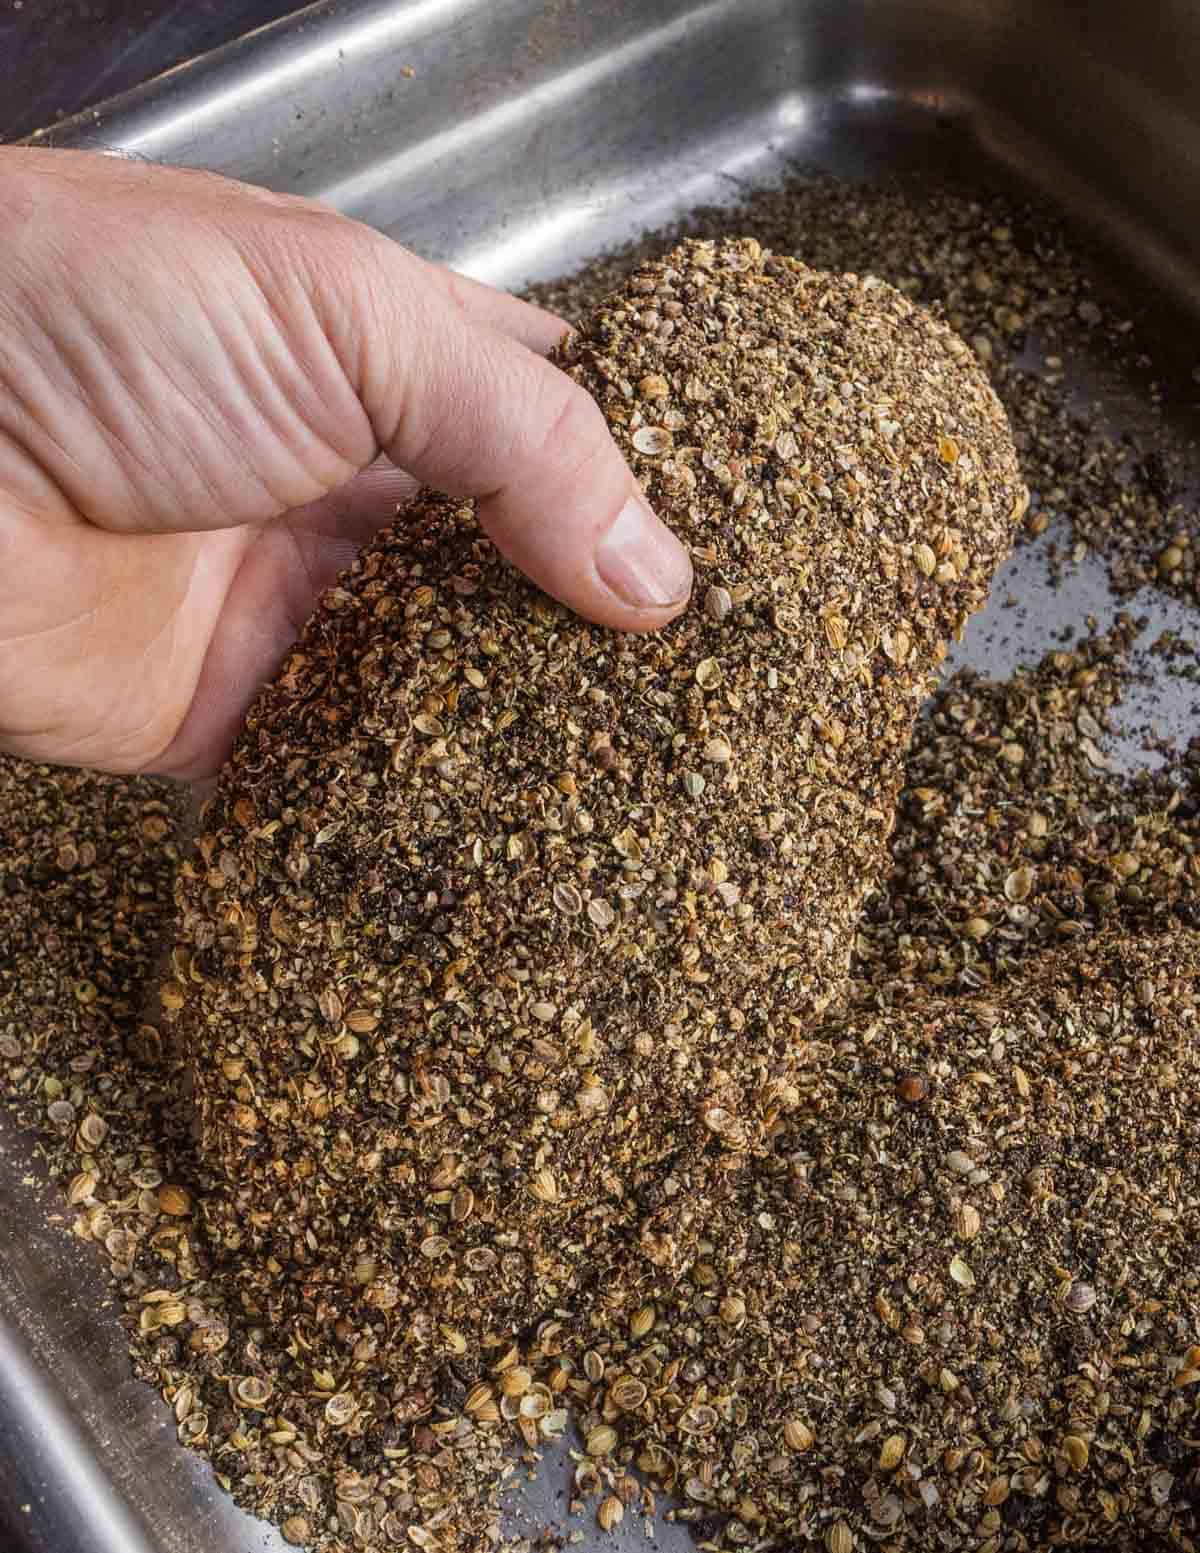
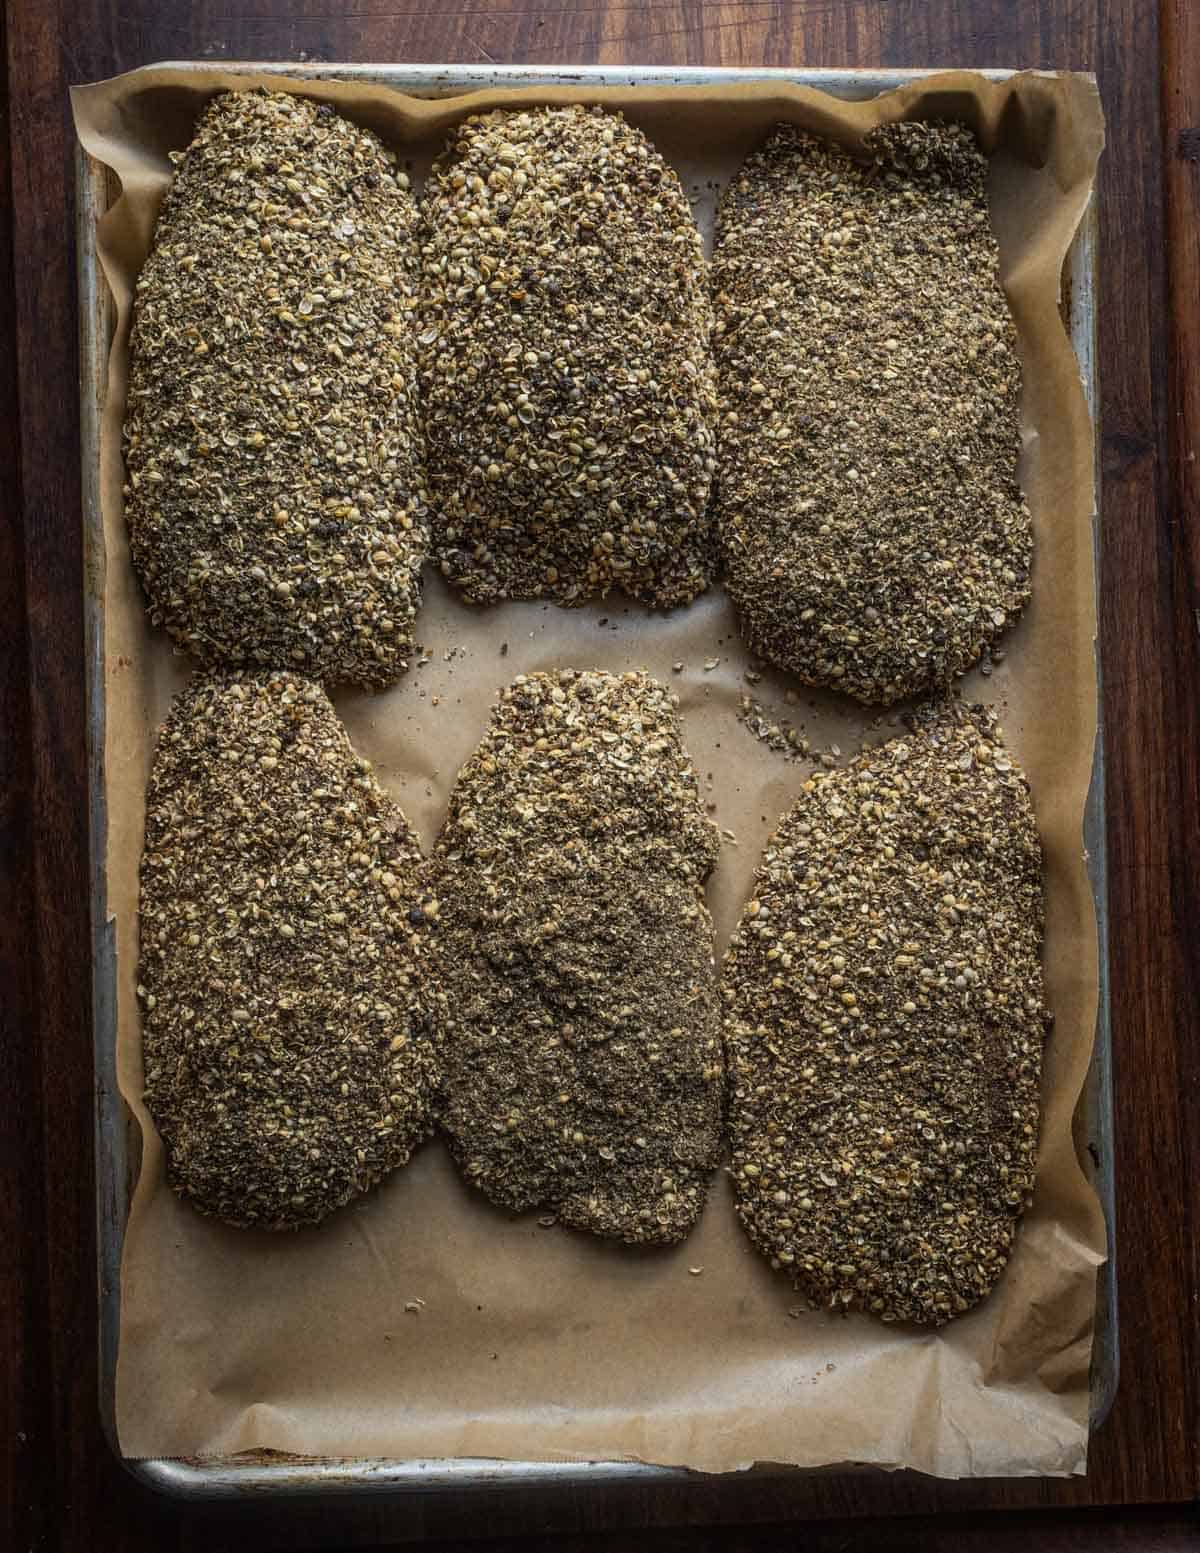
Once the spices are coarsely ground, remove the goose meat from the brine or bag, lay on a paper towel for a moment (don't pat it dry), then liberally coat with the coriander and pepper, pressing down to make it adhere. They can be smoked right away, or vacuum sealed again for a few hours or overnight for a picture-perfect crust.
Smoking
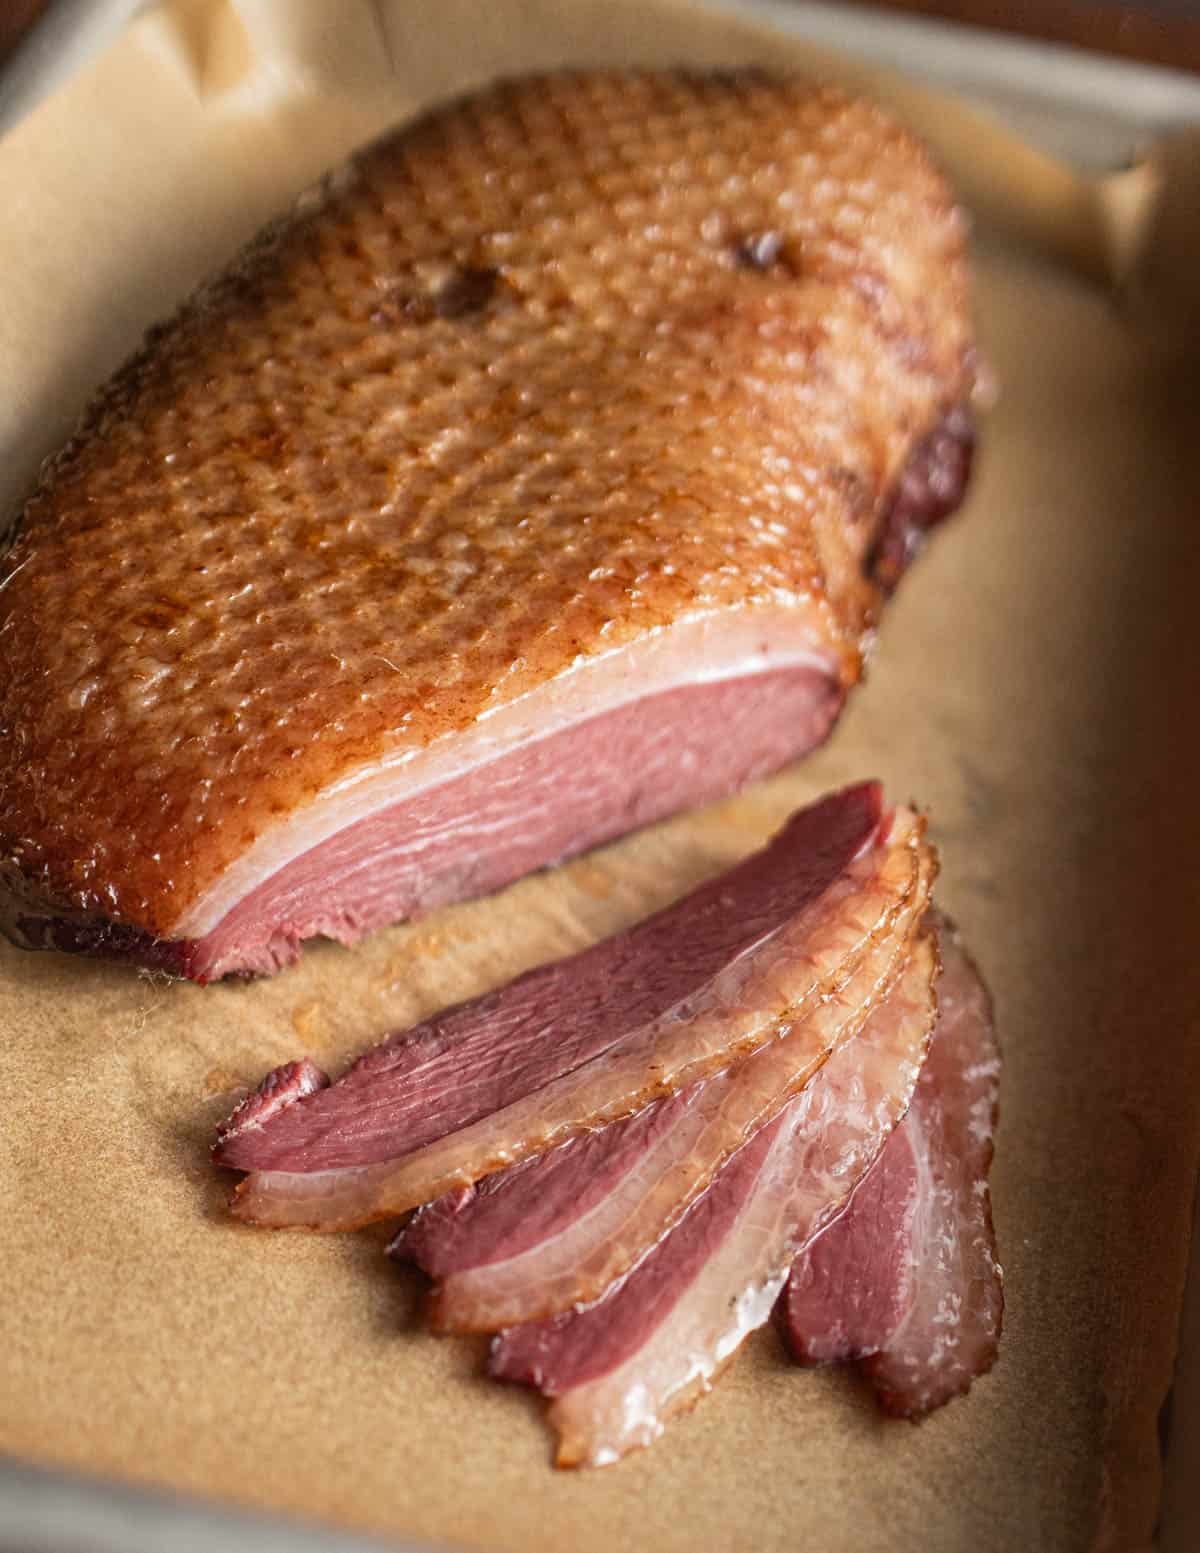
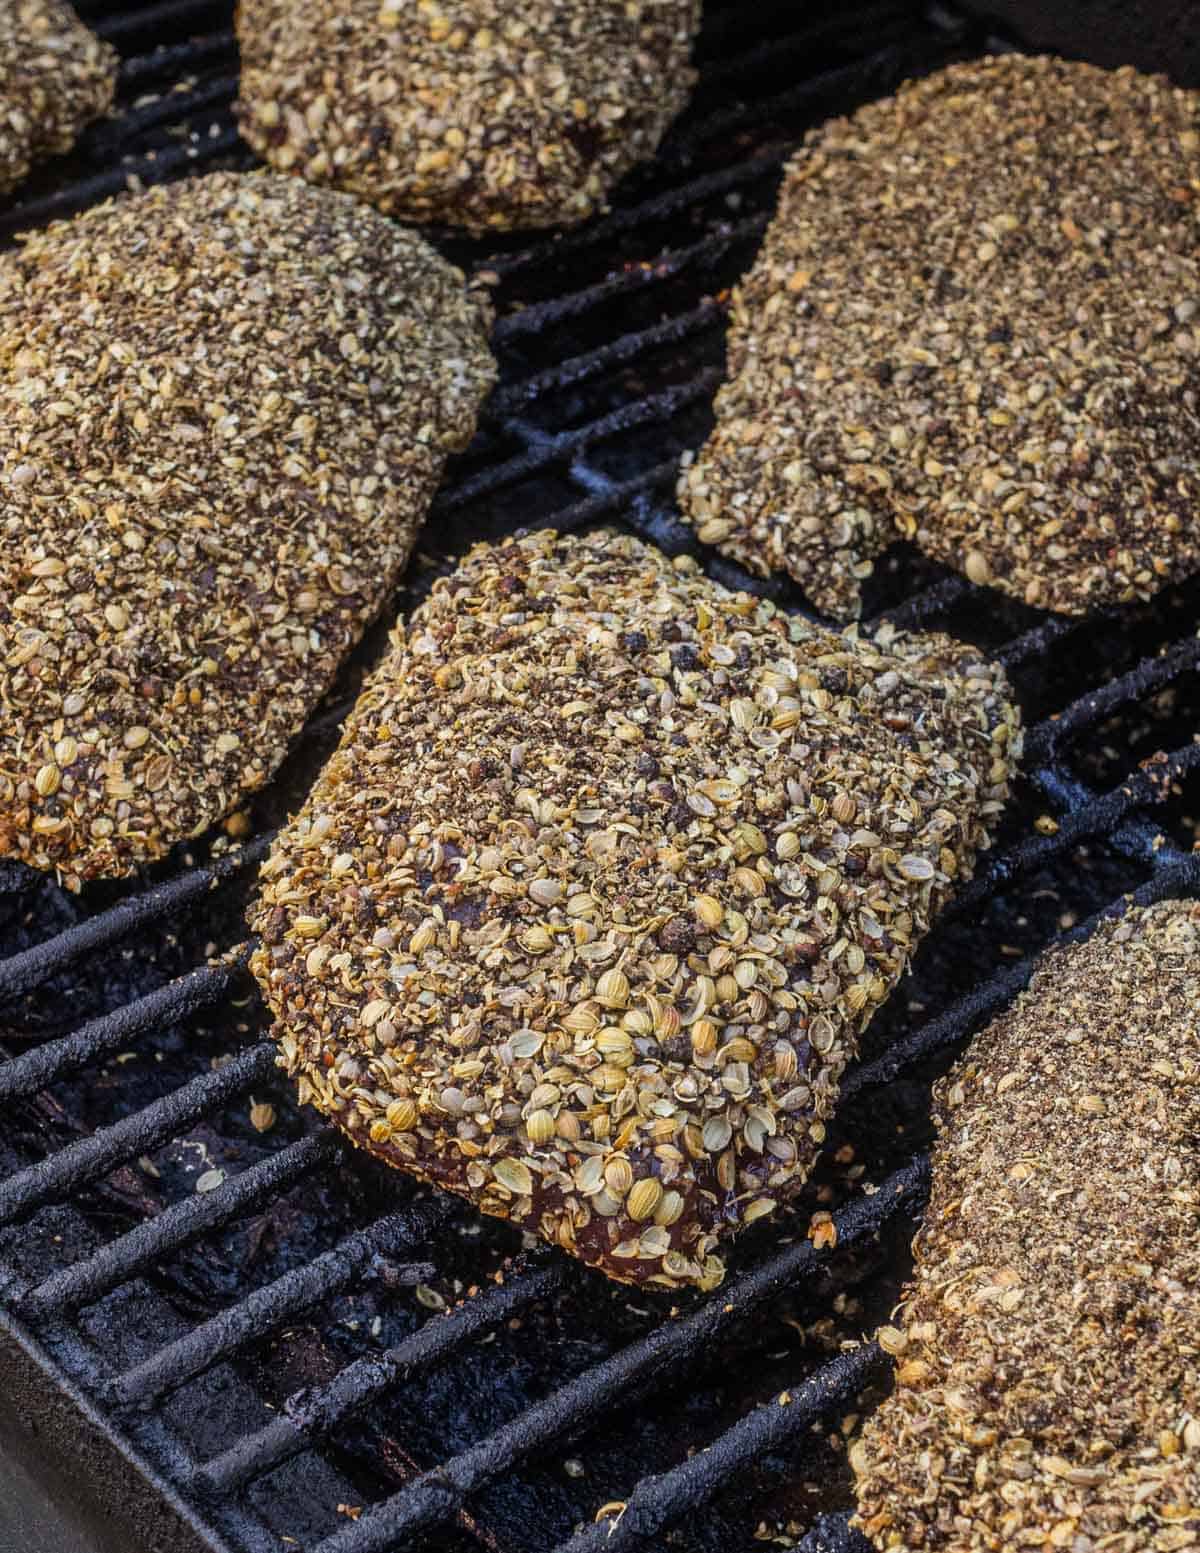
Smoking is the easy part, but know that overcooking will dry out the meat. Prepare a smoker (I use a Traeger) and smoke the breasts at 225 F until they hit 145-150 F, around 70-90 minutes.
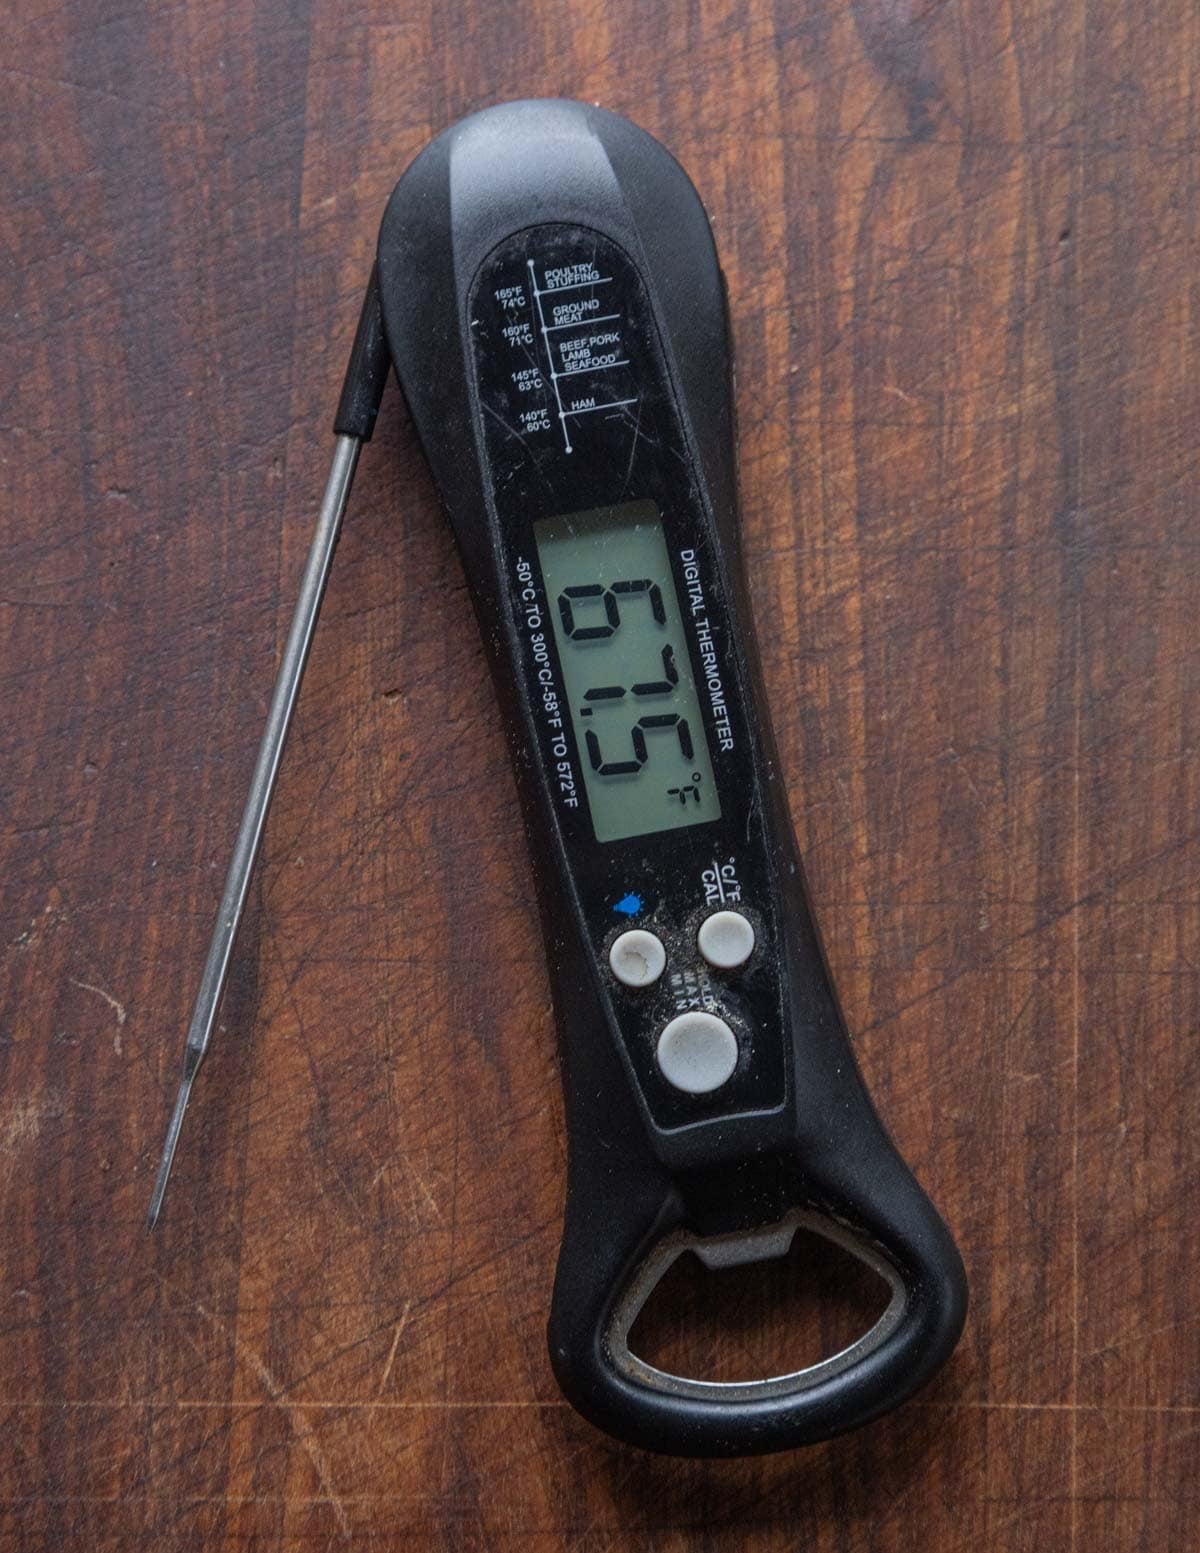
A good thermometer helps here, and I prefer "instant-read" models. This one is the closest I can find to what I have. When in doubt, take the breasts out a little early as opposed to overcooking them.
If you take the breasts off and they end up being undercooked, they can be vacuum sealed and cooked sous-vide at 150 F for 30 minutes to finish, cooled and put straight into the freezer.
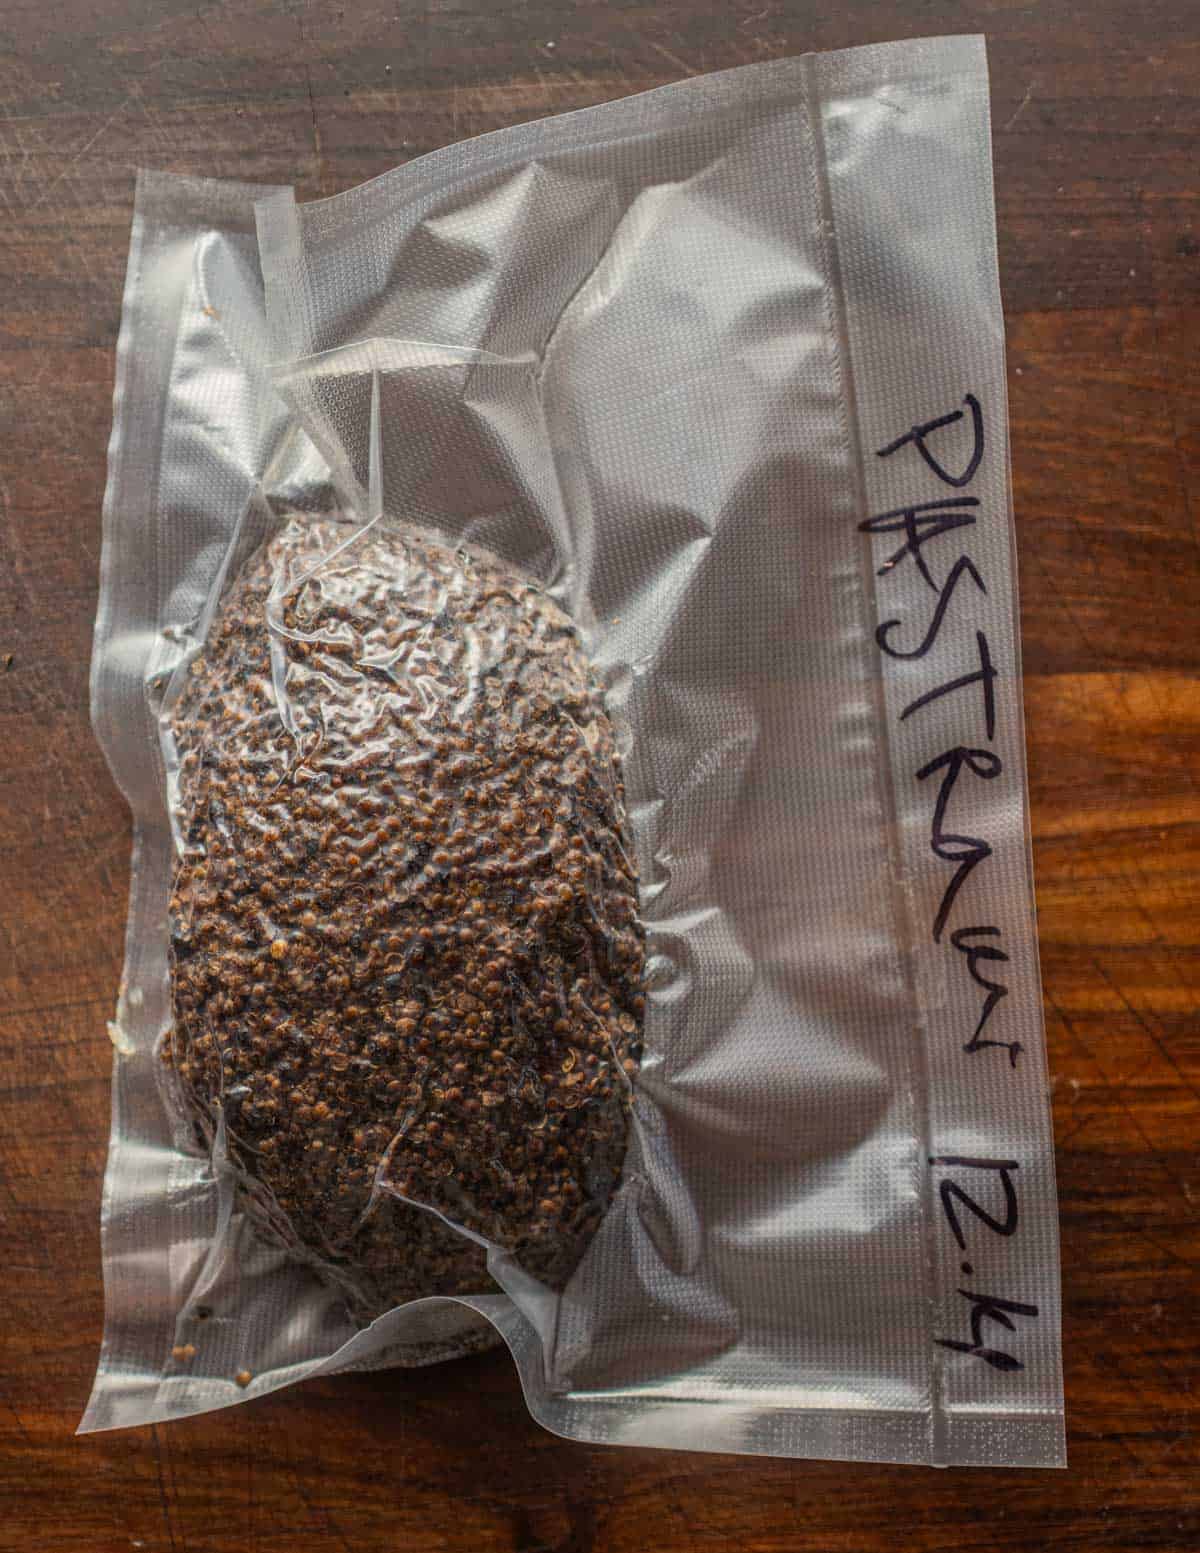
After smoking, cool the breasts, then vacuum seal, label, date, and freeze until needed. They'll last a year or more if the seal holds.
Serving and Enjoying
The recipe's easy, the catch is that for the best result you're going to want an electric meat slicer. Thinly sliced with a knife is ok if you have a breast or two, but nothing quite compares to even, paper-thin slices from a machine. I love my Chef's Choice slicer here but they're hard to find now. Comparable models will run around $100 online.
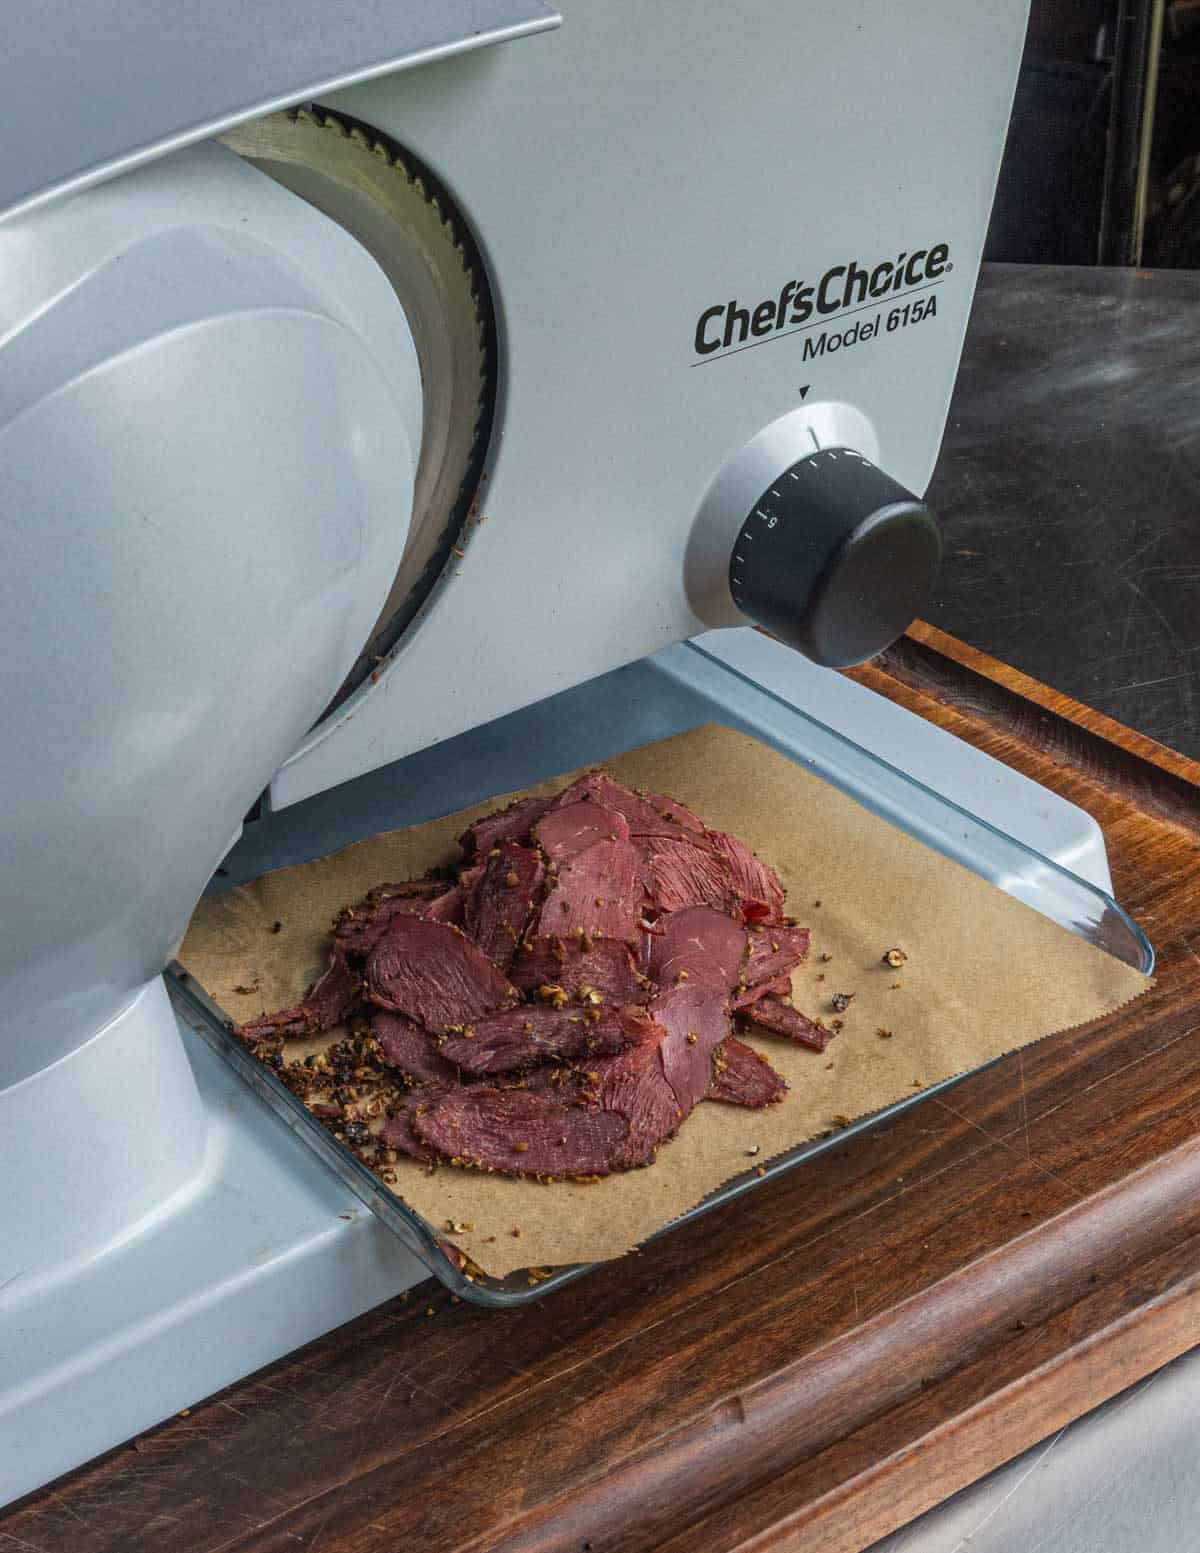
Once the meat's sliced it'll keep for a week or two in a zip top bag in the fridge, but as the cooked breasts thaw quickly I usually thaw them as I need to prevent the meat from drying out.
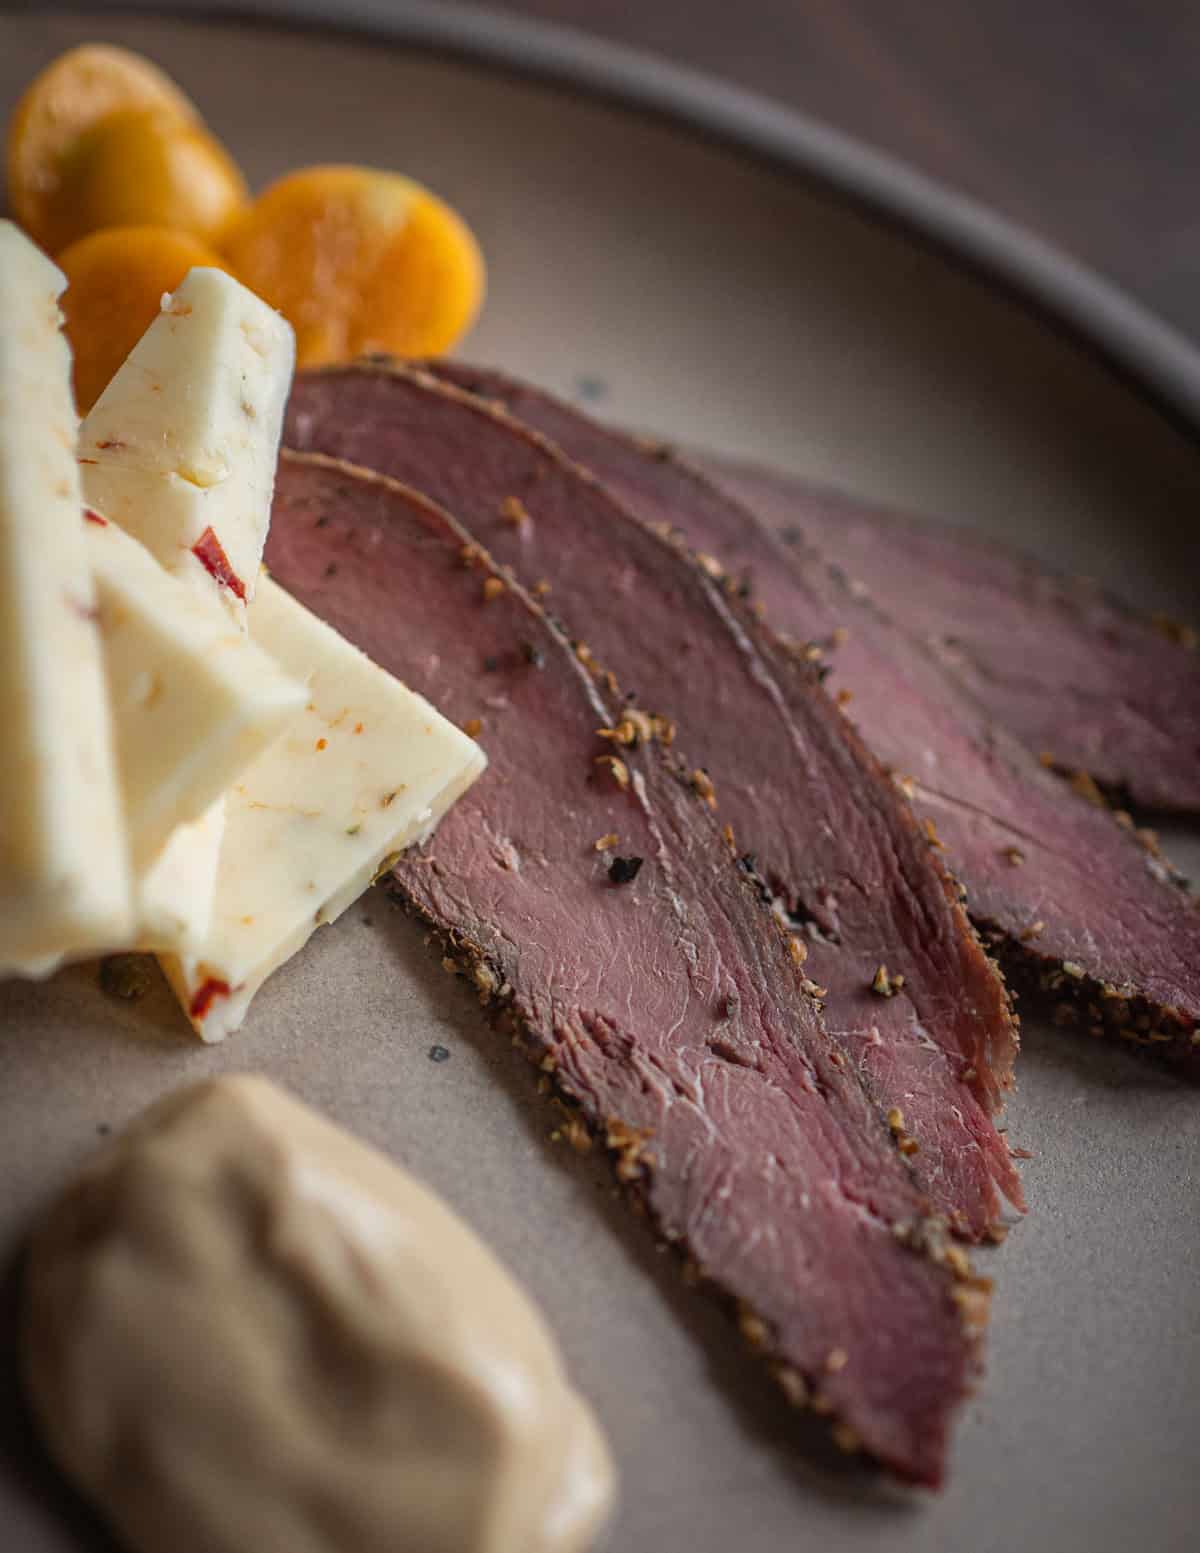
It makes a great conversation piece on a charcuterie board, cheese plate, by itself with a little mustard, or, as my Uncle Mike like it: warmed up for sandwiches just like beef pastrami.
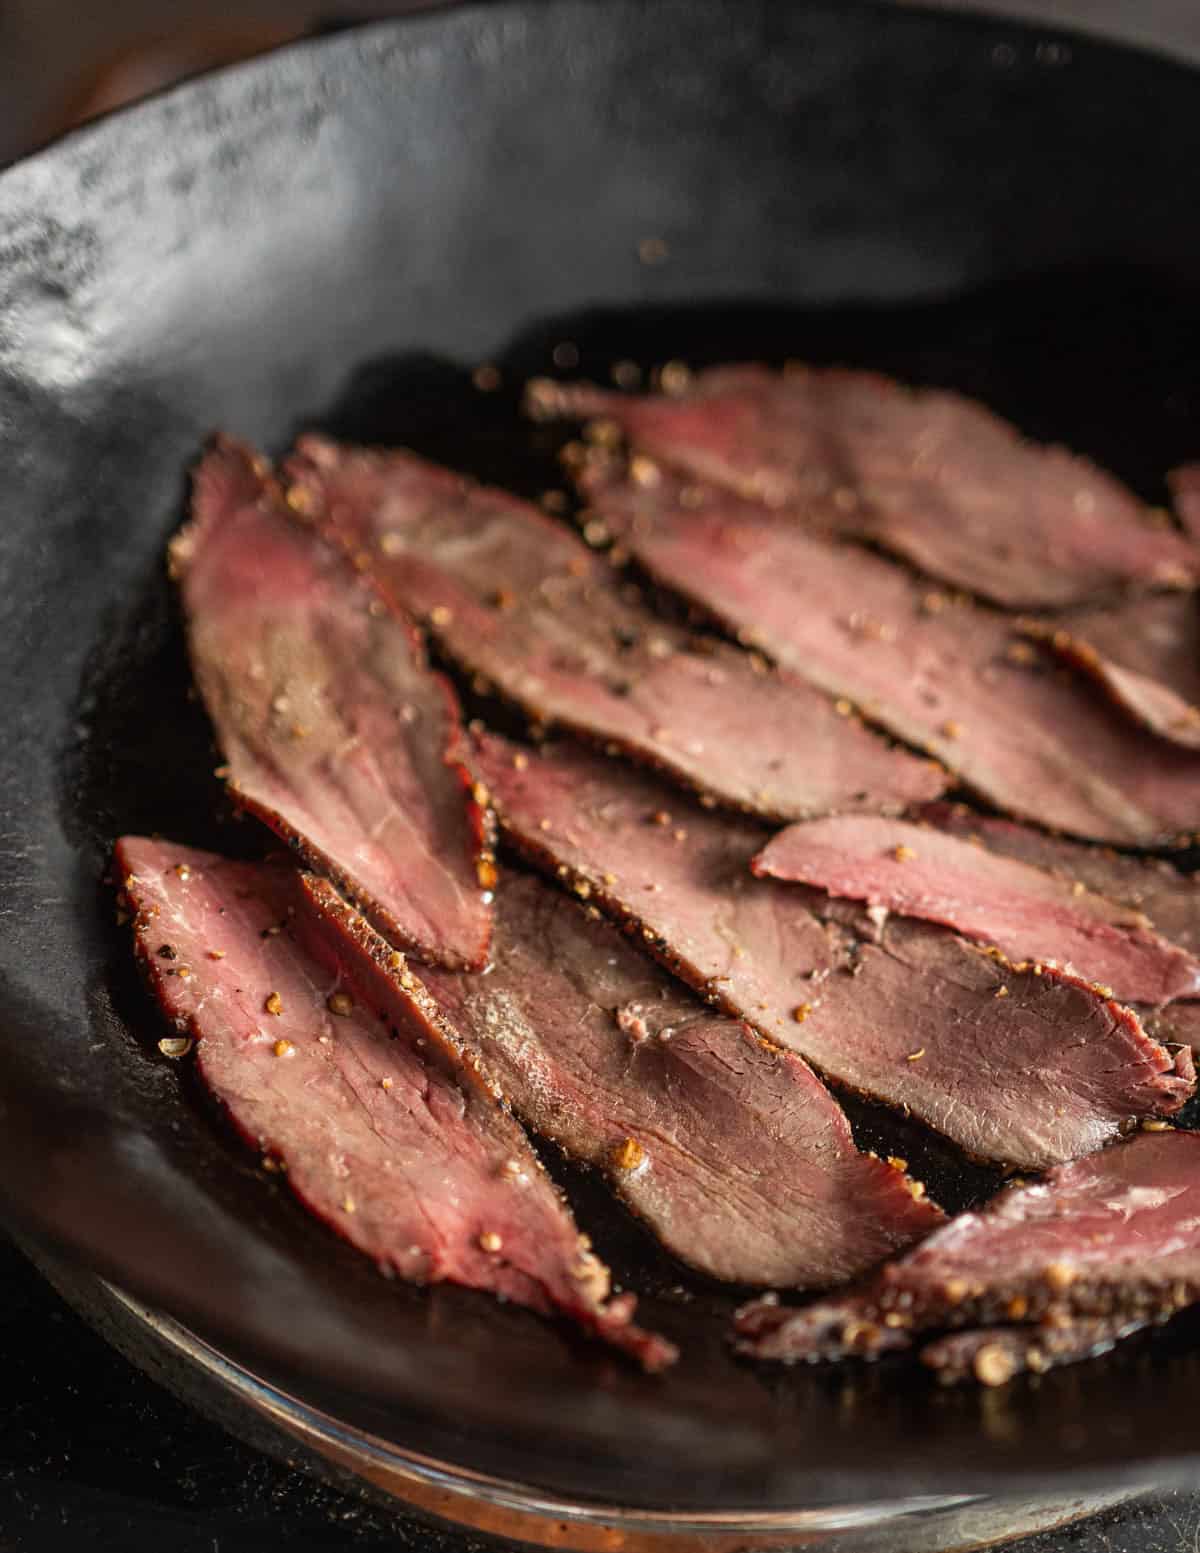
Have you made goose pastrami before or have something to add? Let me know in the comments.
Related Posts
Smoked Canada Goose Pastrami
Equipment
- 1 Smoker I use a Traeger
- 1 Vacuum sealer
- 1 Quart vacuum bag
- 1 Electric meat slicer
- 1 Boning knife or a sharp paring knife
- 1 Pie plate or other vessel for crusting the breasts
Ingredients
- 1.5 lbs Canada goose breast skinless, from one whole goose
Cure
- 4 oz brown sugar
- 2 oz kosher salt
- 10 grams pink curing salt / instacure no 1
- ½ teaspoon allspice and nutmeg fresh ground or grated, mixed
Coriander-Black Pepper Coating
- ⅓ cup black peppercorns
- ⅓ cup whole coriander seed
Instructions
Cure
- Combine the ingredients for the cure in a bowl, then store in a labeled container.
Pluck the goose (optional)
- Pluck the feathers from above the breast if you have a whole bird.
- Make an incision along the breastbone and peel back the skin to reveal the breasts. Remove the breasts with a sharp boning knife.
- Inspect the breasts for shot holes, feathers, blood, and foreign matter.
- Weigh the breasts and put in a vacuum bag. For each pound of meat, weigh out 1 oz of the cure. Two goose breasts weighed 1.5 lbs for me, so I added 1.5 oz of cure.
- Vacuum seal the meat with the cure, then refrigerate for 5-7 days, massaging the bag occasionally to form a natural brine.
Pepper and Coriander Crust
- Coarsely crack the peppercorns and coriander separately, then combine. For the best texture, crack them by hand with a mortar and pestle. Alternately, pulse the peppercorns in a food processor 4-5 times, sift through a colander and repeat. Coriander can be simply be pulsed in a food processor. Combine the pepper and coriander.
- Remove the goose from the bag, lay on a paper towel (don't pat dry) then crust completely on all sides in the pepper and coriander. For the most perfect crust, vacuum seal the meat with the spices and refrigerate for a few hours or overnight.
Smoking
- Prepare a smoker and heat to 225 F. Smoke the goose breasts until they reach 145-150 F, about 70-90 minutes depending on size.
- Remove the pastrami to cool, then vacuum seal, label, date, and reserve until needed.
- To serve, shave the pastrami as thin as possible. This is best done with a meat slicer. It can be used any way you'd use beef pastrami.
Video
Notes
- 1.5 quarts water
- 1.5 quarts ice water
- ¾ cup (195 g) Kosher salt
- 1 oz pink curing salt
- 3 tablespoons pickling spice
- 2 cups dark brown sugar or maple syrup
- 1 large yellow onion, sliced
- 2 dried bay leaves
- 1 bulb garlic, halved horizontally
Leave a Reply