I've cooked rabbits a lot of different ways over the years, but buttermilk fried rabbit is, without a doubt, a contender for being one of the best rabbit recipes ever. It is everything you know and love about fried chicken, just a tiny bit different.
Domestic vs wild
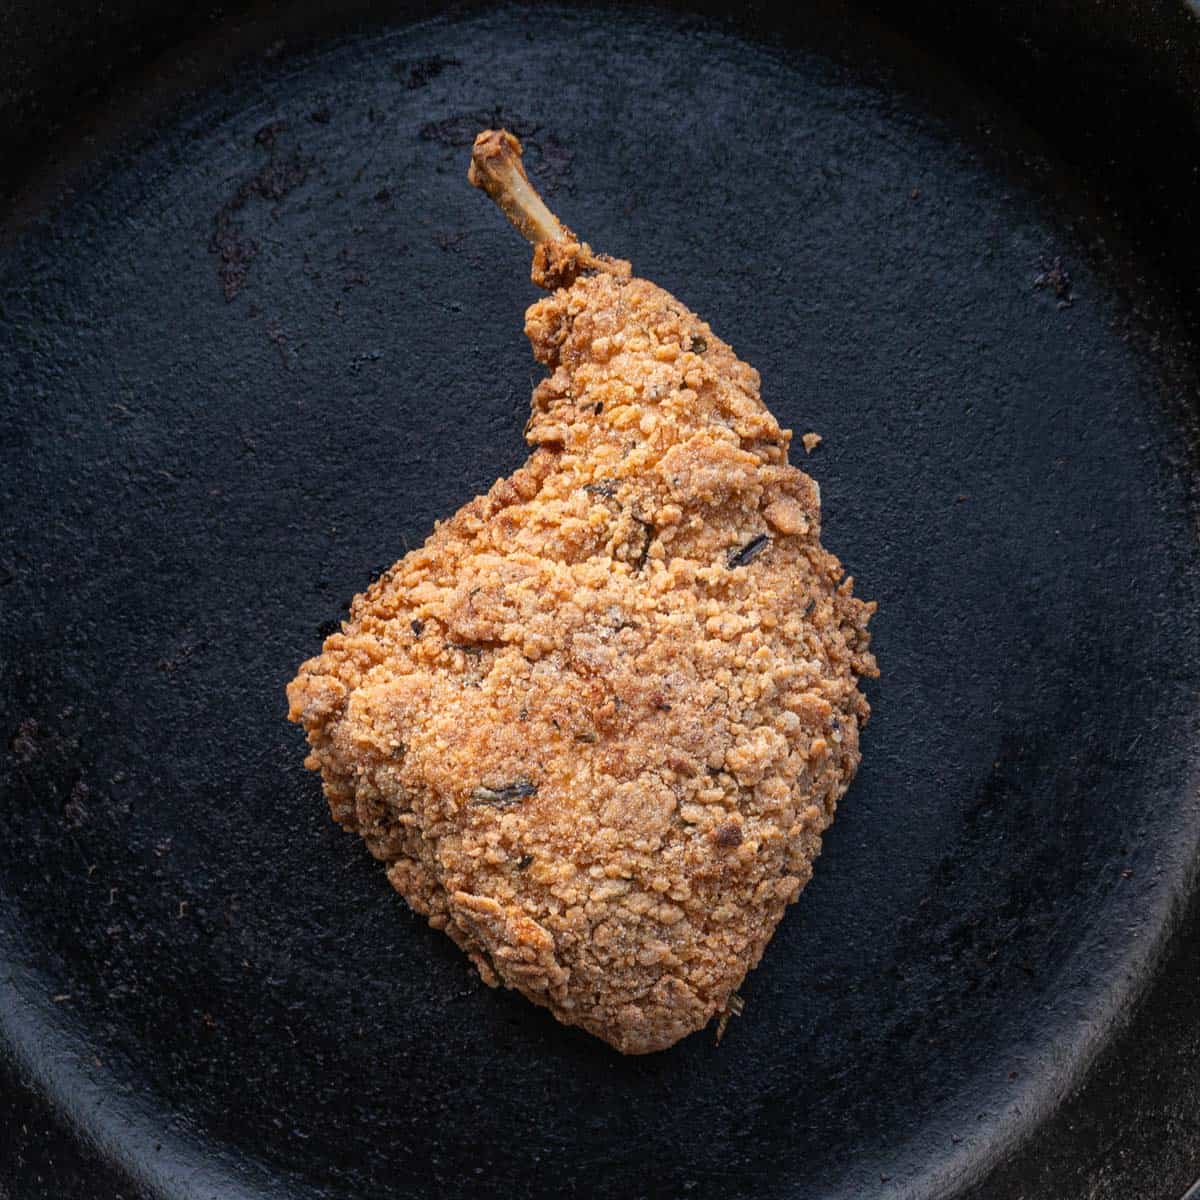
Heck, with the domestic rabbits I used, most people would never know they aren't eating chicken. On that note, do know that I am referring specifically to domestic rabbit for the purposes of this post, here.
I love wild rabbit (and I'm getting ready to hunt some this winter) but, since they do a lot more running and exercising, I generally slow cook those rabbits as opposed to something like deep-frying them. If you want a good recipe for slow-simmered rabbit with tomato and mushrooms, check out my rabbit chassuer here.
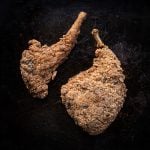
Domestic rabbits, like the one pictured here that my girlfriends parents loving raised in hutches on a diet of hand-harvested wild greens, are fine either slow cooked, or cooked to temperature (medium-well, as you would cook chicken).
Simply put, domestic rabbits are always going to be more tender, so they're my preference here. That being said, if you've deep fried wild rabbit and liked it, send me a message so I can amend this post.
Which cuts to deep fry
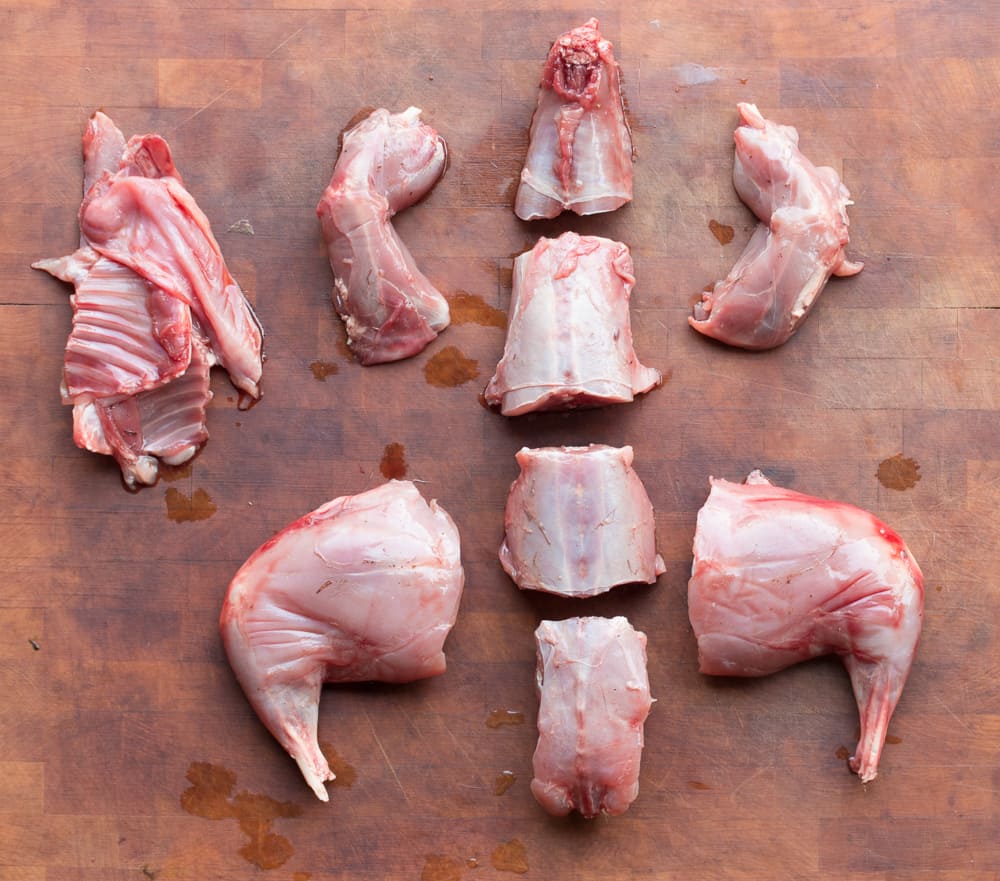
Generally, I only deep fry the front and back legs on a rabbit here. As for the other parts: rabbit saddle would be okay fried, but I love to stuff them, so I usually save them for another purpose. The ribcage and upper part of the torso, with the small bones, I prefer to use for stock.
Cooking deep fried food in advance
Oh yes, oh yes! Having made fried everything for hundreds of people at a time, I can tell you, without a doubt, that you can fry all kinds of things in advance, and (gasp!) some of them will even develop a crispier crust as a result. Rabbit legs are a perfect example.
All you need to do is fry the legs until the crust "sets" this doesn't mean they're deep, dark and golden, but more along the lines of the crust being the color of hay. Once you have that color, take them out and allow them to rest, and refrigerate them for a few hours or even overnight.
The next day, just heat up the oil and re-fry the rabbit, (chicken works fine too) until it gets the deep golden, irresistible crust you know and love. It will be noticeably more crisp. If you like fun tricks like that, check out J Kenji Lopez-Alt's book The Food Lab.
The Double Crust
If you know, you know. This is how you make thick, extra crispy crust. After dredging the rabbit in flour, dip the pieces back into the buttermilk, and then the flour again. Afterword, allow them to sit for a few hours in the fridge, then deep fry per usual. Another nod here to J Kenji's book I reference above.
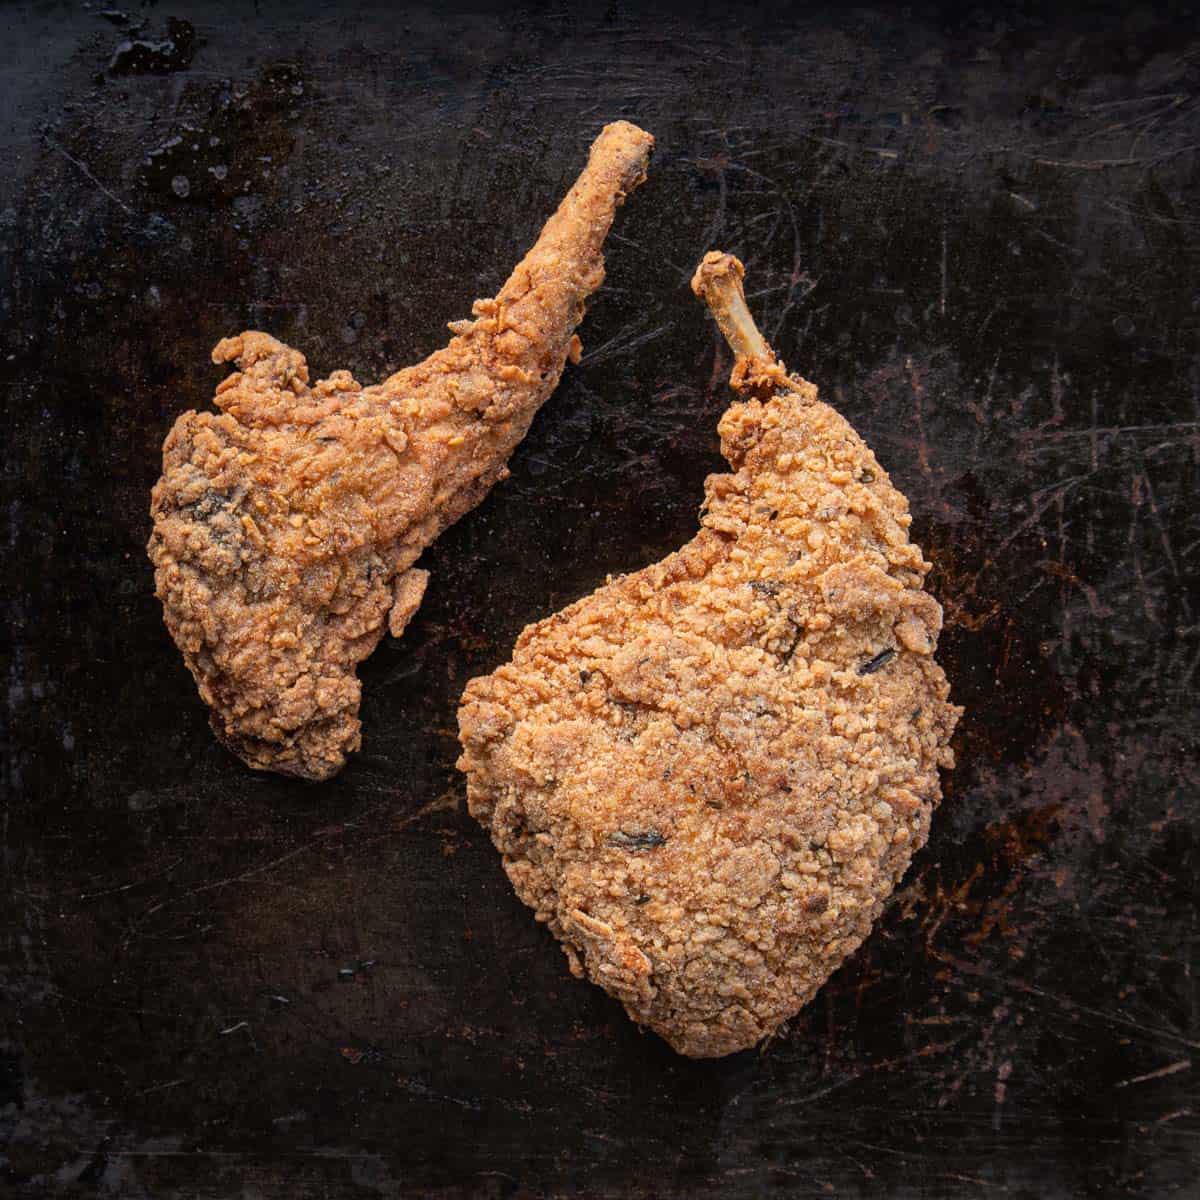
Buttermilk Fried Rabbit
Equipment
- heavy cast iron pot for frying, cookie sheet with a cooling rack
Ingredients
Rabbits
- 2 rabbits about 2-3 lb each
- 1 qt frying oil or lard This is the smallest amount of oil I would start out with, but if you want to shallow fry, you could get away with a little less in a pinch.
Buttermilk Brine
- 1 teaspoon salt
- 1 teaspoon chopped thyme
- 1 teaspoon paprika
- Small clove garlic grated
- 1 teaspoon Dijon
- ¼ teaspoon fresh ground black pepper
- 2 teaspoons salt
- 2 cups buttermilk
Flour Dredge
- 2 cups flour
- 2 teaspoons paprika
- ½ teaspoon fine salt
- ⅛ teaspoon cayenne
- 1 Tablespoon dried ramp leaves optional you can use a pinch of garlic and onion powder instead
- 1 teaspoon fresh ground black pepper
Instructions
Buttermilk Brine
- Whisk the ingredients for the buttermilk brine and reserve.
- Remove the front and back legs from the rabbits and reserve the carcass, including the saddle for another purpose.
Brine the Rabbits
- Put the rabbit front and back legs into a shallow container that will fit them snugly, and cover with the buttermilk brine, then cover and refrigerate overnight, turning once or twice during the process.
Dredging and Frying
- The next day make the flour dredge. Mix the dredge ingredients, blending the ramp leaves (if using) in a spice grinder to break them up into a powder, alternately, just pound them in a mortar and pestle.
- Preheat an oven to 300 F.
- Heat the oil to 350 F in a pot you can fit a couple rabbit legs at a time, they don’t all need to be able to fit, since you’ll likely cook them in batches. I like to use a dutch oven, and cast iron is your best friend here.
- Remove the rabbit legs from the buttermilk brine, letting excess brine drip off, then toss them in a bowl with the flour dredge, packing the flour on to help form a crust. Really press the flour on here to make sure it adheres, then gently remove the legs, and, one at a time, lower them carefully into the hot oil.
- As you put the legs into the oil, you may want to increase the heat a bit to get it back up to temperature. It’s important for the best crust that the oil be kept at a brisk bubble.
Don’t touch them while they fry
- From here, do not touch the rabbits until they’re ready to flip or you may mess up the coating.
- After 4-5 minutes, when the legs are getting some color, carefully flip them and color the other side. When the legs are perfectly golden brown, remove them to a baking sheet with a rack and keep warm in the oven while you fry the rest.
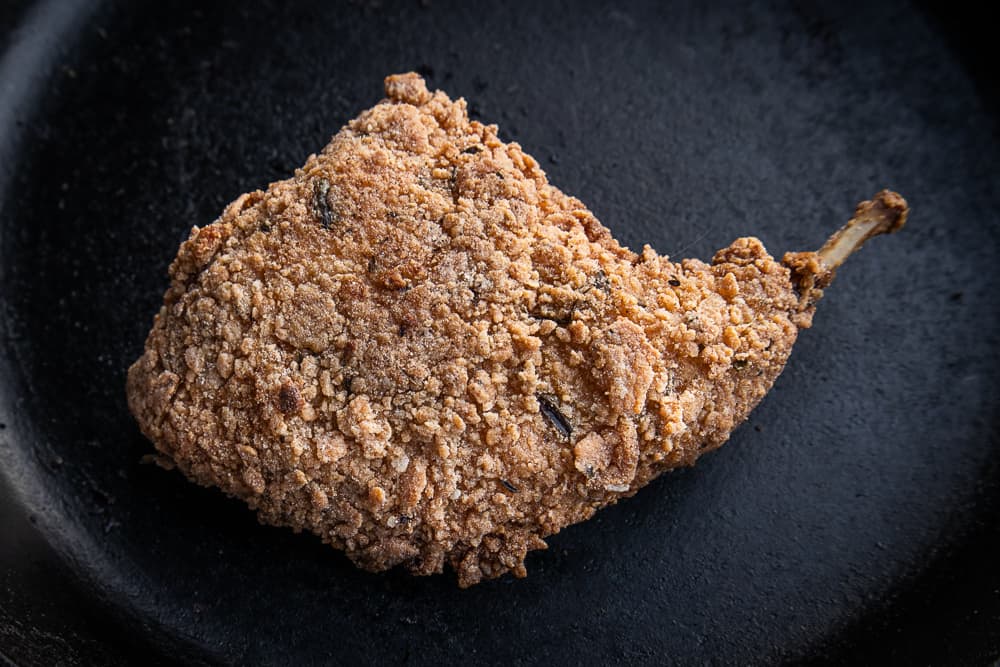
- Using a thermometer if you need, check the temperature of the legs and make sure it has hit 150F. In a pinch, just stick a thin paring knife or an unraveled paper clip into the thickest part of a large leg and then touch it to your bottom lip—it should be hot. If needed, re-fry the rabbit legs for a minute or two to adjust either the temperature or the color of the crust, then blot quickly on a towel, and serve hot.
Notes
Nutrition

Leave a Reply