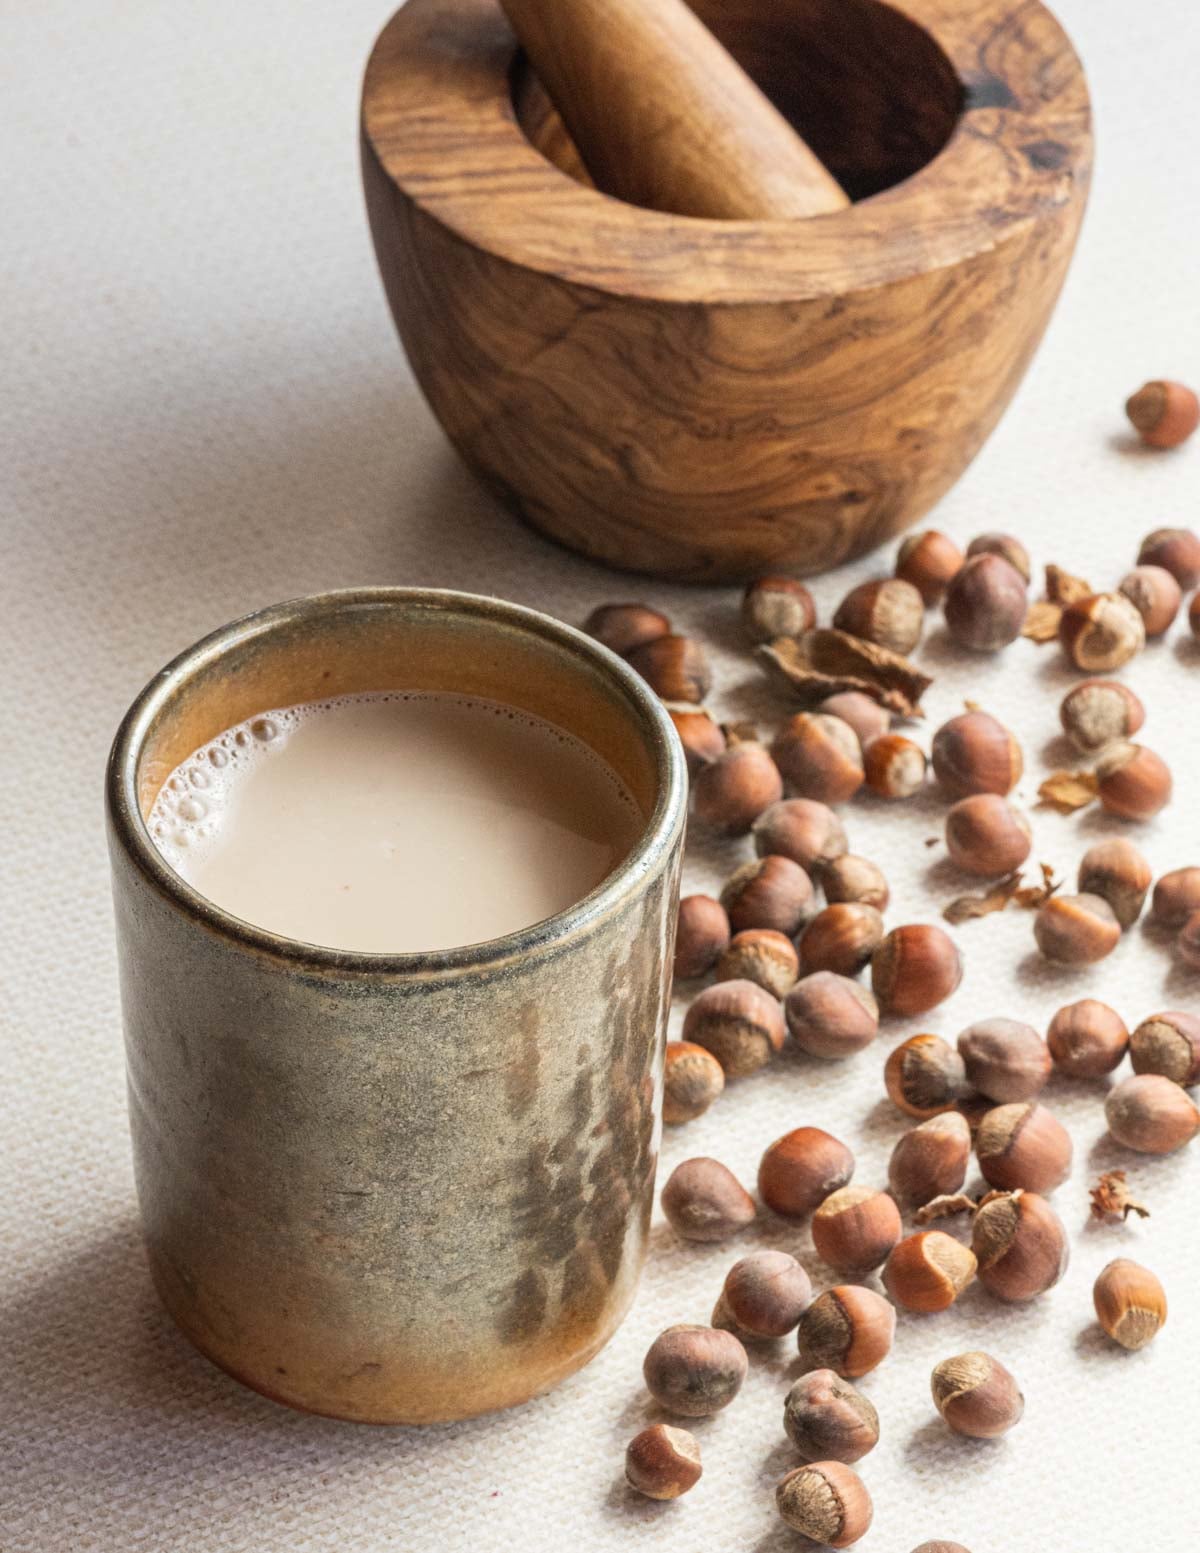
Hazelnut milk is the first nut milk I tasted. It's easy to make at home with a blender and a few kitchen staples and makes a delcious treat gently warmed up with a pinch of cinnamon served in a mug. While it's simple in theory, there's a few interesting quirks I've noticed working with wild and cultivated hazelnuts. Today I'll walk you through what I learned using both types.
Background
About 10 years ago I did one of my first events with Sam Thayer near Eau Claire. There was a few of us tag-teaming different courses. I made some wild rice polenta, Sam brought hazelnut milk, made from wild nuts, of course.
Spiked with a pinch of cinnamon and sweetened with maple syrup it was crazy delicious. One mug of the stuff changed how I thought about nut milk in general, but I didn't truly appreciate the work involved until I cracked my own wild hazelnuts.
If you've cracked wild hazelnuts you'll know it's a lot of work. About a year ago I finally received my Dave Built nutcracker and figured it was about time I put it to use. The cracker's designed for conventional hazelnuts. Wild hazelnuts are nearly too small for it to process, but it works well enough.
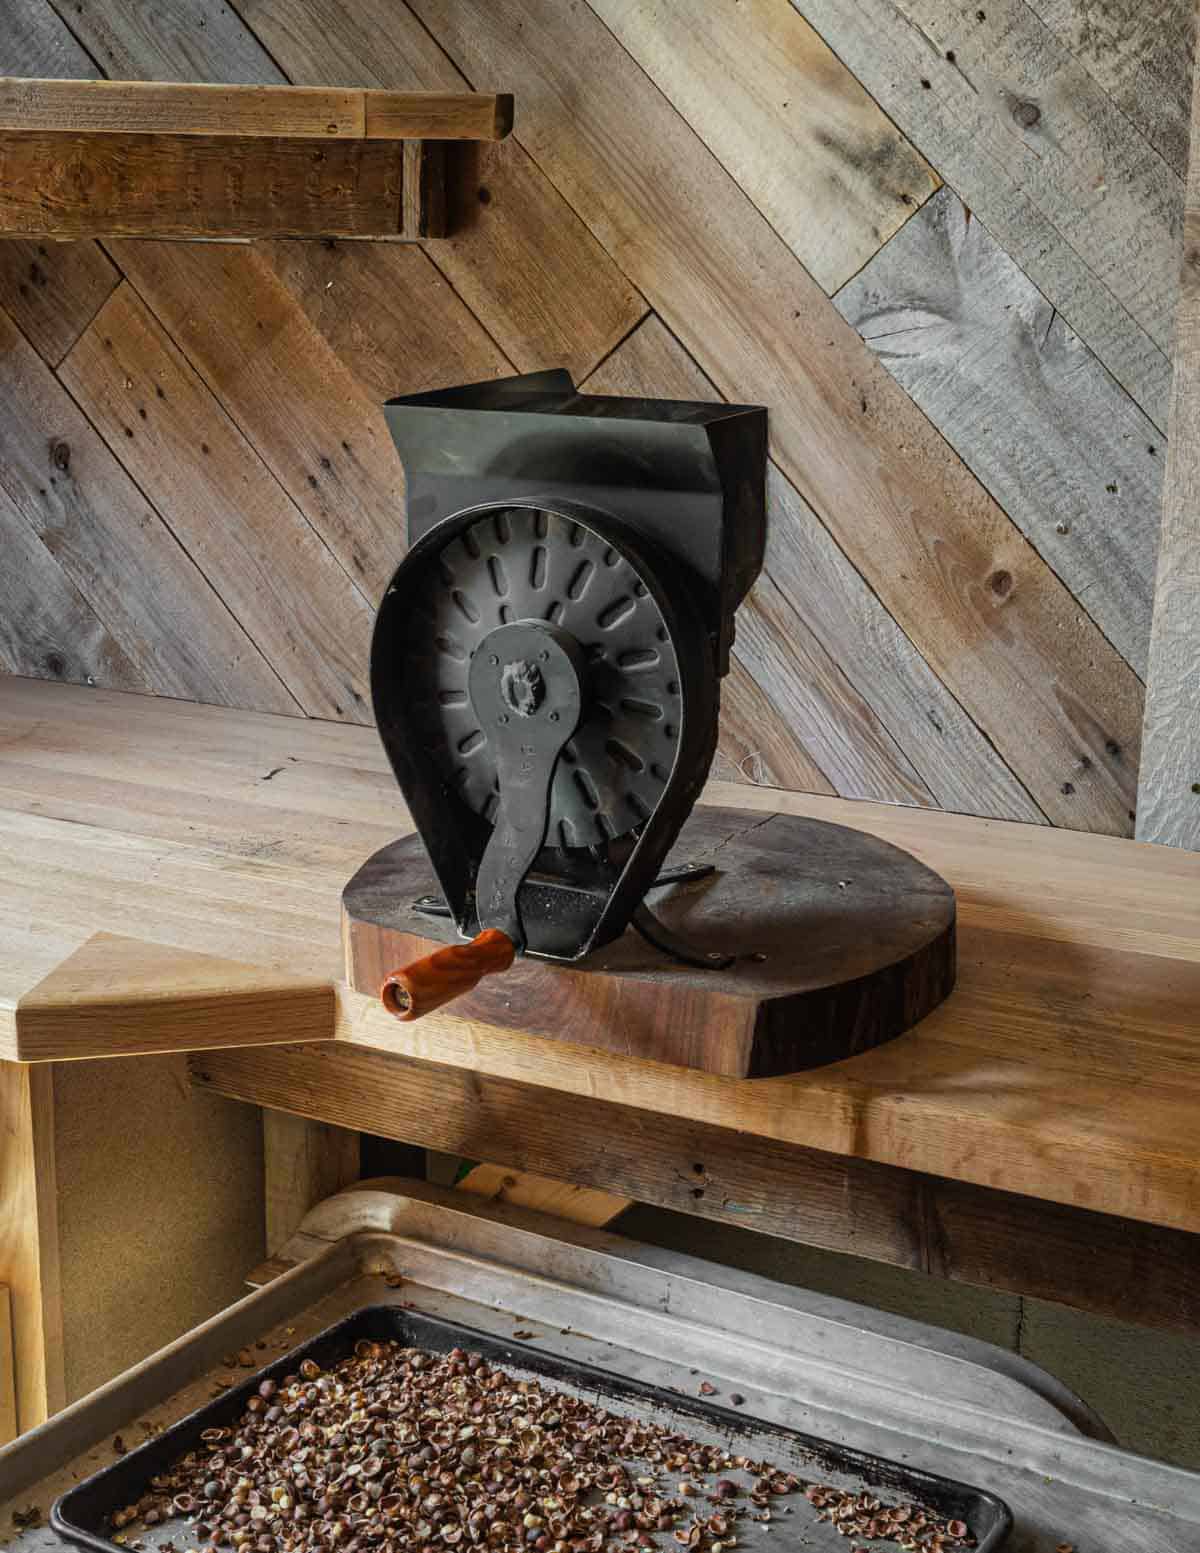
Quick aside, the Dave Built is the best nut cracker for shelling acorns and that's the reason I purchased it. All said and done, it took me 90 minutes to crack a cup of wild hazelnuts, making it a labor of love, to be certain. I also found toasting the nuts while still in the shells for a few minutes definitely helped the nut cracker break them up.
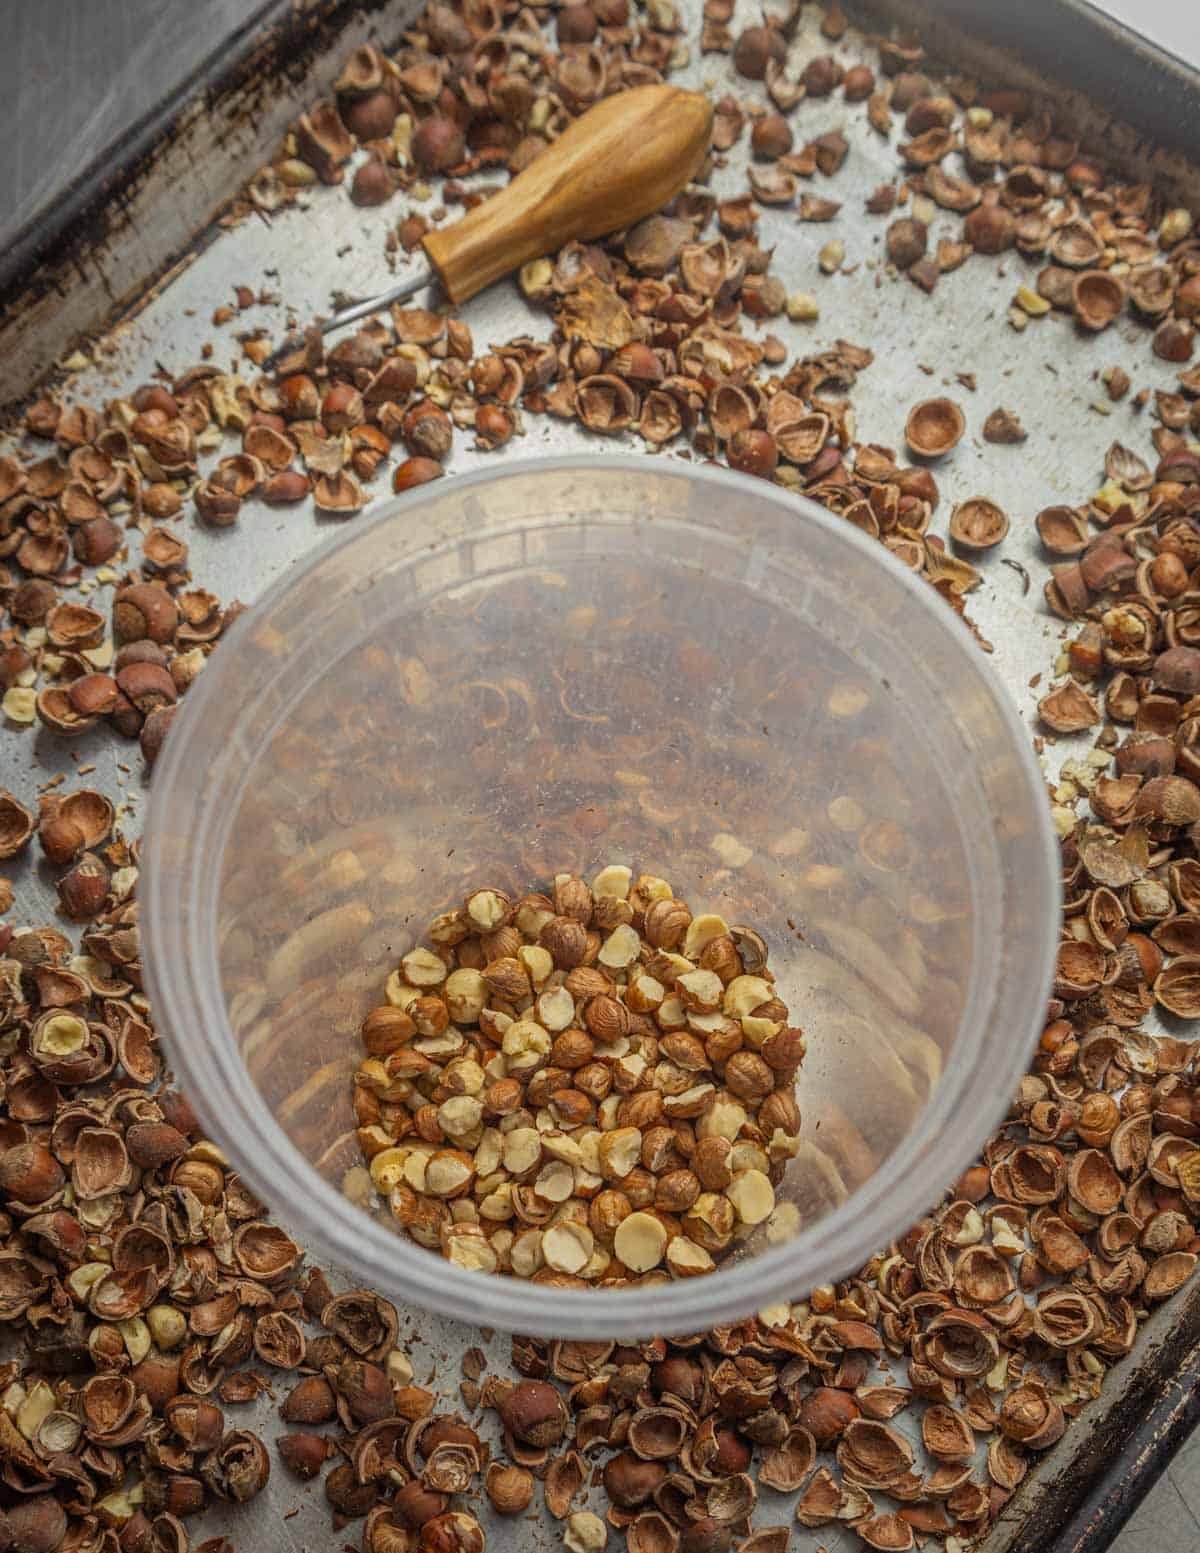
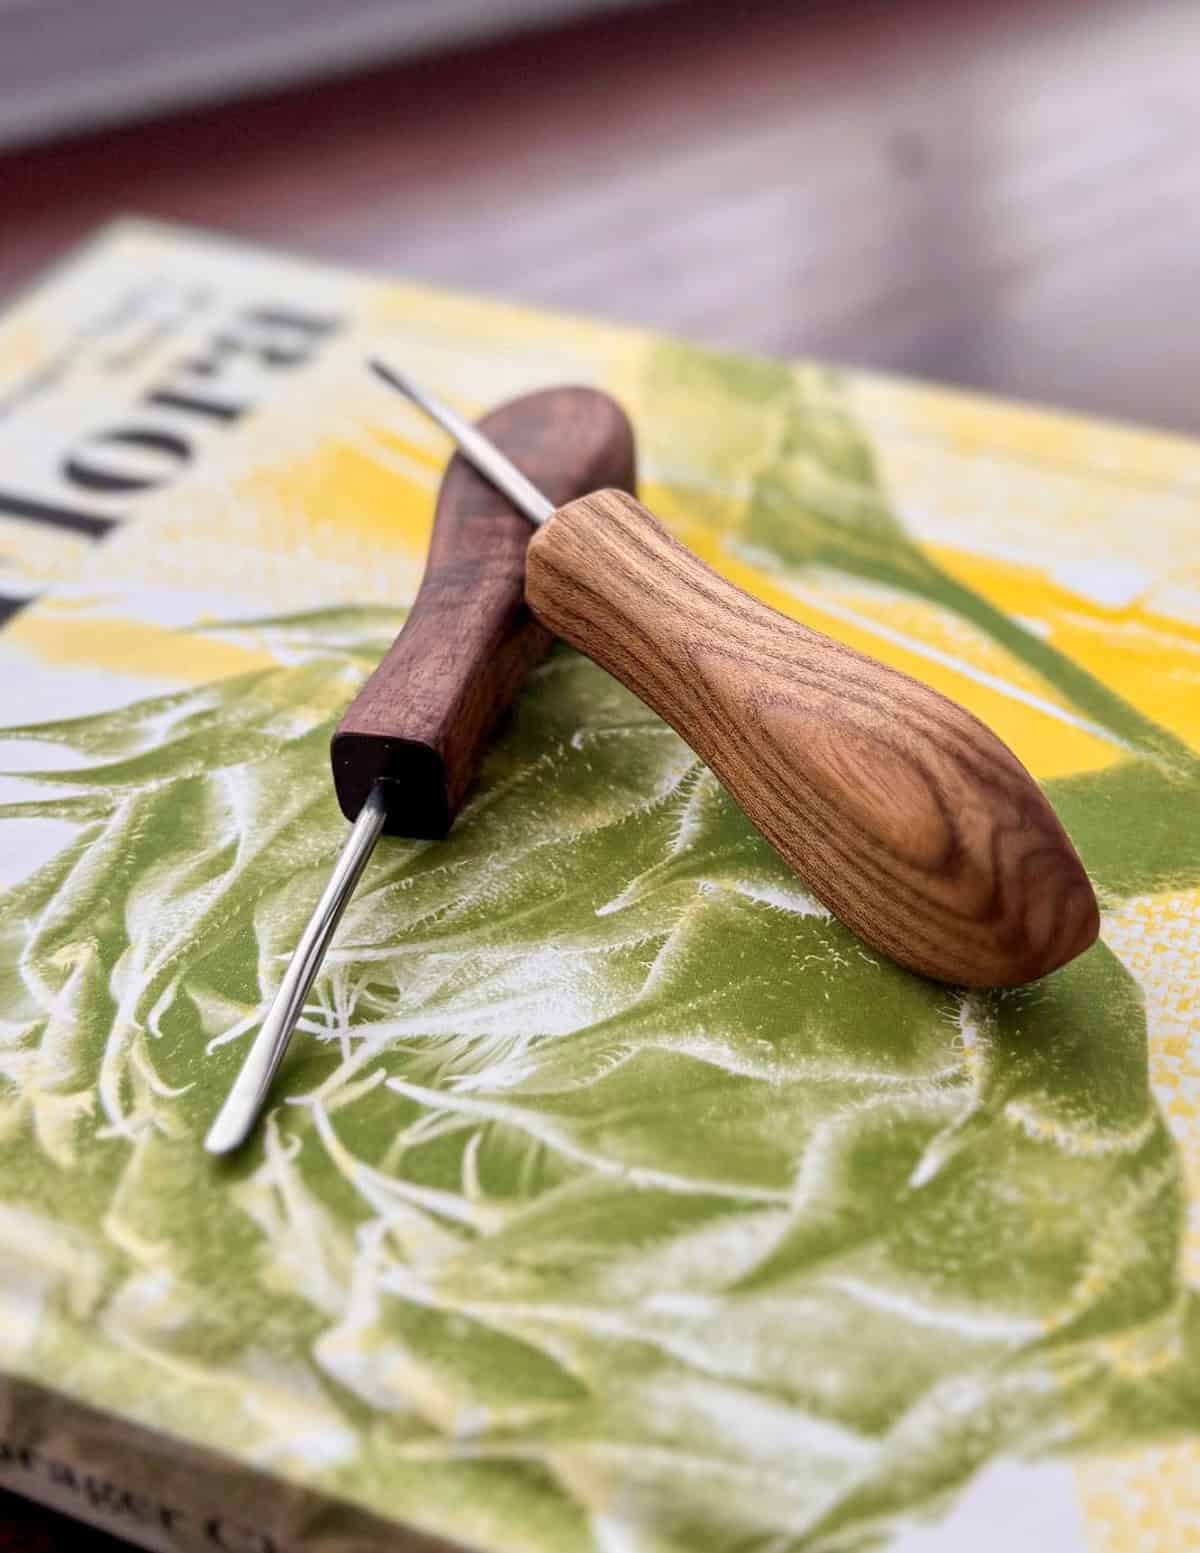
Special thanks to reader Joe Krowsoski, who, after seeing the homemade nut picks I'd made with Sam, carved each of us one from special woods. A nut pick made from serviceberry wood is pictured above and came in handy here. He sells fun things made from unique woods at his Etsy store. There's some fun, affordable gift ideas in there.
How to Make Hazelnut Milk
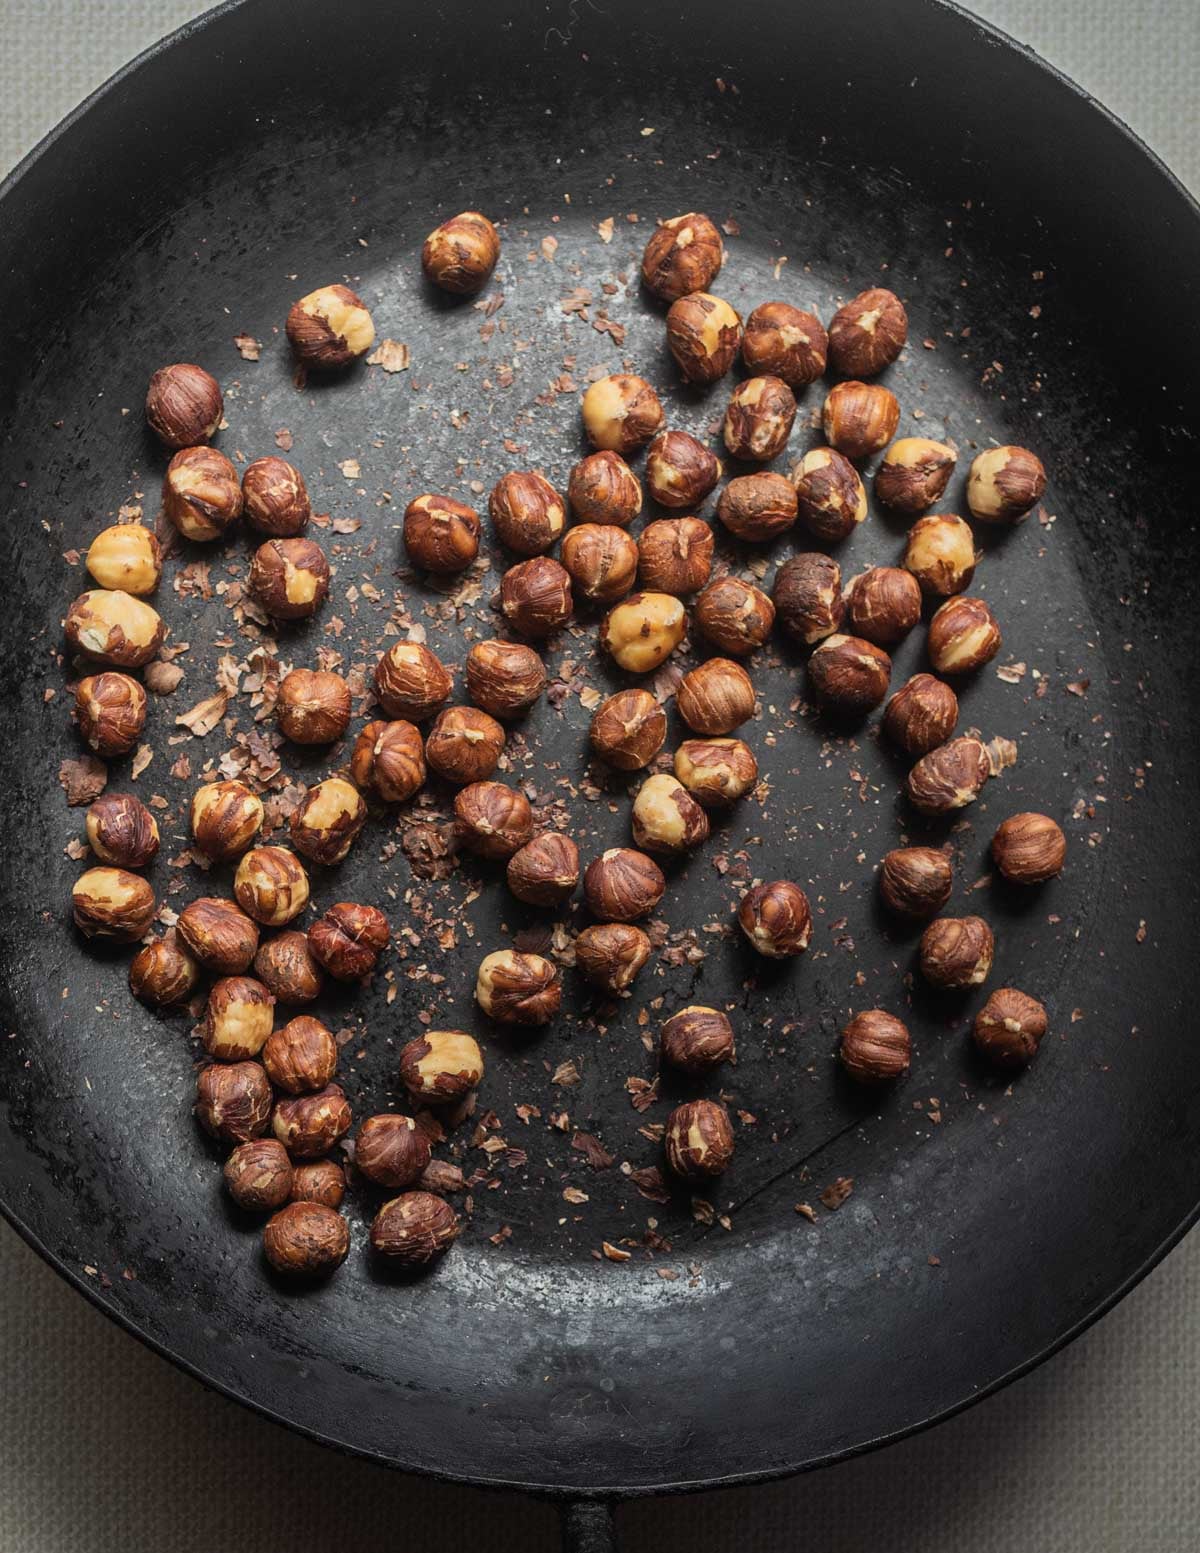
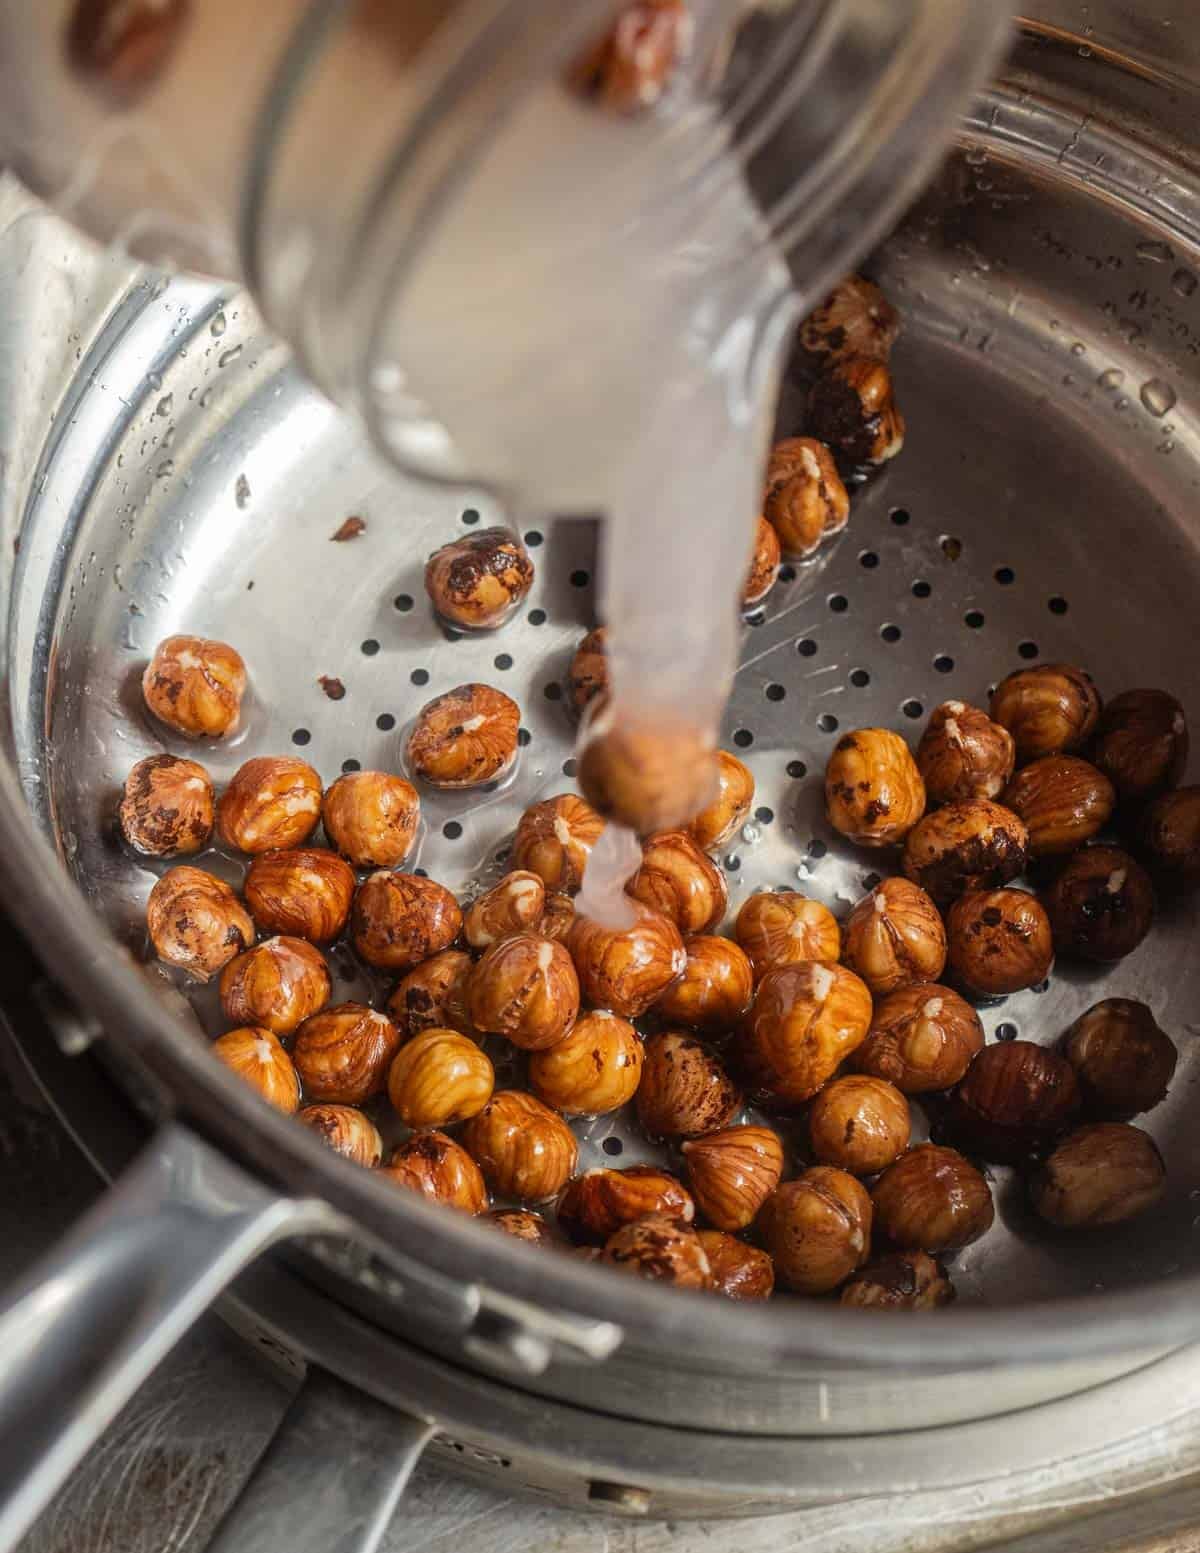
Like other nut milks, the first step is to soak the nuts in cold water. Unlike other nut milks, I learned I like to lightly toast the nuts before soaking as the test (thin papery layer surrounding the nut meat) started to ferment within an hour or two if the nuts were raw. Lightly toasting kills any residual yeast, improving the shelf life of the finished milk.
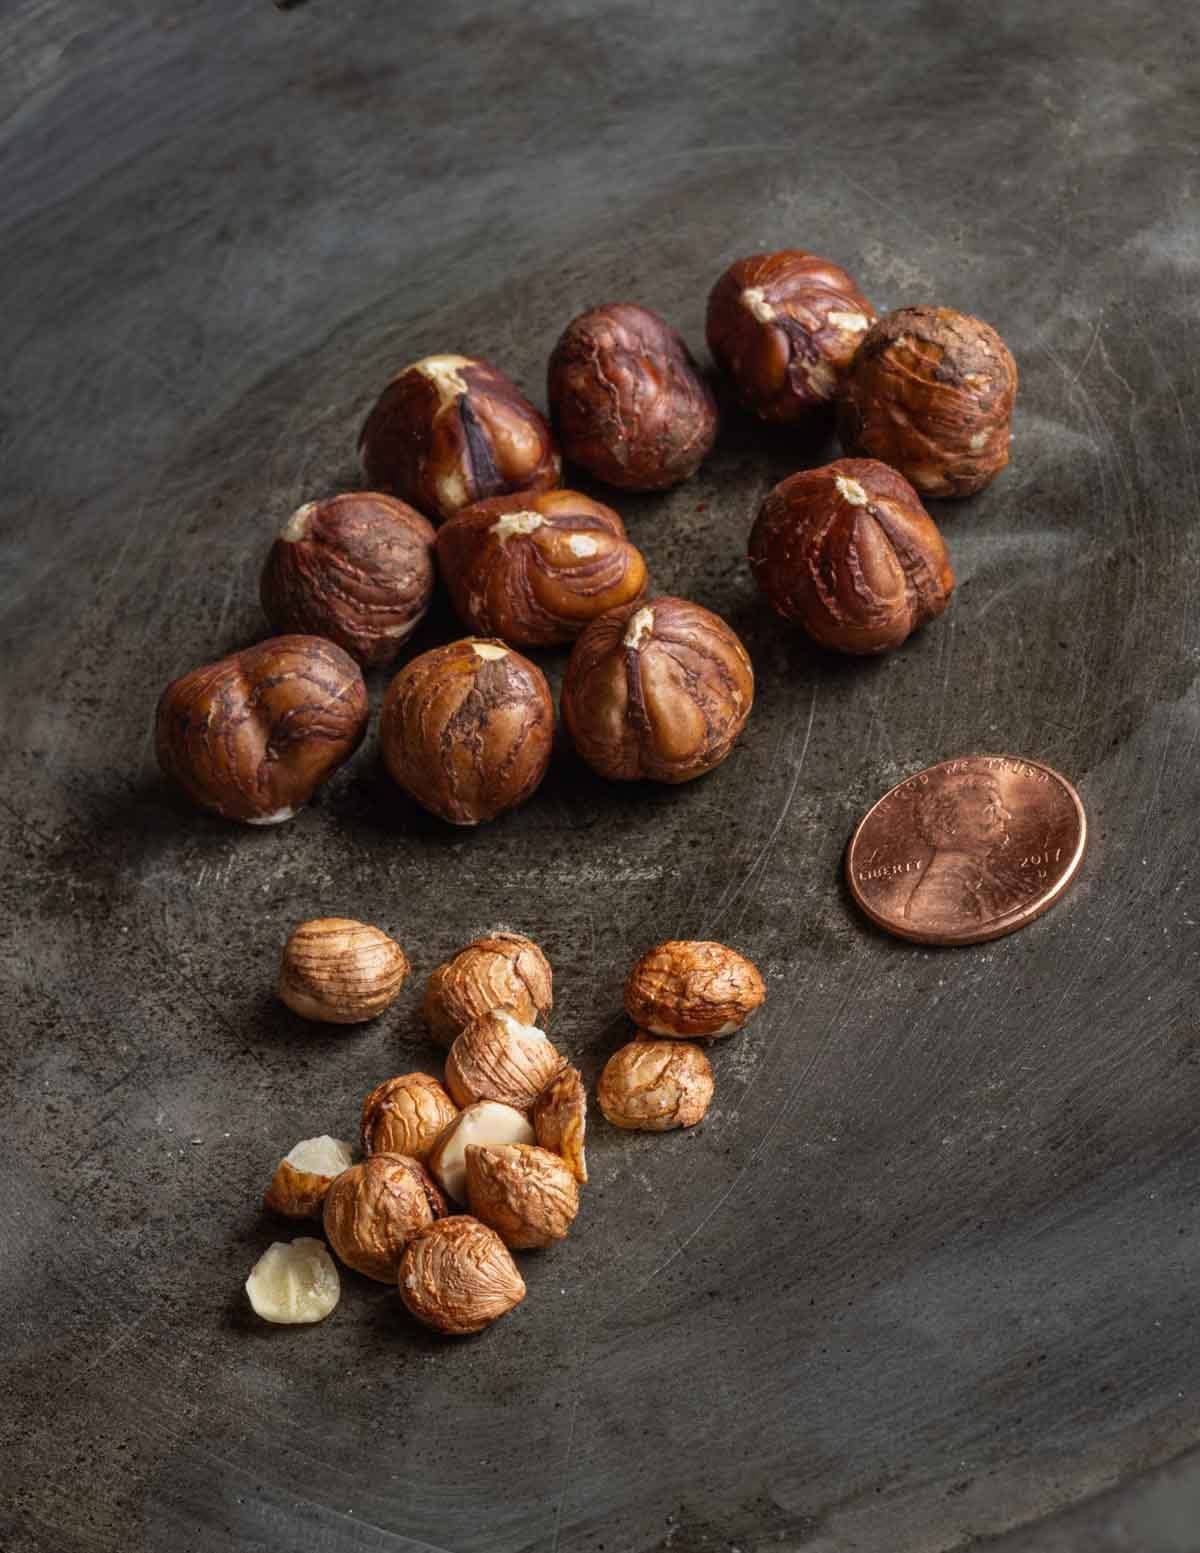
After soaking for 8-24 hours the nuts are drained. Inspecting the wild and cultivated nuts side by side I noticed something I don't see with black walnuts and hickory nuts: the water the wild nuts soaked in was clear, where the cultivated nuts turned the water opaque and dusty.
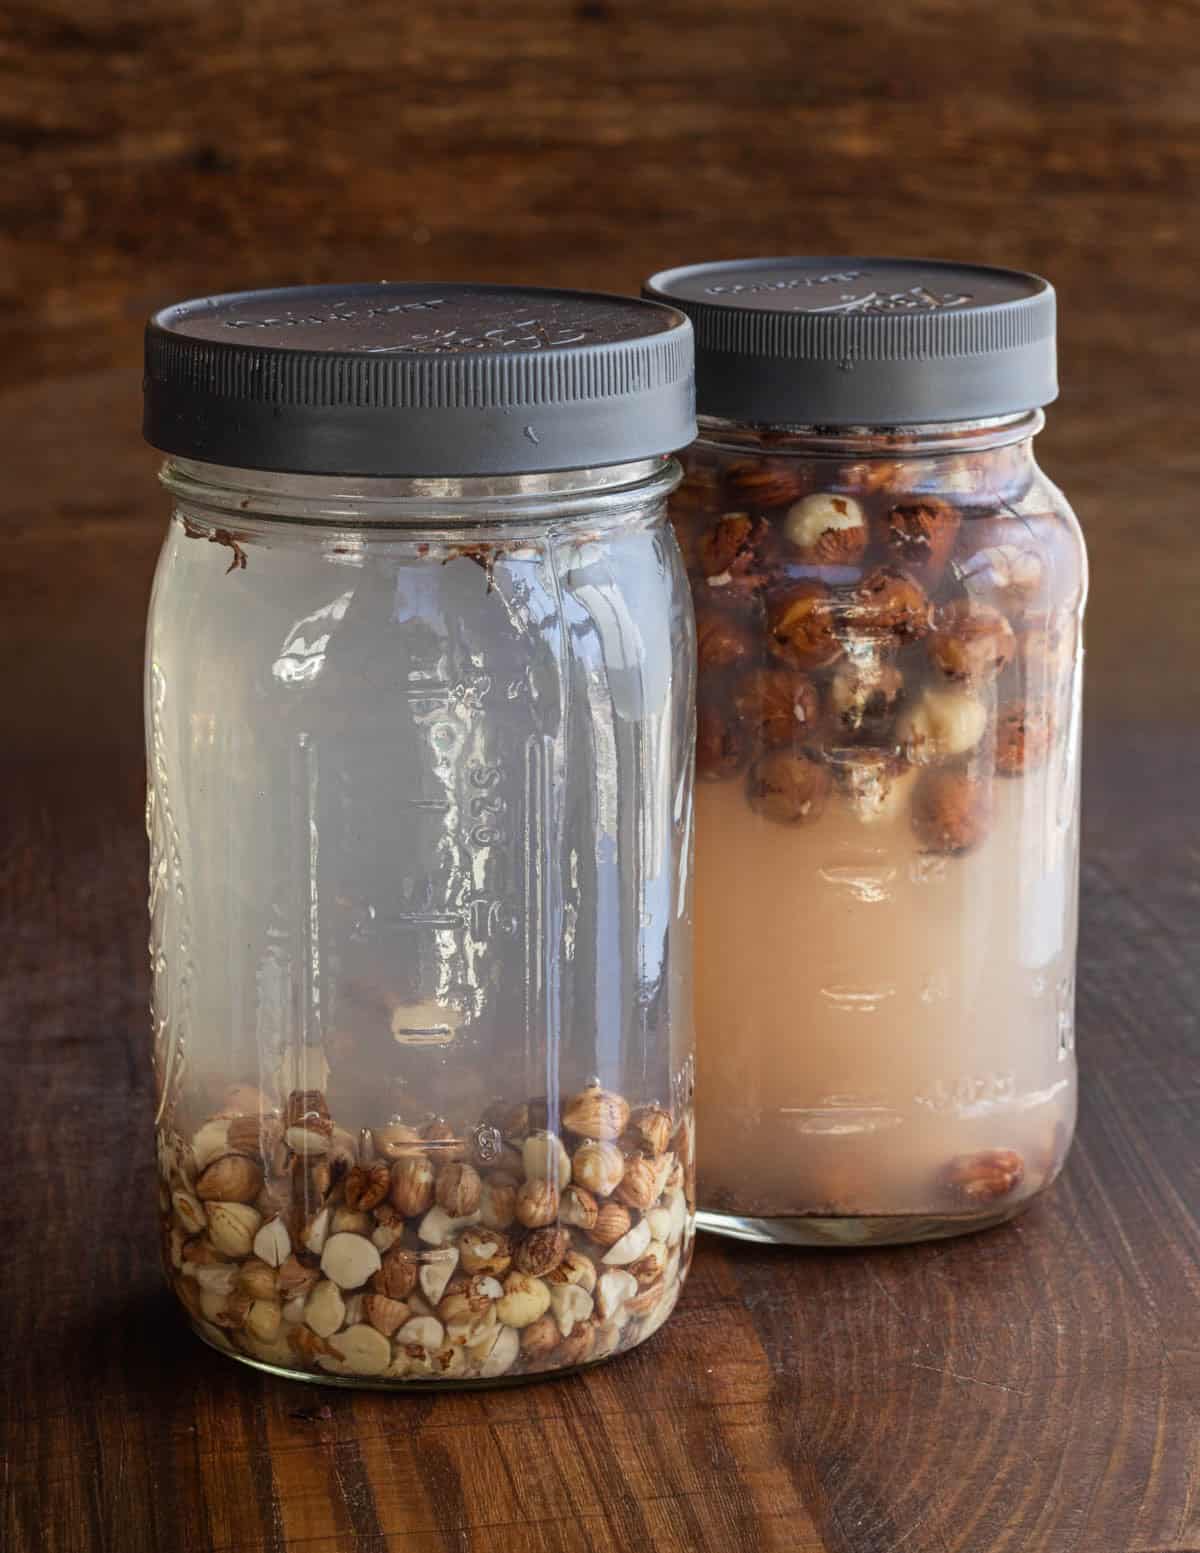
I can only assume the darker, more pronounced test on the cultivated nuts is the culprit here, and the water had a noticeably tannic aftertaste compared to the wild nuts. With that in mind, although most recipes for hazelnut milk don't discard the soaking water, I recommend it.
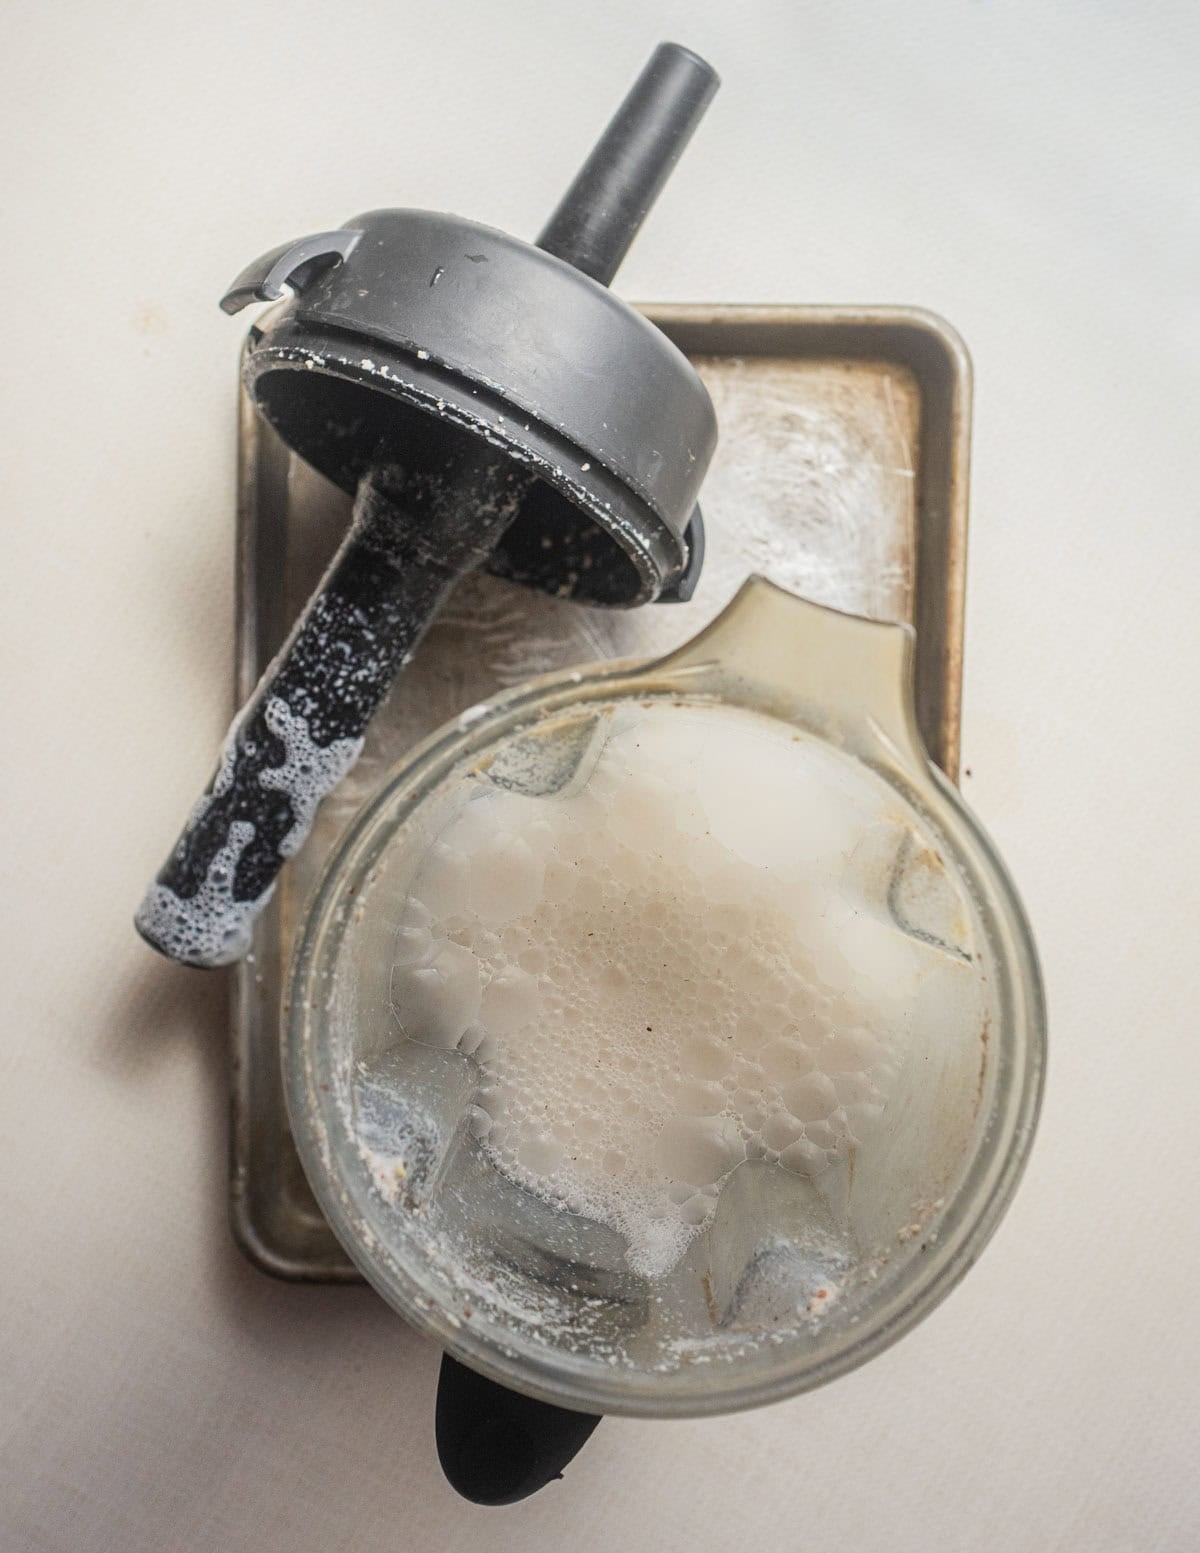
After soaking the nuts are drained and combined with fresh water at a ratio of 1 part nuts to 4 parts water, then pureed in a blender until very smooth. The liquid should stay cold while pureeing. Warmth is the enemy here, and hazelnuts seem to ferment quicker than any nuts I've used. Left unchecked, this can make the nut milk bubble and turn sour. Other nuts I've used aren't as sensitive to temperature.
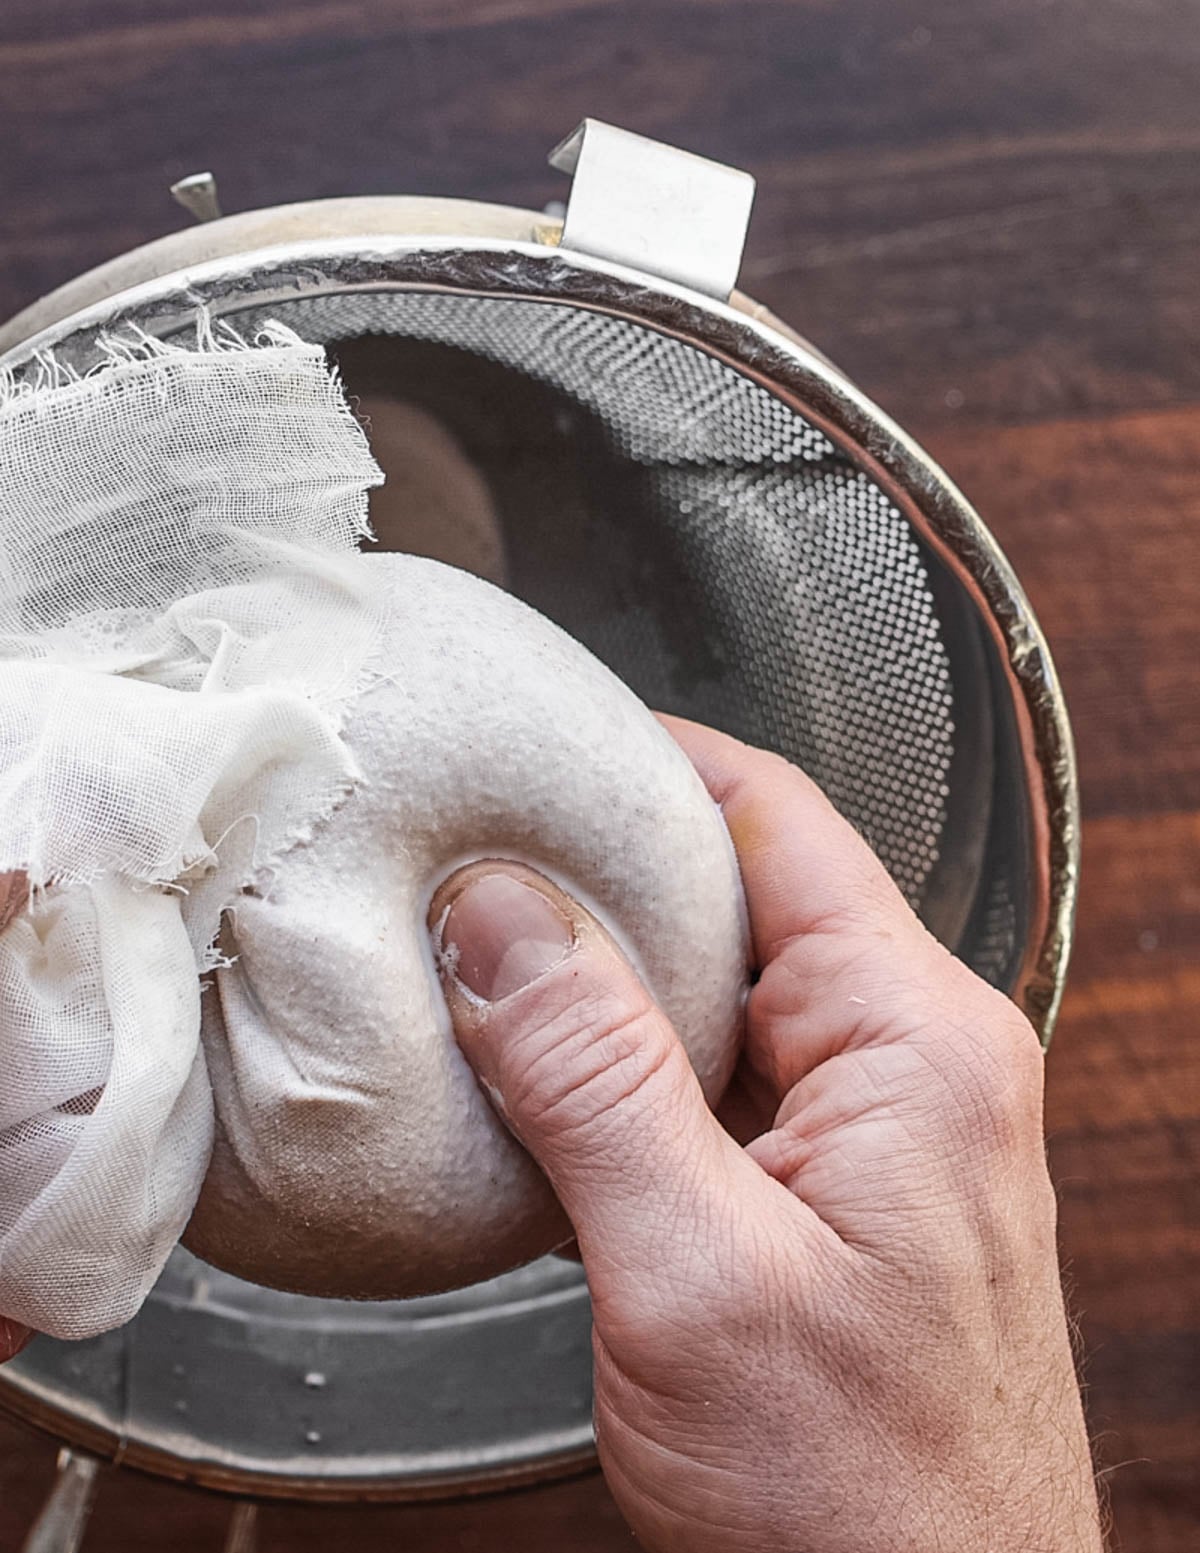
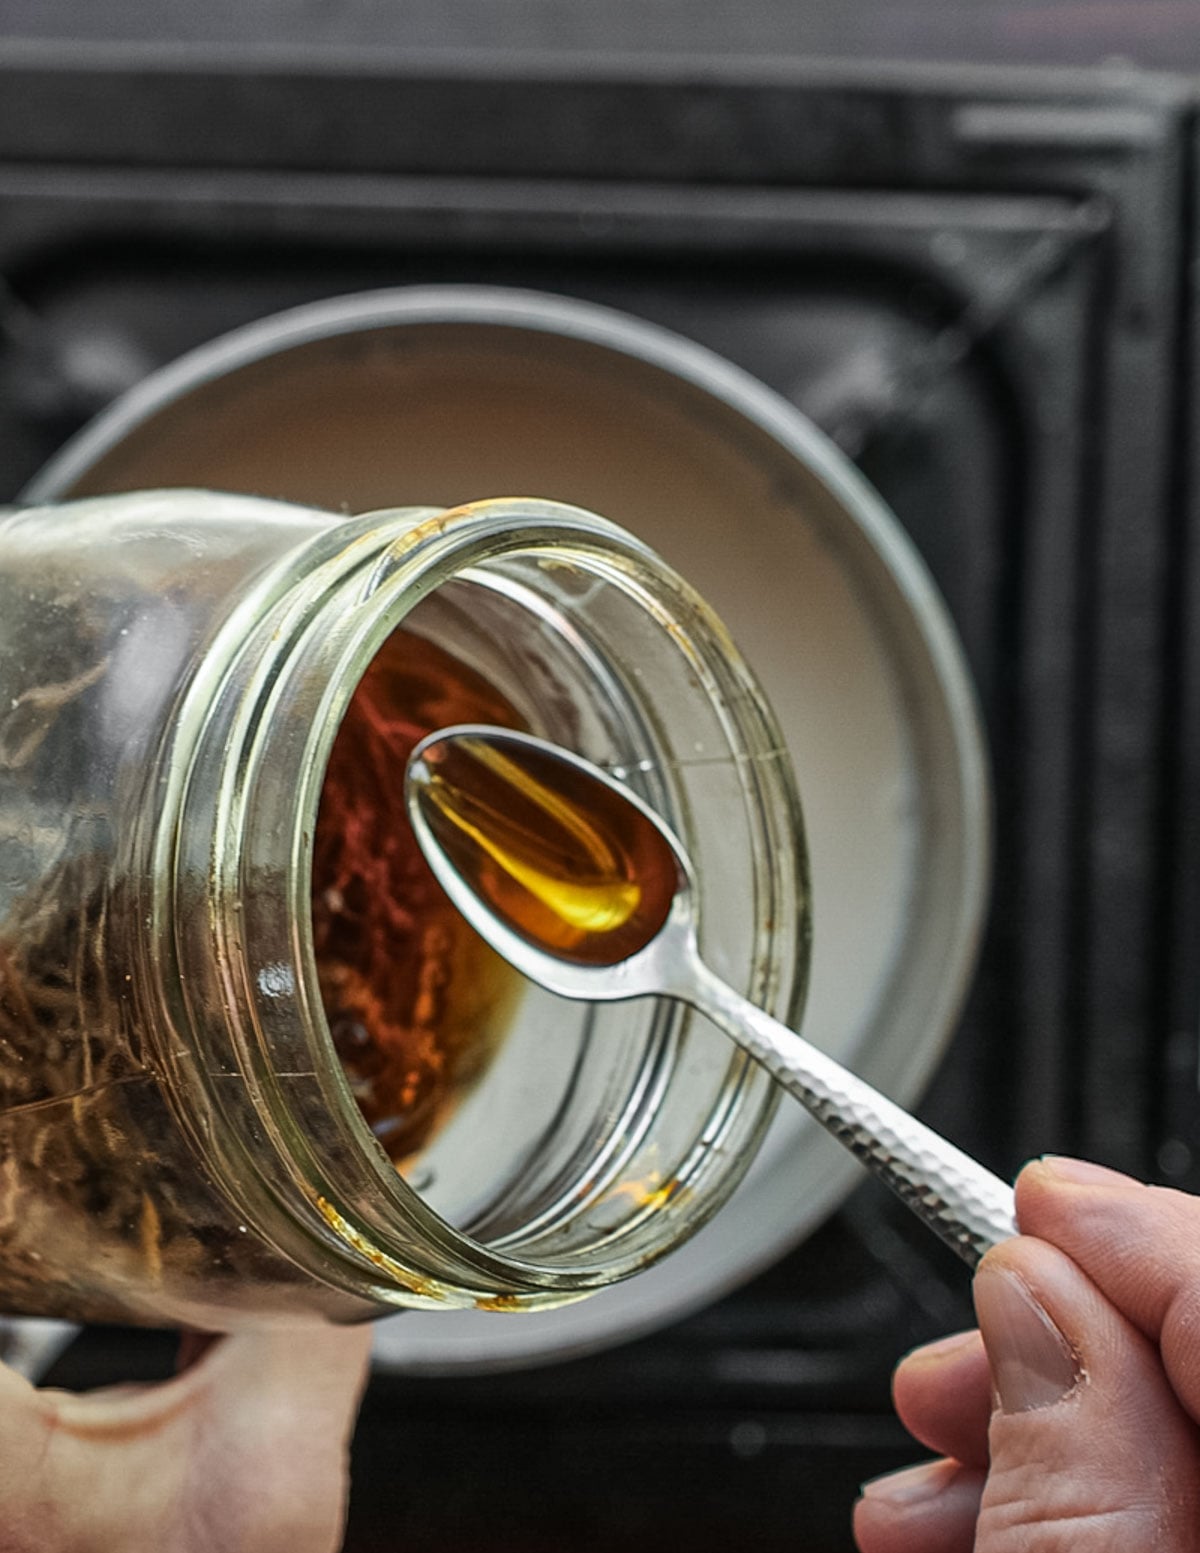
Once the nut milk is pureed it's strained through cheesecloth. The strained milk is seasoned with maple syrup, a suggestion of cinnamon and a splash of vanilla extract. If you've made some of my wild vanilla extract it adds a great dimension here, but regular vanilla extract is fine too.
While quickly referencing Sam's chapter on Wild Hazelnuts in his book Nature's Garden, I also noticed he recommends adding a good pinch of ground, roasted dandelion root. It's optional, but the depth it adds is a really nice addition as hazelnuts aren't as flavorful as black walnuts or hickory nuts, at least in my opinion.
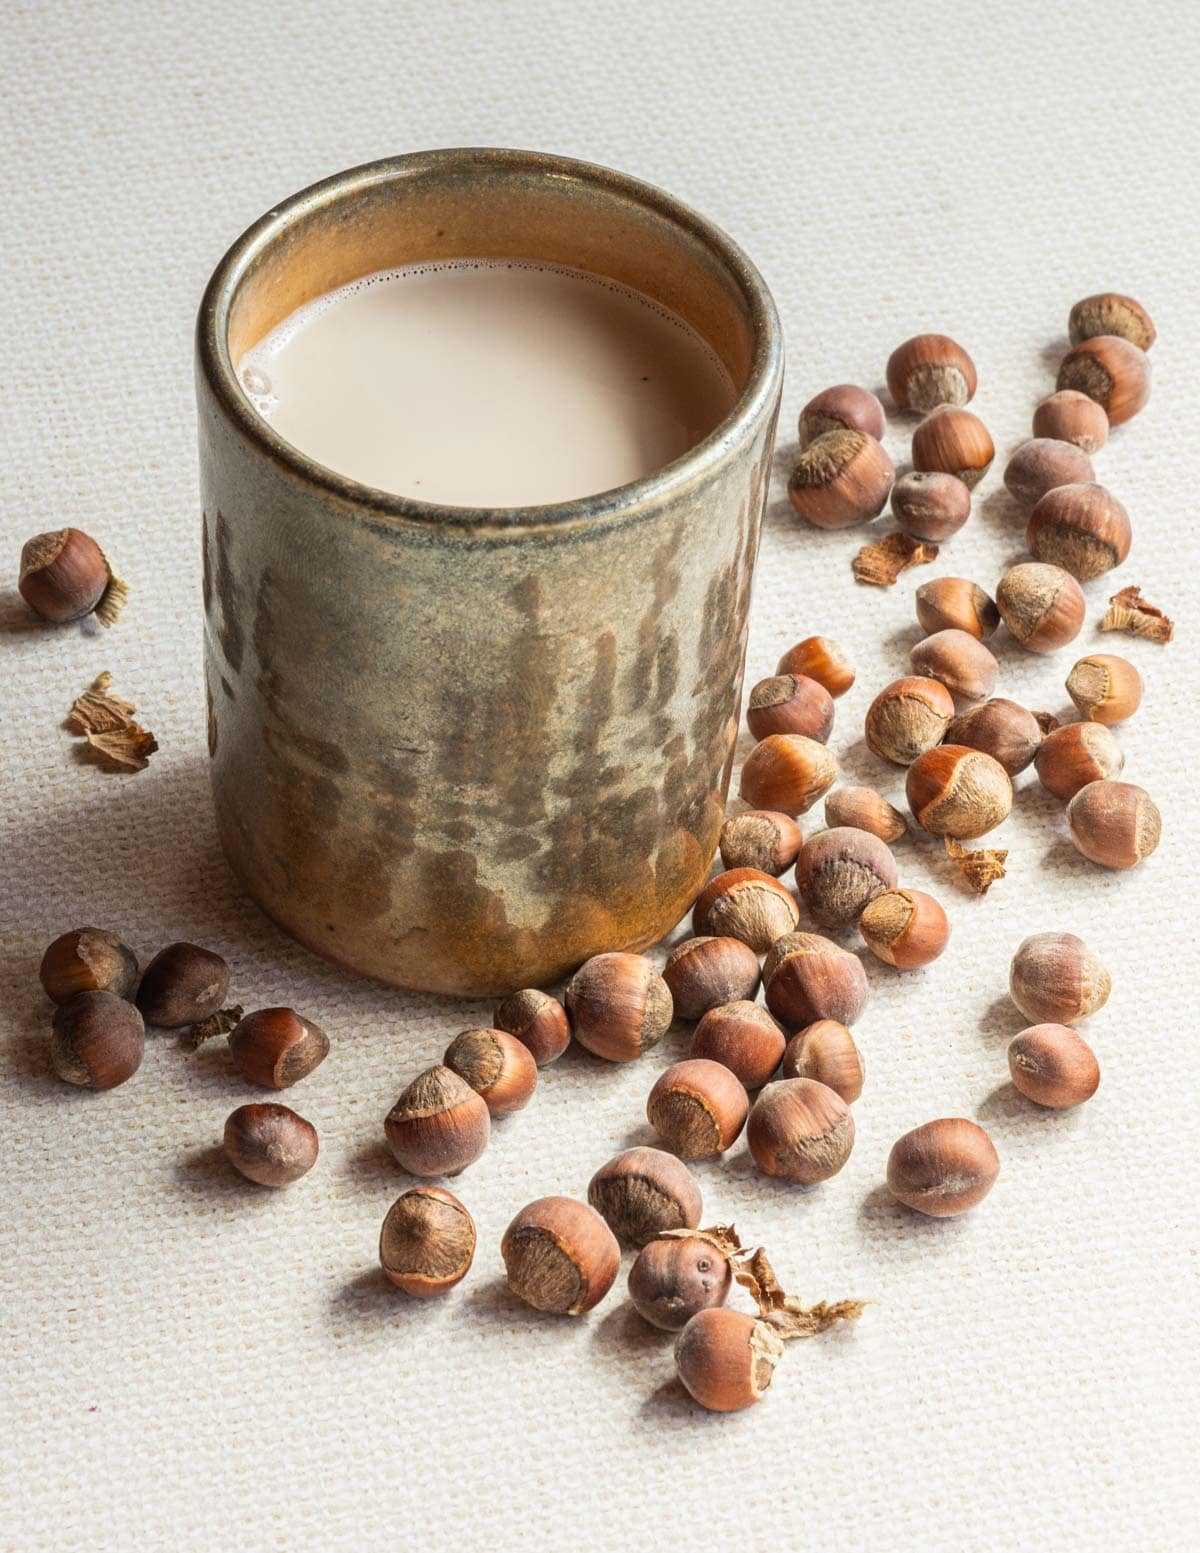
Of course you can use nut milk as a dairy-free milk alternative, but the cost of hazelnuts makes this stuff a luxury. Instead of pouring it over a bowl of granola (which is fine) a small warm mug is my preferred way to enjoy it.
Related Posts
Roasted Hazelnut Milk
Equipment
- 1 High speed blender Such as a Vitamix
- 1 Fine mesh strainer
- 1 Foot length of cheesecloth
Ingredients
- 1 cup (4 oz) Hazelnuts or other nuts
- 8 cups Filtered water chilled and separated
- ½ cup Maple syrup honey or your favorite sweetener
- ¼ teaspoon Cinnamon
- 1 teaspoon Wild vanilla extract optional
- 1 pinch Kosher salt
Instructions
Make the Nut Milk
- Put the hazelnuts in a pan and toast lightly in a 300F oven for 20 minutes, then remove and cool.
- Put the nuts in a container and cover with 4 cups of the water.
- Drain the nuts after 8-24 hours.
- Puree the soaked nuts and water in a blender and puree for 60 seconds.
- Strain the mixture through cheesecloth or a nut milk bag, squeezing out as much milk as possible.
- Season the nut milk to taste with maple syrup, cinnamon, and a splash of vanilla extract.
Serving Warm
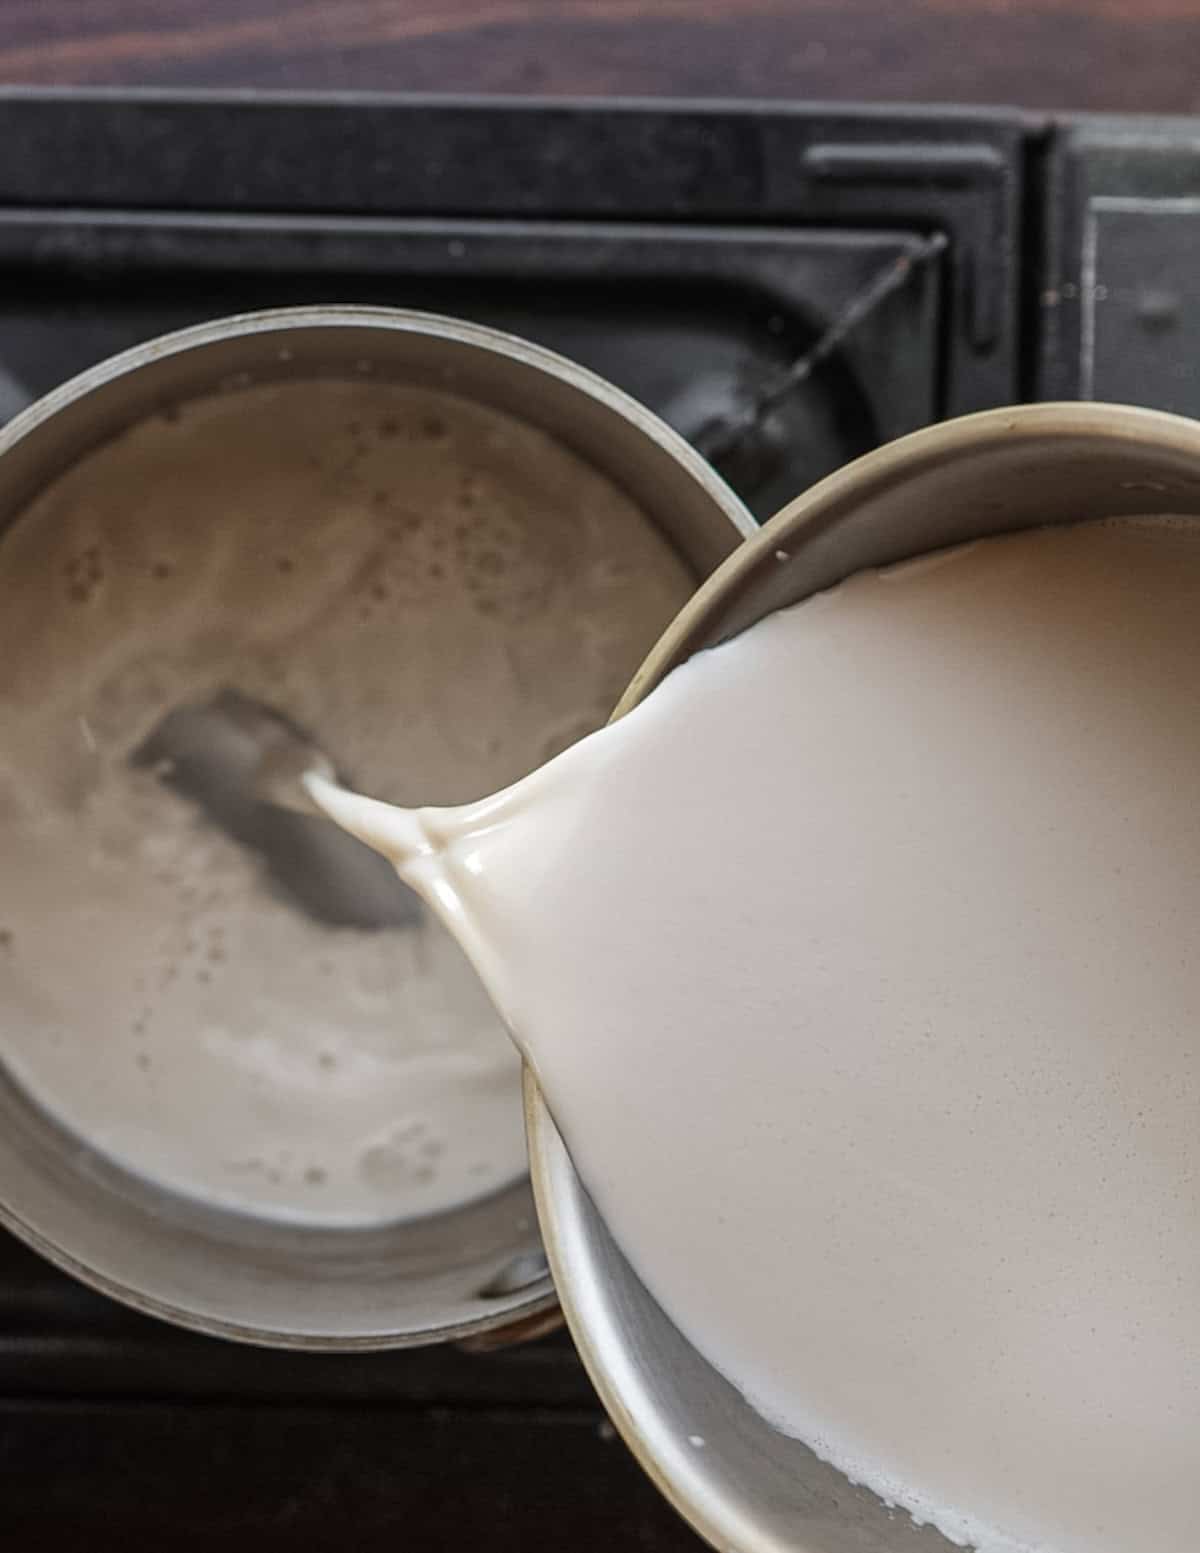
- Warm the nut milk to around 160-170 F. It's important not to allow it to simmer or boil as it will lose the creamy texture.
- Taste and adjust the seasoning for maple and cinnamon and adjust until it tastes good to you, then serve.
- As long as it's quickly chilled after pureeing the nut milk will last for 2-3 days in the fridge. After it's been heated it should be consumed within 24 hours as it will eventually start to ferment.
Steve Bergo
Cool guy doing cool guy stuff!
Tamidon
Perhaps use a few ice cubes at the start of using the blender (sub from water total) would help since high speed blenders tend to start heating stuff when running?
Alan Bergo
Yes you sure could.
EC
This was a delight to read with my morning coffee; saved the nutcracker info; favorited the Etsy seller for the nut pick in my Etsy account; saved the recipe, now back to work. Thank you.
Alan Bergo
Thanks EC. I should add the DaveBuilt was a 2 year waiting list last time I checked. It took so long to get mine they mailed it to my old house and I had to drive an hour to get it off the owners porch. Definitely worth the couple hundred if you like processing acorns.
Susie
Fascinating - as always, Alan, and full of useful hints. This really encourages me to try this, although I'm not sure that I could do a 90 minute labour of love to crack them open as you did ! You sure do have fun 🙂 Many thanks for this post. Have a great weekend.
Alan Bergo
Thanks Susie, you too!