Hopniss (Apios americana) are an edible tuber that have long been an important food crop in North America enjoyed by Native Americans. They've enjoyed a bit of a renaissance with the growing interest of foraging. Today I'll share with you what I know about them, and how to harvest and cook the tubers.
Description
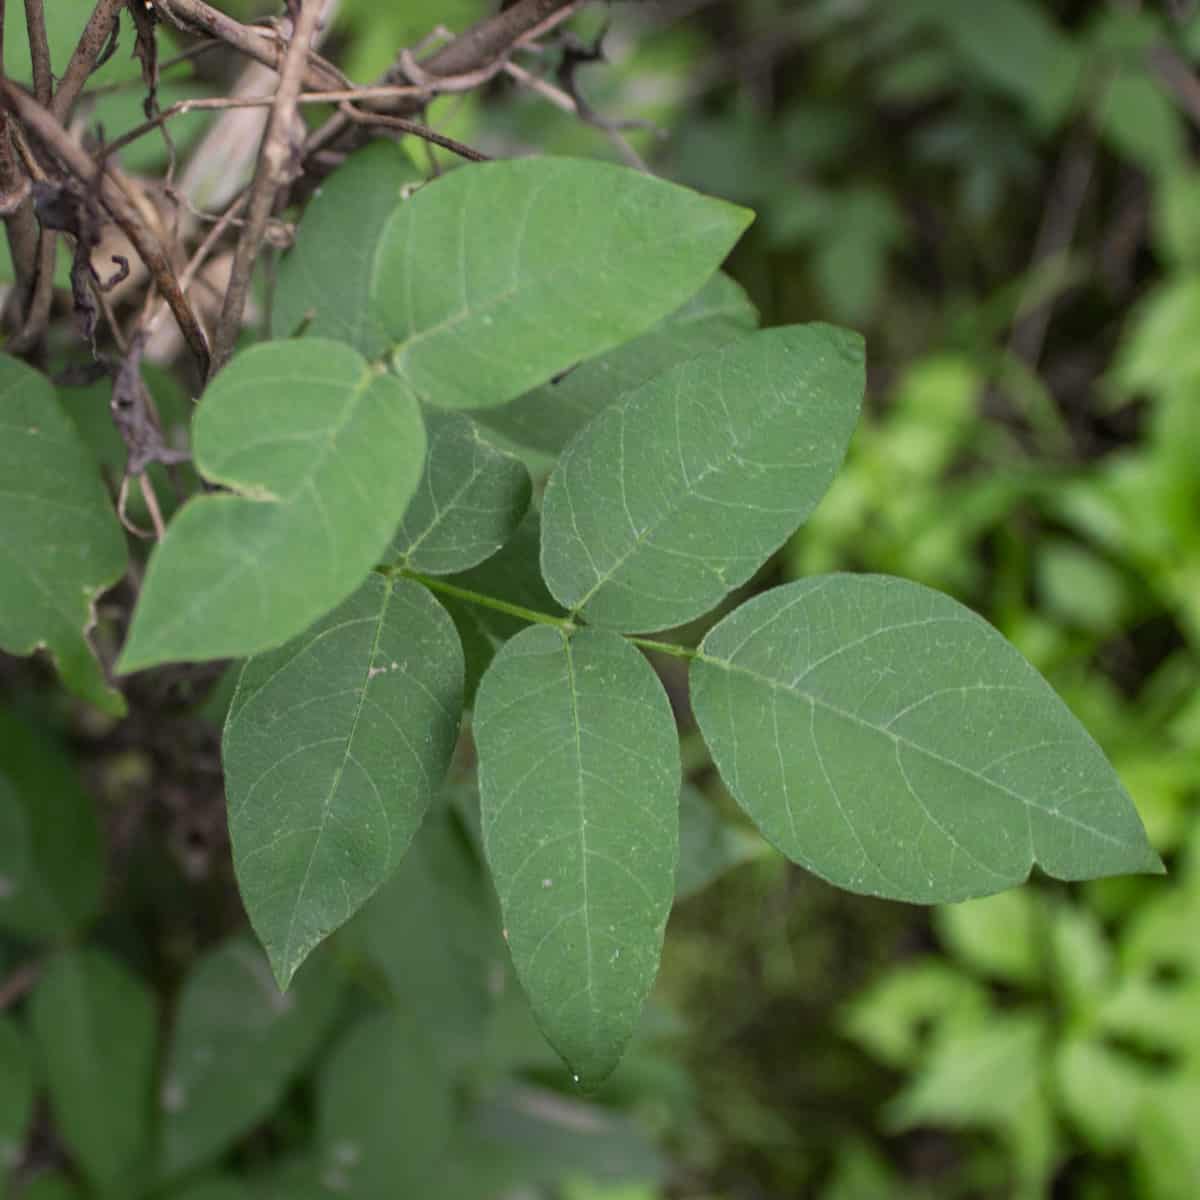
An indigenous North American plant, the American groundnut (also called the Indian potato) is an herbaceous vine that wraps around small trees, shrubs, herbs and other vines like grape vines and cinnamon vines (wild yam vines). As the name implies, the plant is a legume, and if you grow beans in your garden you'll notice the leaves are vaguely similar. They look a bit like an overgrown bean vine in the wild.
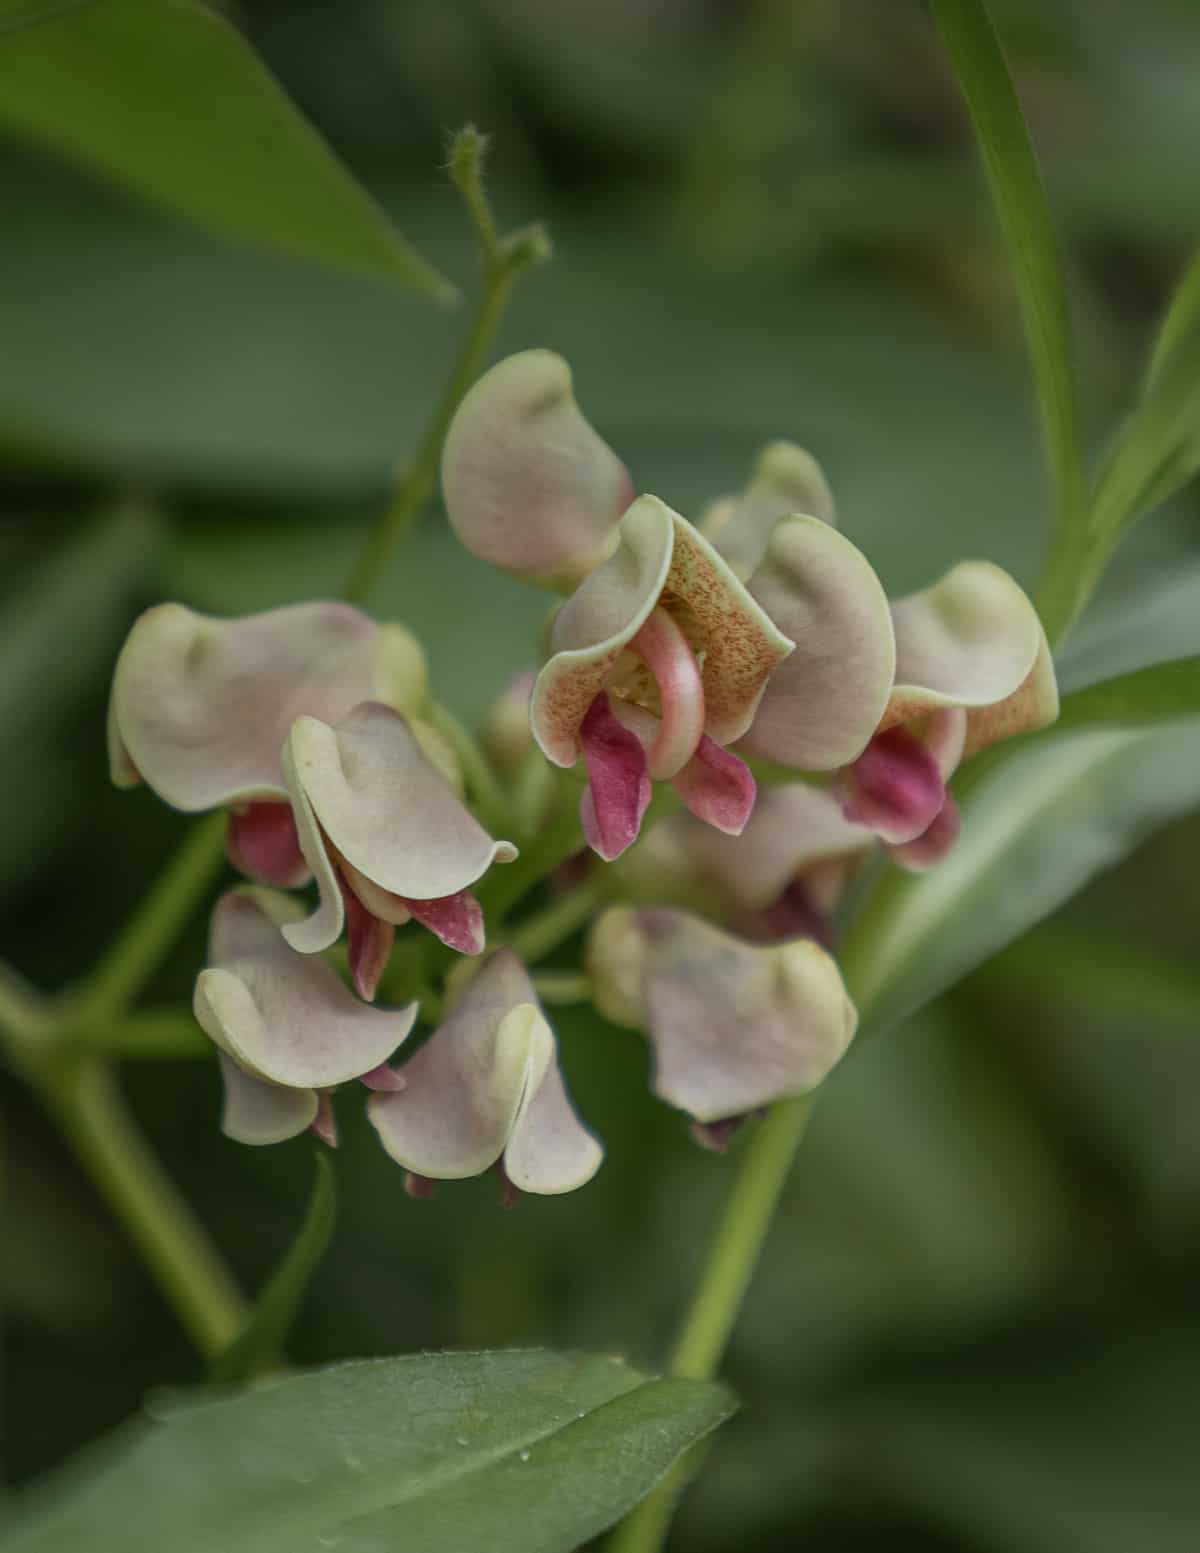
The plant produces large edible tubers, as well as edible beans. The aromatic, dull purple hopniss flowers are also edible. The tubers are the most prized though, and provide the most calories for your effort.
Seeds in the South, not in the North
One thing that was confusing for me was that many resources talk about the edible beans or seeds that casually resemble green beans. According to Sam Thayer, the plant rarely, if ever produces beans in the Northern part of its range.
Habitat
The plant is widely distributed across the Eastern United States. It thrives in partial shade, and I regularly see it in areas that have been flooded, or that flood in the spring.
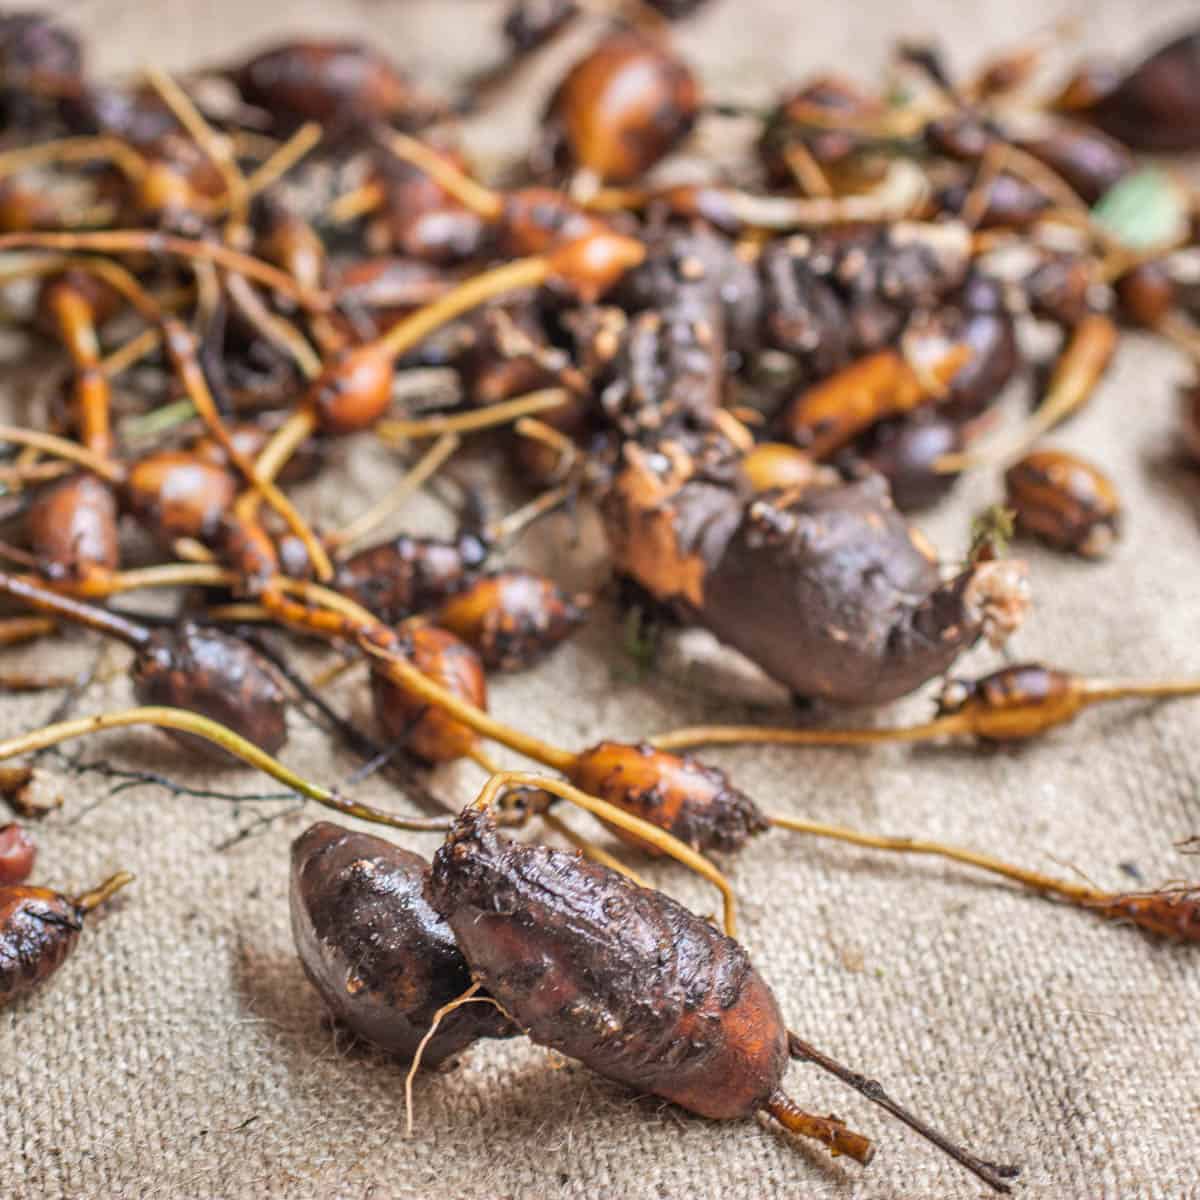
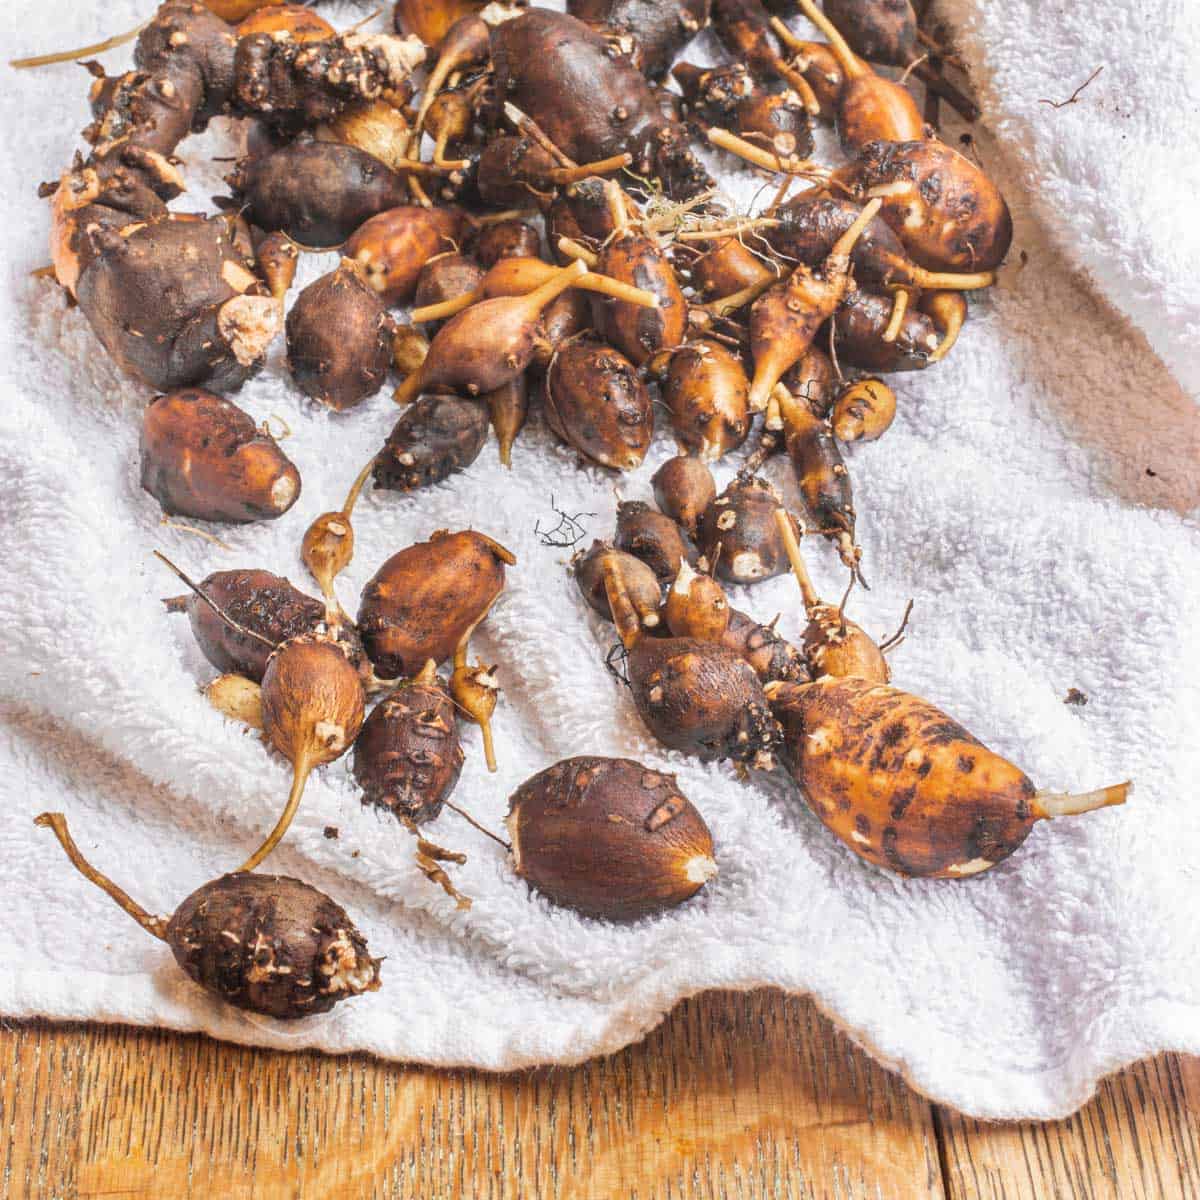
To find the tubers, you follow the vine to where it meets the ground and dig to reveal it. The tubers grow on a chain, and each one is connected to the other by a thin woody rhizome. Chains of apios tubers can contain anywhere from 2-20 tubers.
The size of the tubers is variable. Most of the tubers I harvest are about the size of nickels, or about an inch thick, but it's possible to harvest extremely large tubers comparable to a modern potato. Bigger isn't necessarily better though.
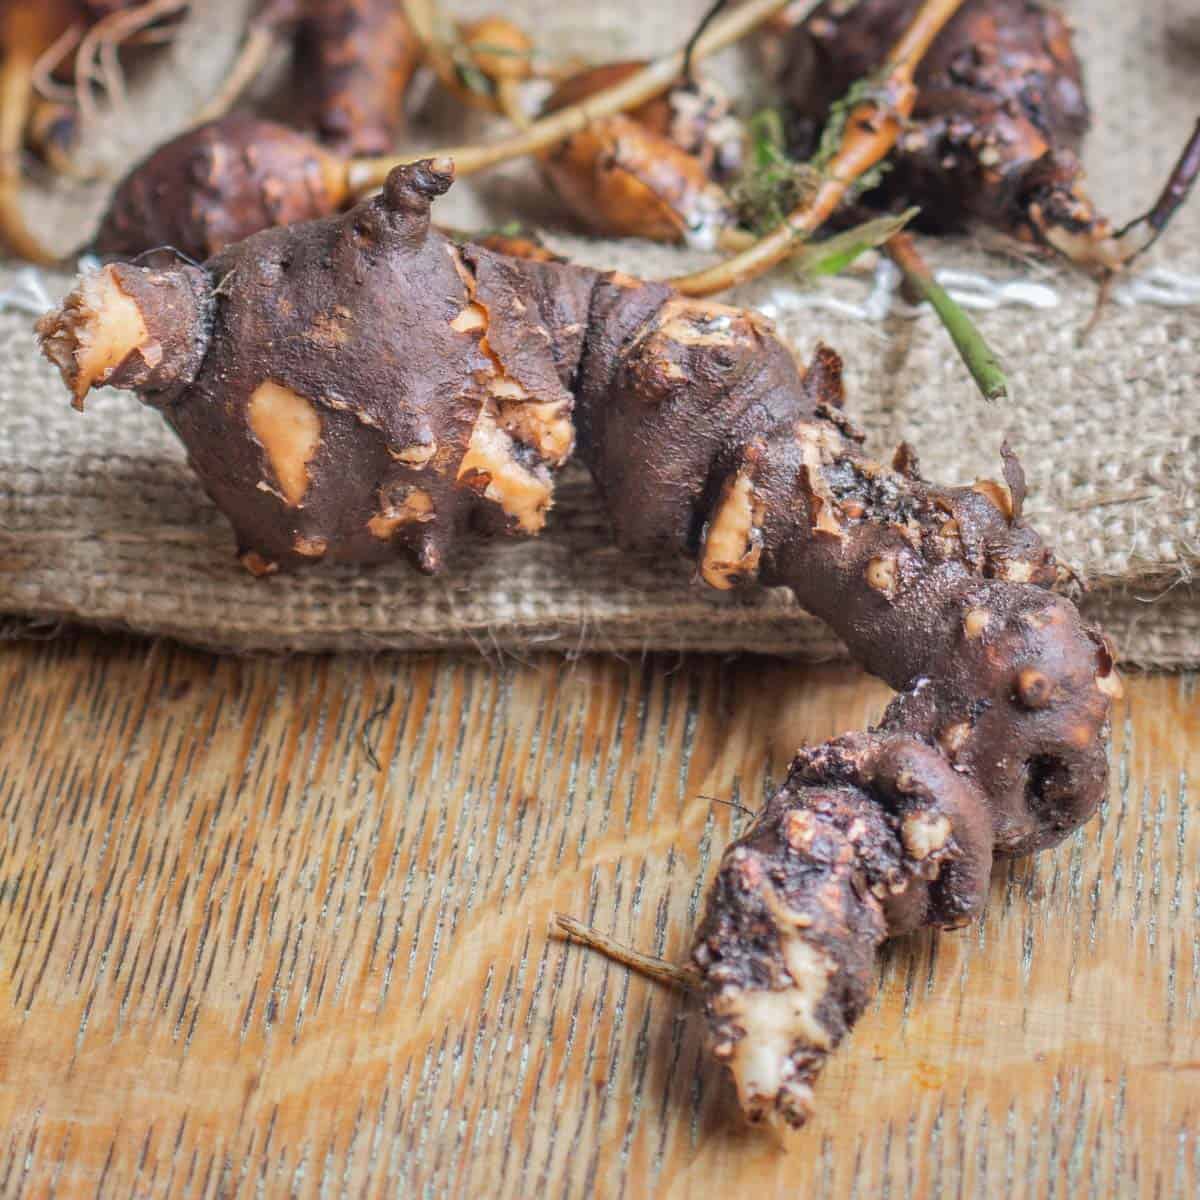
The large wild hopniss tubers I see often have spoiled parts that need to be cut out, or are tougher than smaller tubers. Just like Timpsila / Prairie Turnips, you want tubers that are just the right size: not too big, and not too small.
Harvesting
The best time to harvest is in the fall and late summer after the plant has died back. If you try to dig the tubers in the summer you can potentially get tubers that are soft or not good to eat.
Look for loose soil and areas that flood
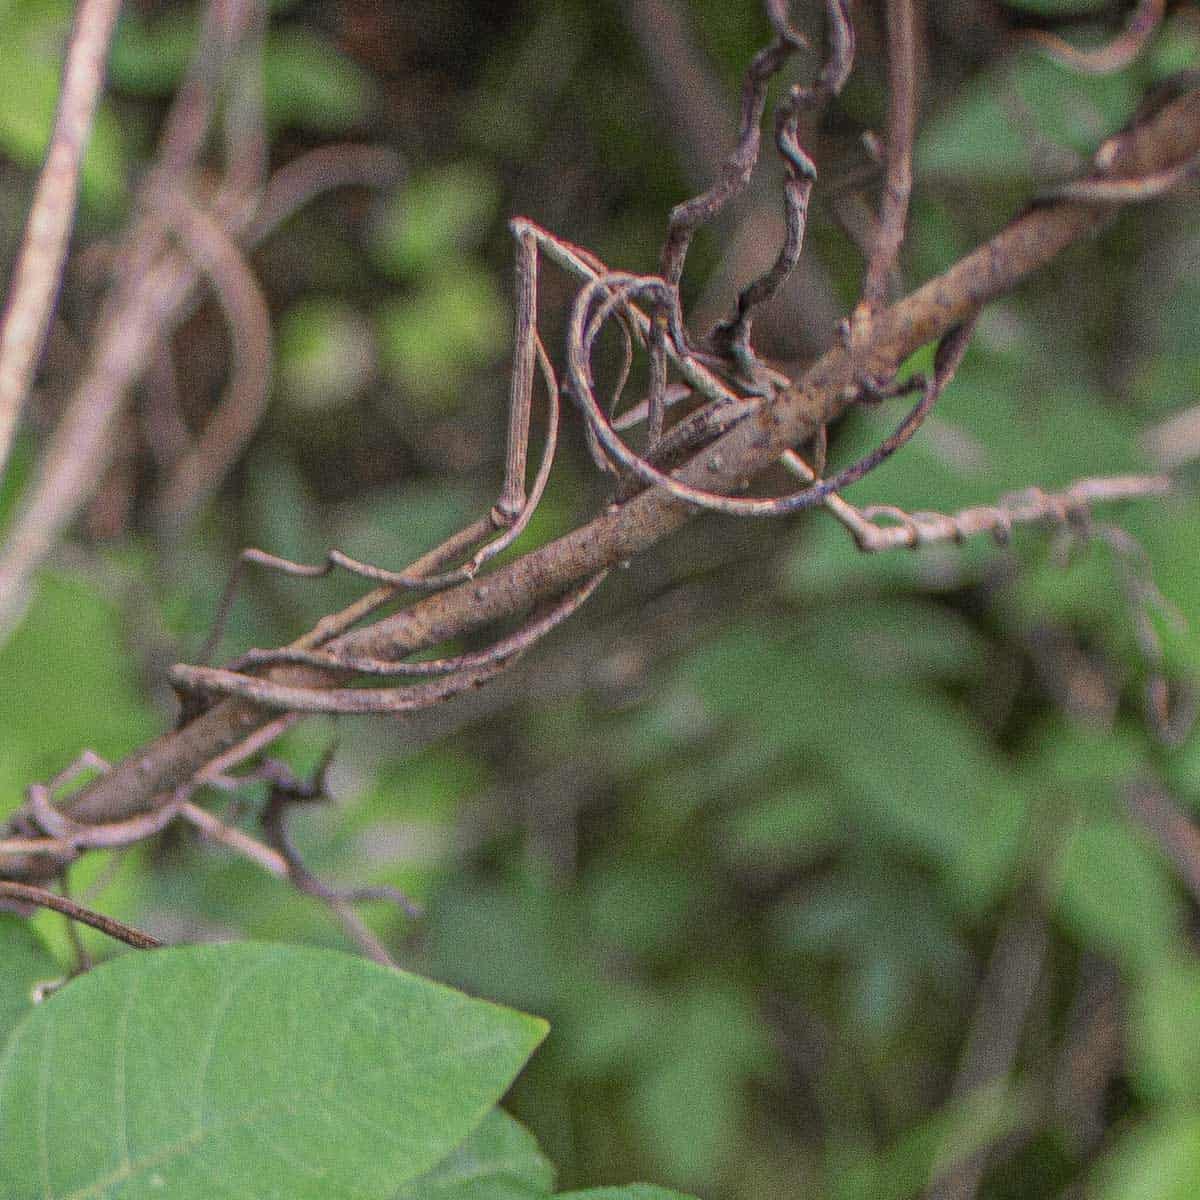
Locate hopniss patches by keeping an eye out for the dried, creeping vines in the fall or winter when they're not obscured by other plants. Once you get to know the look of the vines it's easy to pick them out at a distance.
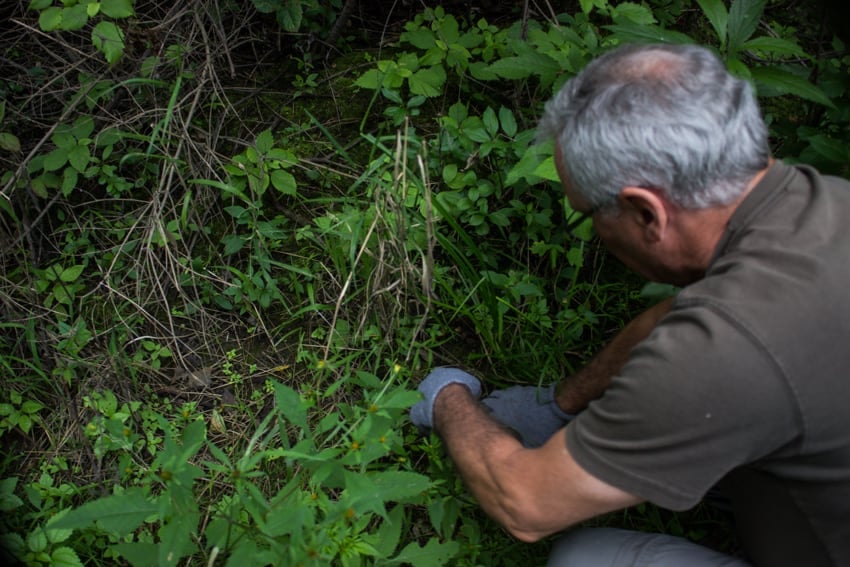
The best patches from my experience will be areas that occasionally flood or get a little wet, and have loose soil where you can easily break the ground with a shovel. If you have a patch where the ground is hard, try digging the tubers after a rain like burdock root.
Digging
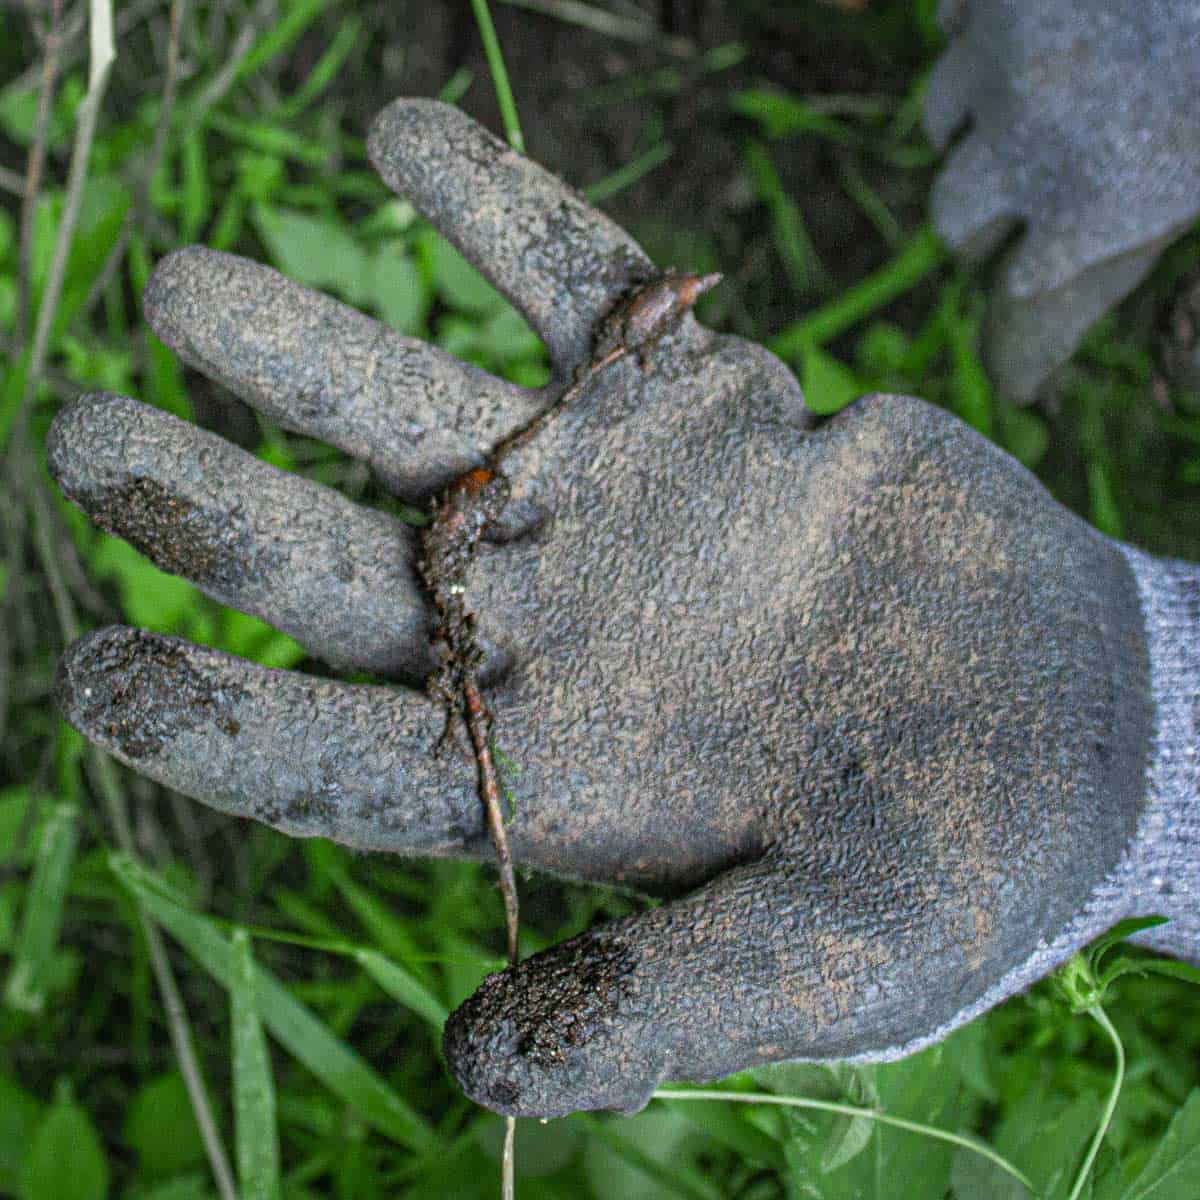
When it's time to harvest, you follow the vines down to the ground where it enters the soil. Then you carefully dig to unearth the tubers. It's important to dig carefully so you don't break the rhizome chain that connects the tubers.
The tubers vary in size. Although it can be tempting to take all that you find, keep in mind that it takes at least two years for hopniss to grow.
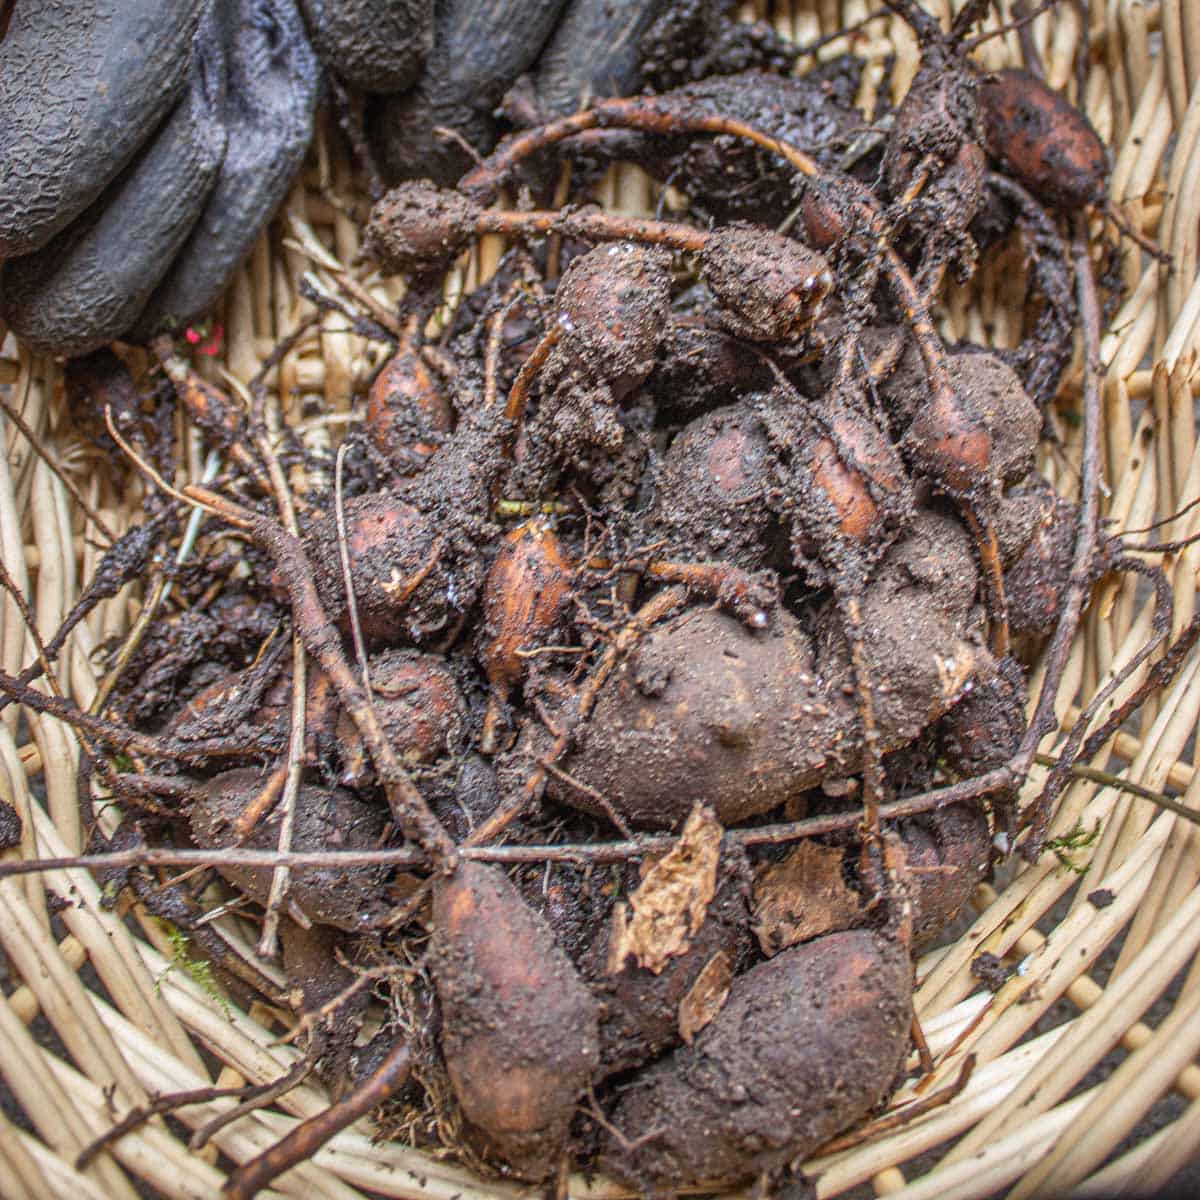
I recommend only taking tubers that will be a decent size after peeling. I like to harvest them around the size of a golf ball or ping pong ball. Smaller tubers are hardly worth the effort, but larger ones can be good.
Picking the right tubers
Avoid any tubers with visible holes or insect damage. I also keep a look out for mottled coloring in the flesh, which means the tubers won't cook properly.
The best tubers will be firm, and pure white on the inside with no discoloration. In some patches, I would wager 20% of the tubers aren't fit for cooking for the aforementioned reasons.
Cooking
Just like wapato (duck potatoes) You can cook hopniss tubers like new potatoes, with a few caveats.
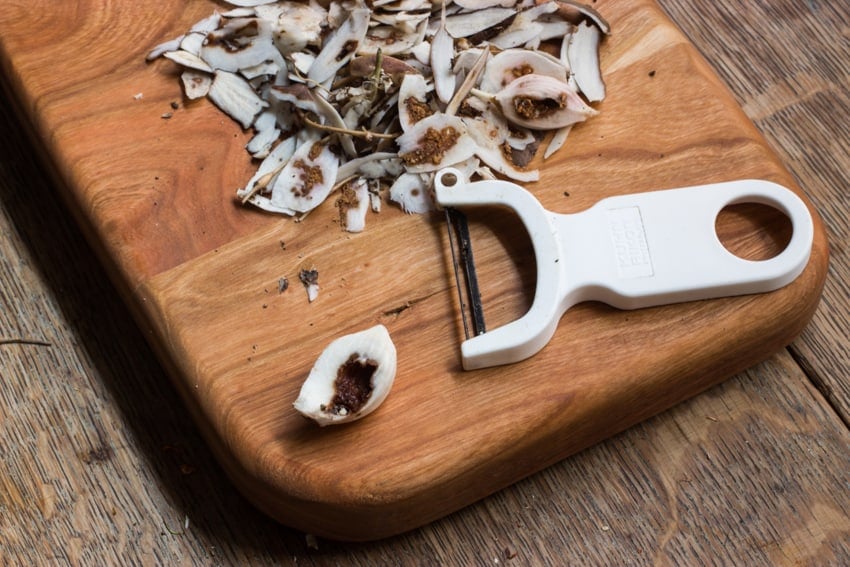
Peeling
The first thing to do with your tubers is to wash them, then peel off the tough outer skin. After they're peeled they can be cooked anyway you would cook potatoes. Personally, I prefer to cook them simply by themselves or add them to a soup. If you put them in a dish with too many ingredients you won't taste them at all, which is a waste.
The Flavor
The flavor of hopniss is a sort of potato bean combination. They're not at all sweet like a sweet potato-they're starchy and firm.
Hopniss Allergy
I cook at a number of different foraging events every year, and I never serve hopniss tubers to others. Many beans and legumes can cause digestive upset, but with these it can be more intense. While rare, the allergy can cause nausea and vomiting, with the sickness lasting for a few hours. I like to prevent that happening when people eat my food.
Sam Thayer says he's witnessed 5 people out of a few hundred that have the allergy. Just like with many other wild foods, it's important to start out by eating small amounts first to make sure the new food agrees with you.
Avoid cooking in cast iron with water
Cast iron has a property that reacts with some vegetables during cooking, causing them to discolor. With hopniss, it turns them a sort of pink or light red color if you cook them in liquid in a cast iron pan. While the discoloration isn't very appealing, it doesn't affect the flavor, numerous health benefits (they have over 3 times the protein of potatoes), or edibility.
Fried Hopniss, Like New Potatoes
Ingredients
- 12 ounces fresh peeled hopniss, cut into equal sized pieces
- 1 cup water
- Kosher salt fresh ground black pepper to taste
- 1.5 tablespoon cooking oil duck fat, or ghee
Instructions
- Put the hopniss, water and salt in a frying pan.
- Bring the mixture to a boil, then turn down the heat to a simmer until the liquid is reduced by ¾ and the hopniss is tender, about 10 minutes. Drain the water from the pan.
- Turn up the heat to medium high, then add the oil and mix to coat the tubers. Cook until the tubers are golden brown, turning and stirring occasionally as if cooking new potatoes.
- Taste a tuber and adjust the seasoning for salt and pepper until it tastes good to you, then serve hot.
Andy
Does this plant flower in the north? I am seeing evidence that the flowers are edible and that makes sense as a legume. The flowers are lovely and seem like they could be fantastic as food.
Alan Bergo
Hey Andy, thanks for commenting-it reminded me to update this post with pictures of the flowers from MN I took this year, so yes, it does flower up north. I don't see many of them though.
Michelle
I live in Grande Prairie, Alberta (northern Alberta, Canada). They do flower for sure in my area. I have them growing in my yard. I haven't seen any of the pods though.
Alan Bergo
Thanks for sharing that Michelle.
Calico
My understanding is that the seeds are good too. I'd be curious to see how those are prepared as well if they can be roasted like peanuts or boiled like beans.
Alan Bergo
Haven't heard of that. I'll have to look into it.
Compost happens
I found Apios americana growing in my yard a couple of years ago. It started to get out of hand this year so I cut it back and pulled out a few of the tubers, gonna try them in a moment…I am sure there are others in case anybody wants them, I am in Hudson Valley, NYS.
John Hoag
I live in the Hudson Valley just south of Albany would be interested in getting some of your tubers so I can start some here.
John
Cristie
Thanks for this! I started growing groundnuts in my permaculture garden 2 years ago, so this year I'm going to be able to harvest some. It's great to have a recipe to start from - makes me a little more confident in getting the hang of using this new ingredient.
John
Thanks for doing some footwork for us!
Alan Bergo
Thank John, I just hoping I can find some private land to get a few more, they're not easy to find for me.
Dan Farmer
Still digging dirt out from my fingernails.
About all I can say is that I sure am glad I don't depend on harvesting hopniss for survival!